Введение
This guide will teach the user how to replace a broken drip rail molding on a 2007-2011 Toyota Yaris Sedan. Replacing a broken drip rail on a car is important to prevent water damage to the inside of the car. This at home guide can prevent users from an expensive and long trip to the repair shop. With our guide, Toyota owners can easily fix their own drip rail from the comfort of their own home with our six easy steps.
The part numbers for the drip rail is: TOYOTA-YARIS SEDAN 07-11 LEFT ROOF DRIP MOLDING OEM 75552-52140 and TOYOTA-YARIS SEDAN 07-11 RIGHT ROOF DRIP MOLDING OEM 75551-52160.
Выберете то, что вам нужно
-
-
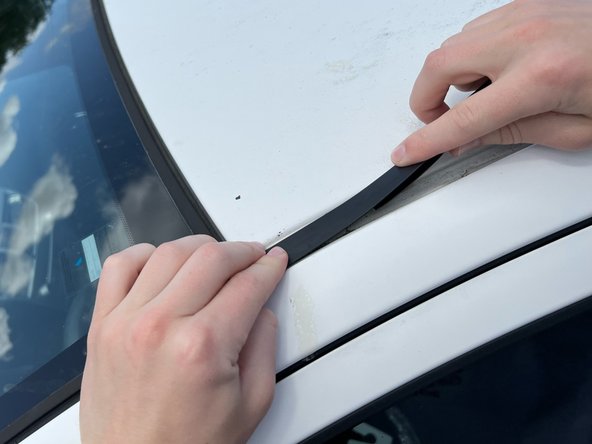
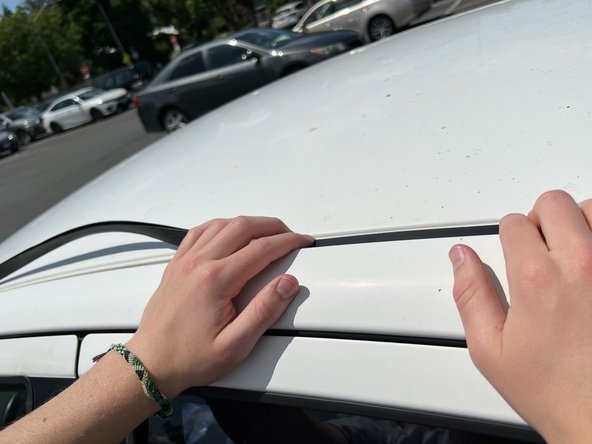
Peel back the old molding from where it is beginning to come off until you reach the end of the rail.
-
-
-
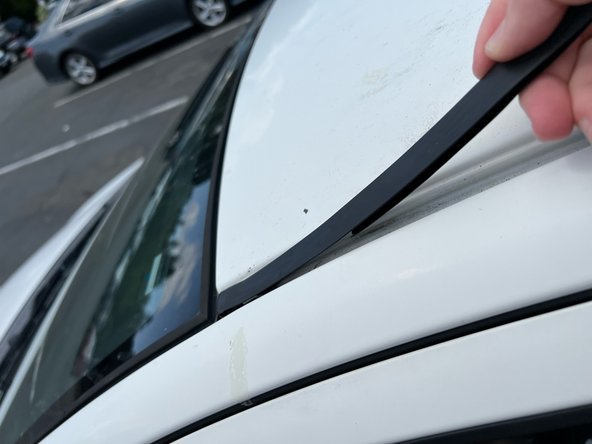
Use a heavy duty spudger to disconnect the end of the drip rail.
-
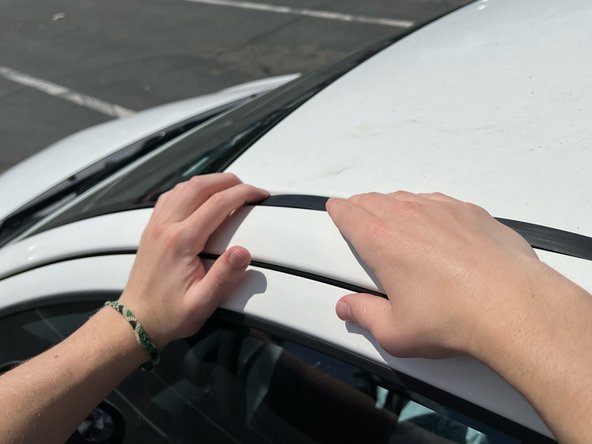
Completely remove the piece from the end.
-
-
-
-
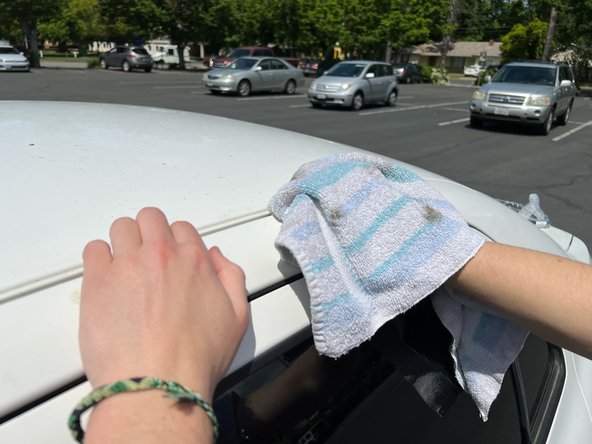
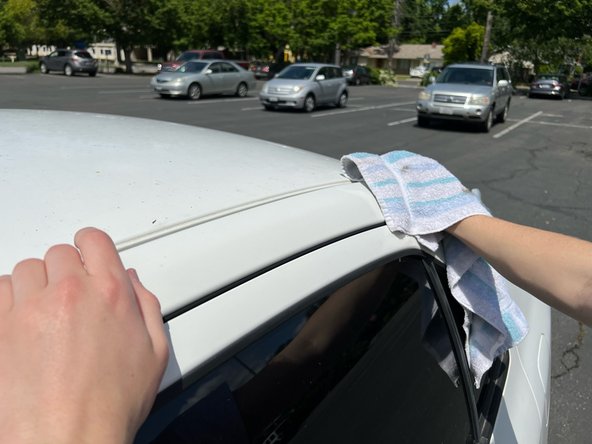
Take a rag and clean out any dirt and debris that built up under the old molding.
-
-
-
Slide the end of the new piece into the designated spot and press firmly to ensure it's connected securely.
-
Lightly tug at it to make it is secure and won't come off.
-
Do the same to the opposite end of the drip rail.
-
-
-
Firmly press the drip rail into its place starting at one end and moving down the car.
-


To reassemble your device, follow these instructions in reverse order.
To reassemble your device, follow these instructions in reverse order.

Команда

UC Davis, Team 2-2, Morris Spring 2023 Участник UC Davis, Team 2-2, Morris Spring 2023
UCD-MORRIS-S23S2G2
3 членов
Автор 1 руководств