Введение
This a guide to fix your Rear Trunk Tailgate Trim on a 2015 320i BMW! If your trim has been damaged from a small wreck or collision, you will be relieved to find out that this repair is a very simple fix you can accomplish at your household. In this guide you will find concise and clear instructions on how to accomplish this repair. You will learn how to remove your damaged trim and how to properly install your new damage-free trim onto your car. Overall, this repair will not only save you money but time as well!
Выберете то, что вам нужно
-
-
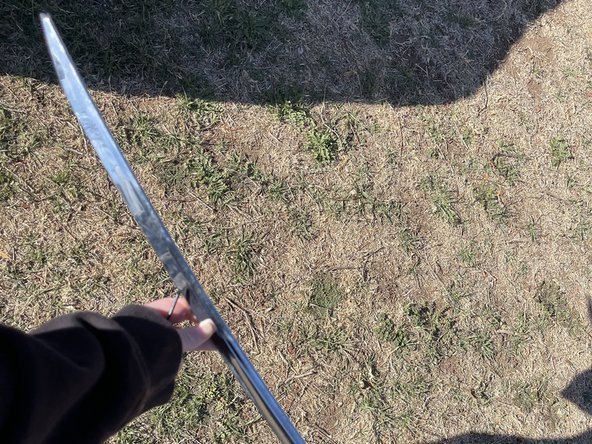
Remove the damaged trim by gently prying it off with a flathead screwdriver.
-
Insert the screwdriver between the car and the trim slowly and gently to avoid scratching your car.
-
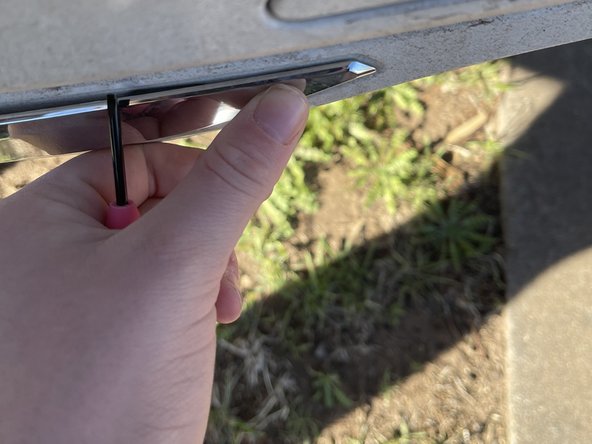
Apply pressure on the trim and listen for a "POP" noise.
-
-
-
Once you hear the "POP," grab the trim and pull it towards you.
-
Go across and pull each part of the trim towards you until the whole trim is detached.
-
There are several clips along the edge of the trim holding it in place. The "POP" sounds are caused by those clips disengaging.
-
-
-
-
Prepare for the replacement portion of the repair by setting aside the old damaged trim.
-
-
-
Firmly push the clip tabs into each of the holes on the bumper of your car.
-
Start at either end of the trim and move along in a line until all the clips are engaged.
-
-
-
Double check for any extra space along the top of the trim. There should not be any space that can be seen.
-


Once you have completed these steps your car will once again have an enhanced appearance!
Once you have completed these steps your car will once again have an enhanced appearance!
Отменить: Я не выполнил это руководство.
Еще один человек закончил это руководство.
Команда

Texas Tech, Team S3-G24, Cowan Spring 2021 Участник Texas Tech, Team S3-G24, Cowan Spring 2021
TTU-COWAN-S21S3G24
1 член
Автор 1 руководств