Введение
This repair guide will take you through the steps to removing and replacing the channel switch of your APS Tech 101629 CD-Drive. This can be quickly removed and easily replaced.
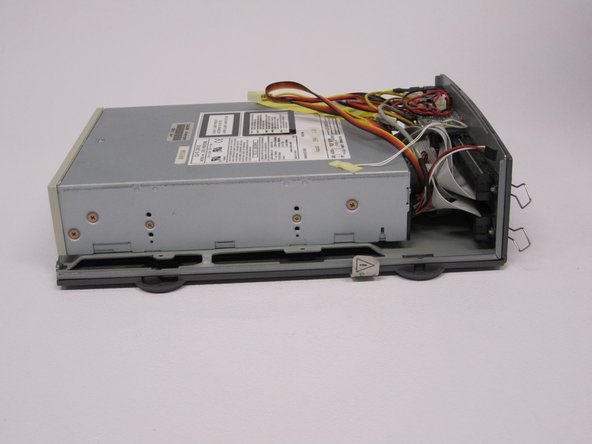
First the external casing will need to be removed.
Выберете то, что вам нужно
-
-
Pry all four of the plastic feet off the bottom of the enclosure using the iPod opening tool.
-
-
-
Unscrew the four screws previously covered by the feet with a Phillips #1 screwdriver.
-
-
-
Flip the device right side up.
-
Gently slide the casing upwards and off the hard drive.
-
-
-
-
Flip device upside down again.
-
Gently pry the bottom gray casing away from the device.
-
-
-
Rotate so the back of the device is facing you.
-
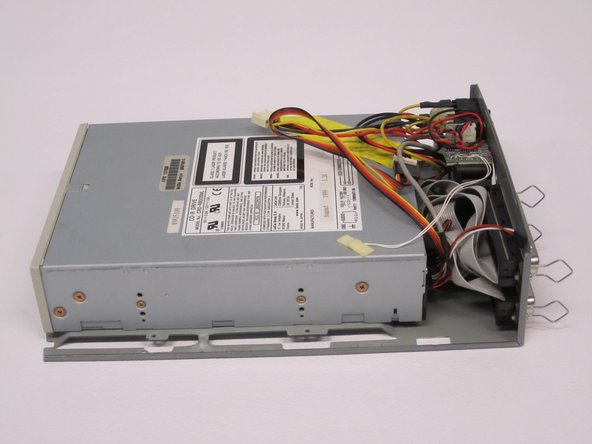
Gently pry the back casing away.
-
When the back casing is removed, the fan will become loose.
-
-
-
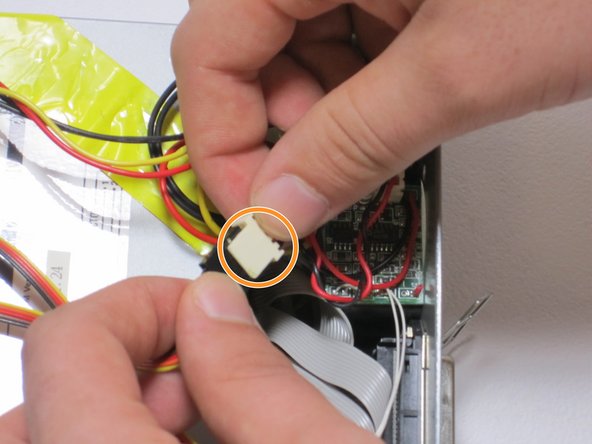
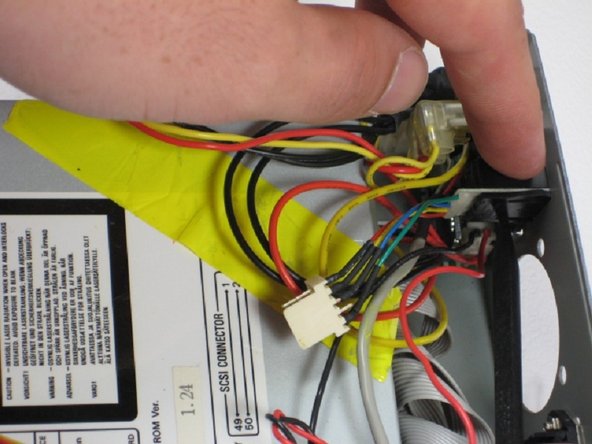
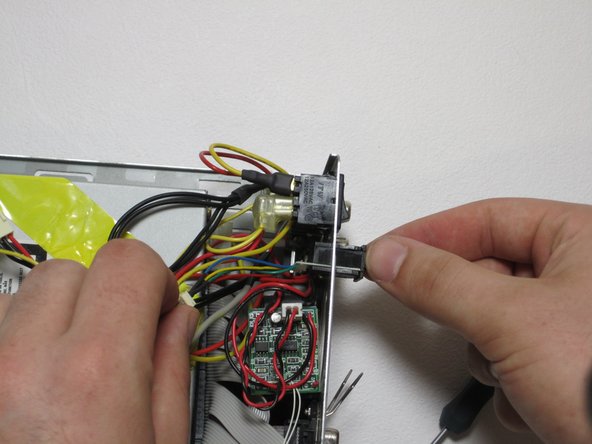
Find the conjoined ID cable wires that are colored black, orange, and yellow.
-
Lift white portion of cable wires to disconnect it.
-
-
-
Using the spudger, depress the pressure holders at all four corners of the fan.
-
Take out the fan and its cords, by pulling it outward from its cavity within the device.
-


To reassemble your device, follow these instructions in reverse order.
To reassemble your device, follow these instructions in reverse order.
Отменить: Я не выполнил это руководство.
Еще один человек закончил это руководство.

Команда

Cal Poly, Team 24-60, Amido Spring 2011 Участник Cal Poly, Team 24-60, Amido Spring 2011
CPSU-AMIDO-S11S24G60
5 членов
Автор 12 руководств