Перейти к основному содержанию

ASUS Q324UA-BHI7T17 Track Pad Replacement

Выберете то, что вам нужно

  1. ASUS Q324UA-BHI7T17 Track Pad Replacement, Track Pad: шаг 1, изображение 1 из 2 ASUS Q324UA-BHI7T17 Track Pad Replacement, Track Pad: шаг 1, изображение 2 из 2
    • Remove all ten 5mm screws from the backplate using a Phillips #0 Screwdriver.

  2. ASUS Q324UA-BHI7T17 Track Pad Replacement: шаг 2, изображение 1 из 1
    • Carefully remove the backplate using the plastic opening tool.

  3. ASUS Q324UA-BHI7T17 Track Pad Replacement: шаг 3, изображение 1 из 1
    • Lift up the back plate and slide it to the back of the computer to remove.

  4. ASUS Q324UA-BHI7T17 Track Pad Replacement: шаг 4, изображение 1 из 3 ASUS Q324UA-BHI7T17 Track Pad Replacement: шаг 4, изображение 2 из 3 ASUS Q324UA-BHI7T17 Track Pad Replacement: шаг 4, изображение 3 из 3
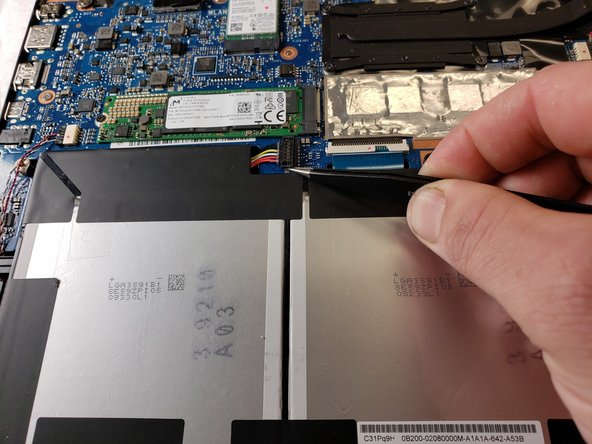
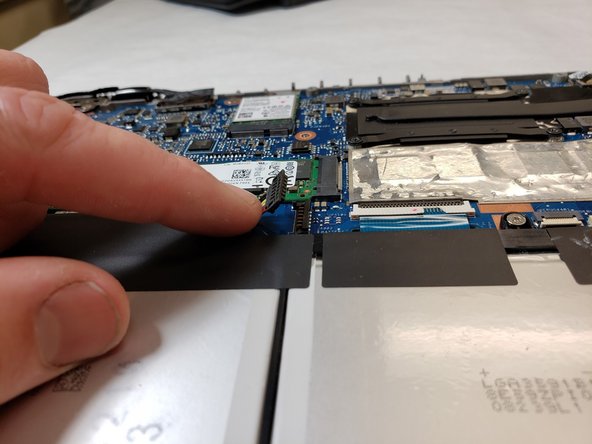
    • Disconnect the battery from the laptop in the upper left side of the battery, using tweezers.

  5. ASUS Q324UA-BHI7T17 Track Pad Replacement: шаг 5, изображение 1 из 1
    • Remove the six 5 mm screws holding the battery using a Phillips #0 screwdriver.

  6. ASUS Q324UA-BHI7T17 Track Pad Replacement: шаг 6, изображение 1 из 1
    • Carefully remove the battery using the plastic opening tool.

  7. ASUS Q324UA-BHI7T17 Track Pad Replacement: шаг 7, изображение 1 из 3 ASUS Q324UA-BHI7T17 Track Pad Replacement: шаг 7, изображение 2 из 3 ASUS Q324UA-BHI7T17 Track Pad Replacement: шаг 7, изображение 3 из 3
    • Disconnect the trackpad from the motherboard using tweezers.

    • The white tab flips up.

  8. ASUS Q324UA-BHI7T17 Track Pad Replacement: шаг 8, изображение 1 из 2 ASUS Q324UA-BHI7T17 Track Pad Replacement: шаг 8, изображение 2 из 2
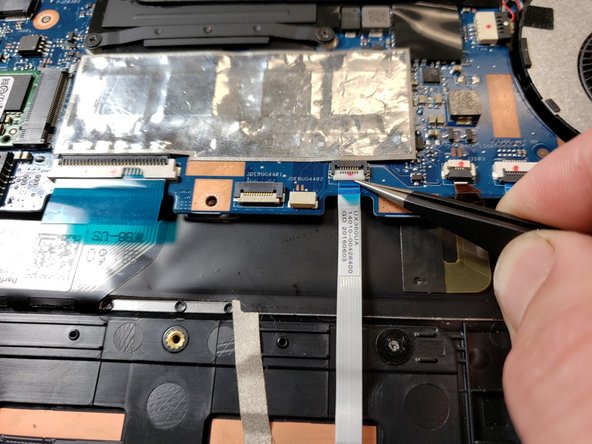
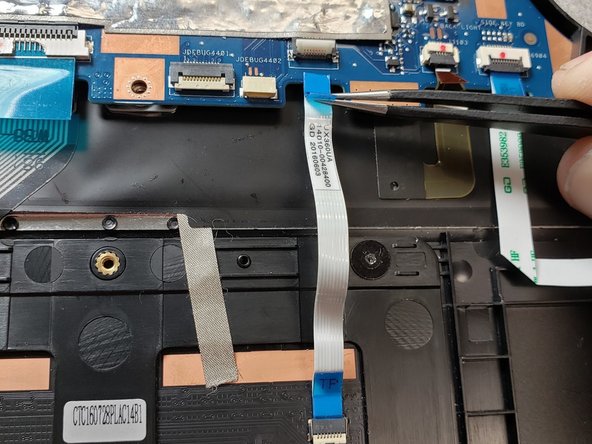
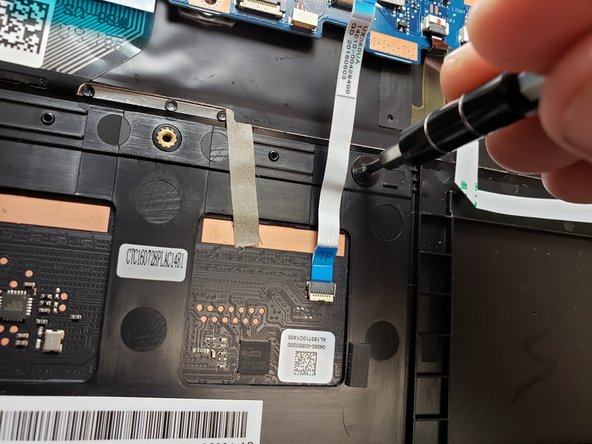
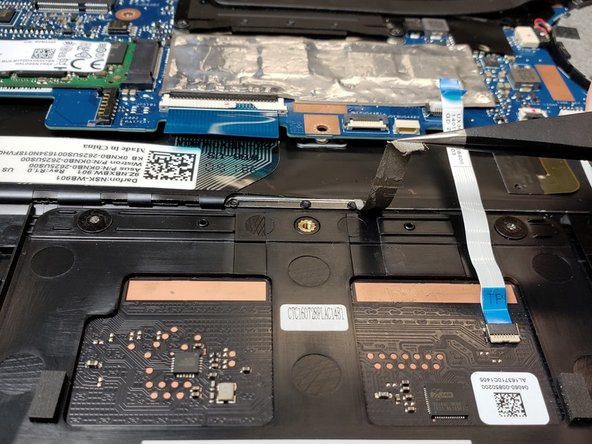
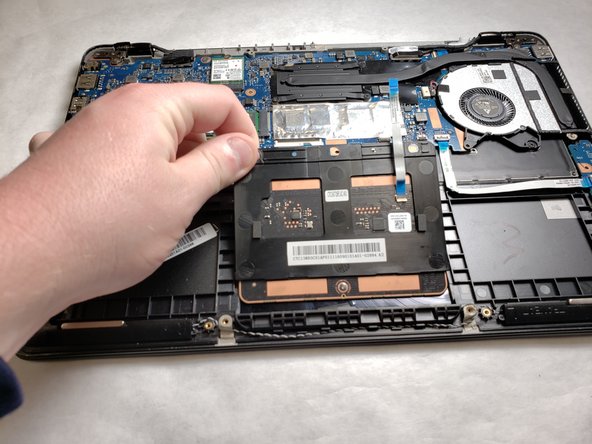
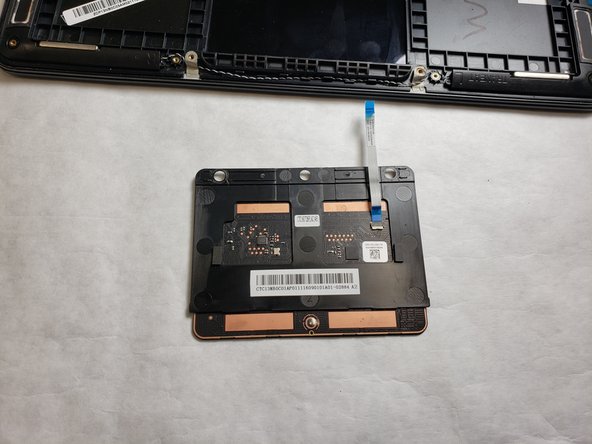
    • Remove the two 5mm screws holding in the trackpad using a Phillips #0 screwdriver.

  9. ASUS Q324UA-BHI7T17 Track Pad Replacement: шаг 9, изображение 1 из 2 ASUS Q324UA-BHI7T17 Track Pad Replacement: шаг 9, изображение 2 из 2
    • Remove adhesive tape tethering the trackpad to the motherboard with tweezers.

  10. ASUS Q324UA-BHI7T17 Track Pad Replacement: шаг 10, изображение 1 из 3 ASUS Q324UA-BHI7T17 Track Pad Replacement: шаг 10, изображение 2 из 3 ASUS Q324UA-BHI7T17 Track Pad Replacement: шаг 10, изображение 3 из 3
    • Carefully remove the trackpad using the plastic opening tool.

    • Lift up and side track toward the back of the computer to remove.

Заключение

To reassemble your device, follow these instructions in reverse order.

Gabriel survance

Участник с: 04/01/19

343 Репутация

Автор 2 руководств

Команда

IUPUI, Team S2-G2, Harley Spring 2019 Участник IUPUI, Team S2-G2, Harley Spring 2019

IUPUI-HARLEY-S19S2G2

3 членов

Автор 2 руководств

0 Комментариев

Добавить комментарий

Просмотр статистики:

За последние 24часов: 0

За последние 7 дней: 0

За последние 30 дней: 0

За всё время: 175