Введение
The hard drive, responsible for storing all your important files. Without a hard drive, your computer would have nothing to operate off of. It would be a machine without code. Therefore, issues with it tend to be very serious. Things such as corruption can cause important files to be lost or damaged. That’s why this guide will be very helpful, in the event that you need to replace the hard drive of your ASUS Q405U.
Выберете то, что вам нужно
-
-
Using the Phillips #1 screwdriver, remove eleven (11) 1.5 mm screws from the back cover.
-
-
-
Pull the back cover off of your laptop. Use a spudger to help pry it off of the device.
-
-
-
-
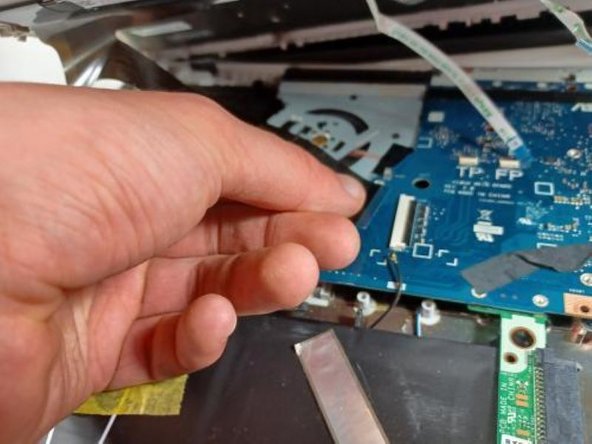
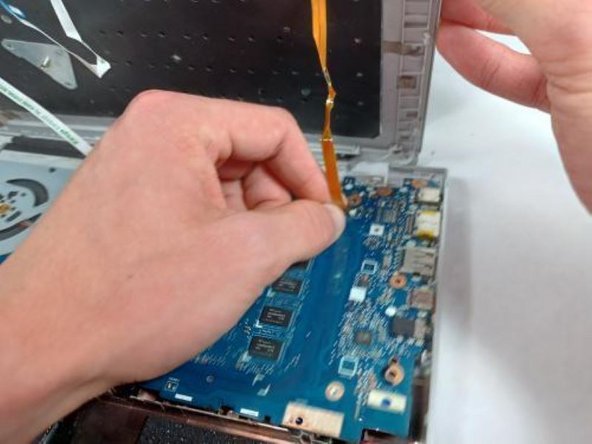
Disconnect the 4 wires attached from the keyboard side of laptop to the screen side of laptop by pulling them out of their sockets on one end (as shown in picture).
-


To reassemble your device, follow these instructions in reverse order.
To reassemble your device, follow these instructions in reverse order.
Отменить: Я не выполнил это руководство.
Еще один человек закончил это руководство.
Команда

UMass Dartmouth, Team 2-8, Sinclaire Fall 2021 Участник UMass Dartmouth, Team 2-8, Sinclaire Fall 2021
UMASSD-SINCLAIRE-F21S2G8
4 членов
Автор 5 руководств