Введение
This guide is for replacing the Wi-Fi card of the ASUS TUF Gaming FX505DY.
The Wi-Fi card provides the ASUS TUF Gaming FX505DY with in-built wireless network capabilities. Laptop Wi-Fi cards are generally reliable, but can suffer from performance issues. They are smaller and tougher than many other components, making them more resistant to physical damage. The ASUS TUF Gaming FX505DY uses a Realtek Wi-Fi card.
Wi-Fi card failures due to physical damage are uncommon. The vast majority of Wi-Fi card issues are software-related, which can be troubleshooted here. If the faulty Wi-Fi card does fail or malfunction, it results in a weak or nonexistent wireless connection. Depending on the error, the computer may be able to connect but not transmit or receive data, may not be able to detect wireless networks, or may completely lose wireless connection capabilities.
Recording any saved wireless network information, including network names and passwords, may be useful in case replacing the Wi-Fi card interferes with cached connections.
Make sure to fully shut down the device and unplug any chargers and peripherals before beginning.
Выберете то, что вам нужно
-
-
Turn off the laptop.
-
Disconnect the charging cable.
-
Flip the laptop so the back is facing up.
-
-
-
Use a Phillips #1 screwdriver to remove the five 6 mm screws that secure the back panel.
-
Use the same screwdriver to remove the six 13 mm screws securing the back panel.
-
-
-
Insert the plastic opening tool at a corner and pry up along the edges, leaving the back side with the hinges for last.
-
-
-
Gently lift up the back panel to release any remaining clips on the side with the hinges and remove the panel.
-
-
-
-
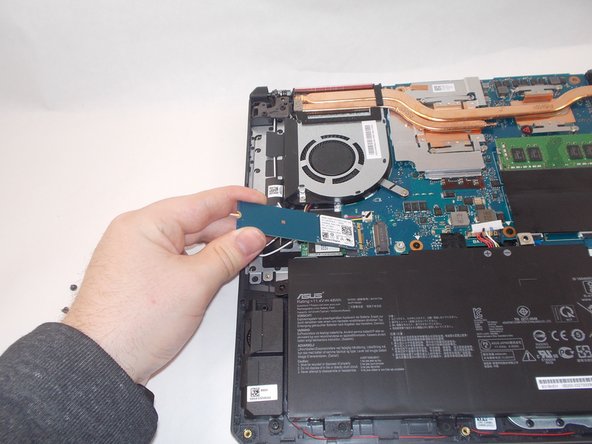
Remove the two 3 mm screws holding the solid state drive and its foil wrap in place using a Phillips #1 screwdriver.
-
-
-
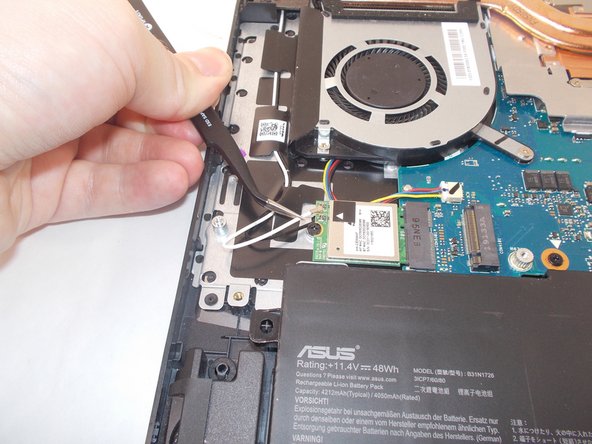
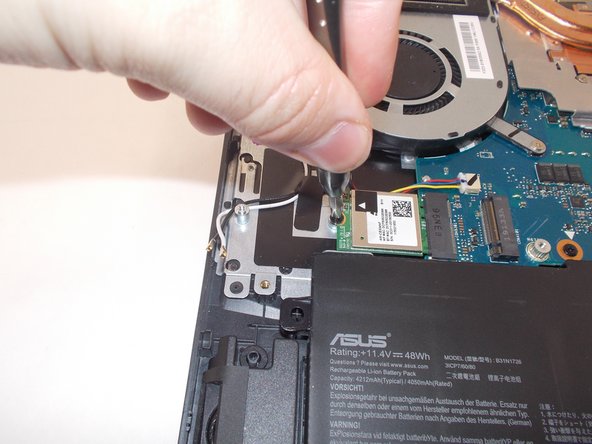
Using ESD-safe tweezers, remove the two coaxial antennas by lifting up on the wires near the connectors.
-


To reassemble your device, follow these instructions in reverse order.
To reassemble your device, follow these instructions in reverse order.
Отменить: Я не выполнил это руководство.
3 участников успешно повторили данное руководство.

Команда

UMass Dartmouth, Team 2-4, Mellen Spring 2022 Участник UMass Dartmouth, Team 2-4, Mellen Spring 2022
UMASSD-MELLEN-S22S2G4
4 членов
Автор 8 руководств