Перейти к основному содержанию

ASUS U57A-BBL4 Fan Replacement

Выберете то, что вам нужно

  1. ASUS U57A-BBL4 Fan Replacement, Battery: шаг 1, изображение 1 из 1
    • Make sure the laptop is completely shut down to avoid data complications.

    • Hold the left lock switch towards the left to the unlock option.

  2. ASUS U57A-BBL4 Fan Replacement: шаг 2, изображение 1 из 1
    • Toggle the right lock switch to the unlock option.

  3. ASUS U57A-BBL4 Fan Replacement: шаг 3, изображение 1 из 1
    • Gently slide the battery out while still holding the left unlock switch.

  4. ASUS U57A-BBL4 Fan Replacement, Front Panel Assembly: шаг 4, изображение 1 из 2 ASUS U57A-BBL4 Fan Replacement, Front Panel Assembly: шаг 4, изображение 2 из 2
    • Remove the two 2 mm Phillips head screws on each side on the bottom using PH00 screw driver.

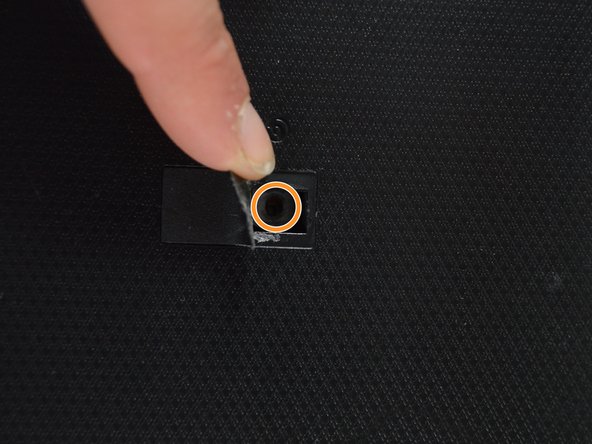
    • Remove the one 2 mm screw underneath the black cover in the middle using the same screw driver.

  5. ASUS U57A-BBL4 Fan Replacement: шаг 5, изображение 1 из 1
    • Remove the RAM by lifting up with your fingers and sliding it out towards you.

  6. ASUS U57A-BBL4 Fan Replacement: шаг 6, изображение 1 из 1
    • Remove the three 2 mm Phillips head screws on the hard drive using PH00 screw driver.

    • Remove the remaining seven 1.8 mm Phillips head screws using the same screw driver.

  7. ASUS U57A-BBL4 Fan Replacement: шаг 7, изображение 1 из 2 ASUS U57A-BBL4 Fan Replacement: шаг 7, изображение 2 из 2
    • Remove the hard drive by sliding it to the left and lifting up.

  8. ASUS U57A-BBL4 Fan Replacement: шаг 8, изображение 1 из 2 ASUS U57A-BBL4 Fan Replacement: шаг 8, изображение 2 из 2
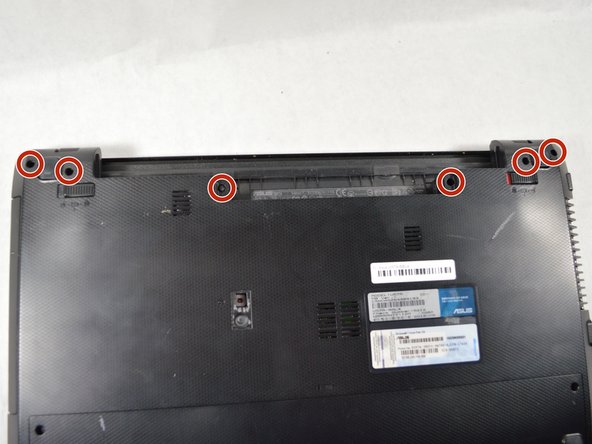
    • Remove the six 2 mm Phillips head screws on the top edge of the laptop using PH00 screw driver.

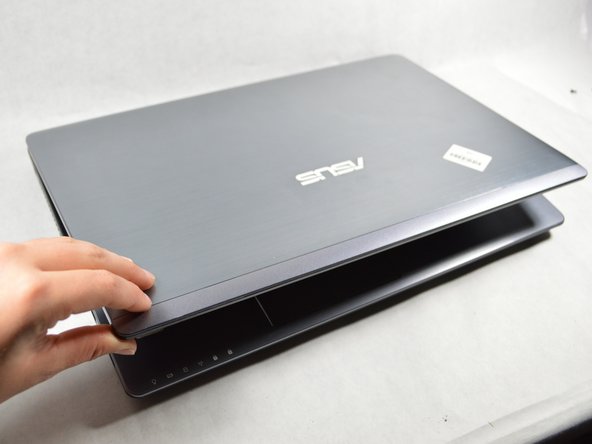
    • Flip the laptop right-side up and open the screen.

  9. ASUS U57A-BBL4 Fan Replacement: шаг 9, изображение 1 из 3 ASUS U57A-BBL4 Fan Replacement: шаг 9, изображение 2 из 3 ASUS U57A-BBL4 Fan Replacement: шаг 9, изображение 3 из 3
    • Starting in a corner of the keyboard, pry the keyboard from the laptop using a plastic opening tool.

    • Remove the ribbon cable on the bottom of the keyboard by lifting up on the tape and pulling up.

    • The front panel is now loose from the laptop.

  10. ASUS U57A-BBL4 Fan Replacement, Optical Drive: шаг 10, изображение 1 из 1
    • Slide the optical drive out. It should easily come out.

  11. ASUS U57A-BBL4 Fan Replacement, Motherboard: шаг 11, изображение 1 из 1
    • Remove the four 2 mm Phillips head screws from the top of the motherboard and fan using PH #1 screwdriver.

  12. ASUS U57A-BBL4 Fan Replacement: шаг 12, изображение 1 из 2 ASUS U57A-BBL4 Fan Replacement: шаг 12, изображение 2 из 2
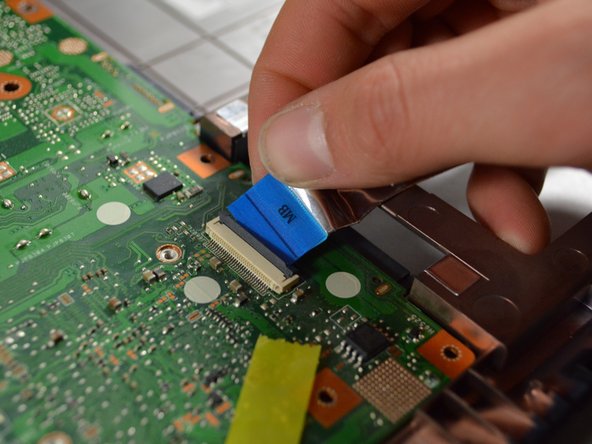
    • Remove the blue cable on the bottom right by lifting up on the tab and pulling the cable out.

  13. ASUS U57A-BBL4 Fan Replacement: шаг 13, изображение 1 из 3 ASUS U57A-BBL4 Fan Replacement: шаг 13, изображение 2 из 3 ASUS U57A-BBL4 Fan Replacement: шаг 13, изображение 3 из 3
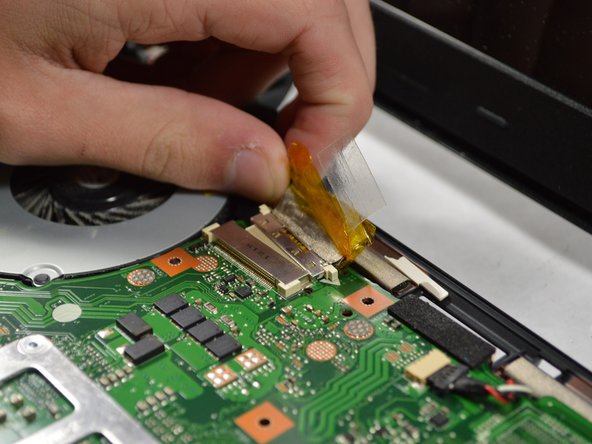
    • Peel off the black and yellow tape attaching the fan to the base.

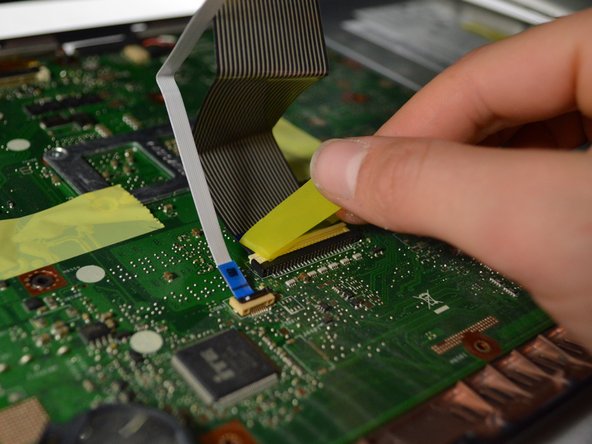
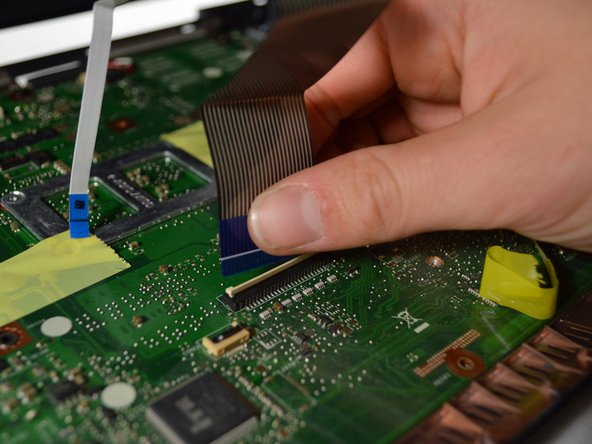
    • Peel the tape off the yellow cable and pull out to remove the cable.

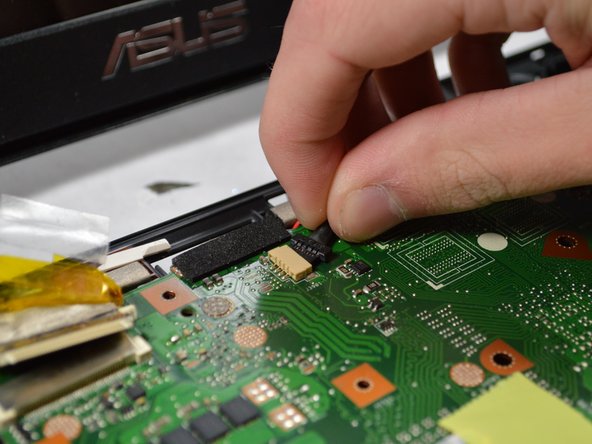
    • Remove the small black, white and red cable next to the yellow cable at the top.

  14. ASUS U57A-BBL4 Fan Replacement: шаг 14, изображение 1 из 1
    • Carefully and slowly lift up the motherboard from the base and remove the red and black cable underneath the motherboard in the top left corner near the fan.

    • The motherboard and fan are still attached to each other, but are loose from the base.

  15. ASUS U57A-BBL4 Fan Replacement: шаг 15, изображение 1 из 1
    • Remove the four 2 mm Phillips head screws surrounding the copper rod using PH1 screw driver.

  16. ASUS U57A-BBL4 Fan Replacement: шаг 16, изображение 1 из 1
    • Remove the red, blue, black and yellow cable attaching the fan and motherboard together with your fingers.

    • Now the motherboard and fan are completely separate from each other.

  17. ASUS U57A-BBL4 Fan Replacement, Fan: шаг 17, изображение 1 из 1
    • Slide the fan out from the ridged metal component.

Заключение

To reassemble your device, follow these instructions in reverse order.

Isabella Bernardi

Участник с: 10/18/17

671 Репутация

Автор 6 руководств

Команда

UMass Dartmouth, Team S2-G4, Julie Fall 2017 Участник UMass Dartmouth, Team S2-G4, Julie Fall 2017

UMASSD-JULIE-F17S2G4

3 членов

Автор 6 руководств

0 Комментариев

Добавить комментарий

Просмотр статистики:

За последние 24часов: 0

За последние 7 дней: 0

За последние 30 дней: 2

За всё время: 309