Введение
The WiFi card is a electronic component in a computer that is responsible for receiving and transmitting data to and from the internet. You may want to replace this device if your laptop has slow upload and download speeds or the card has failed and you cannot access the internet at all. This guide will walk you through how to replace this piece of hardware.
Выберете то, что вам нужно
-
-
Open the laptop until it is flat and lay it screen down.
-
Remove eight 9.6mm Phillips #00 screws from the bottom of the laptop.
-
Remove two 4.8mm Phillips from the corners of the device.
-
-
-
Turn the device face up.
-
Use the plastic Opening Pick to separate the keyboard panel from the chassis that was just unscrewed.
-
-
-
-
With the keyboard panel pulled up, detach the two ribbon cables from the motherboard using the blue tabs on the cables.
-
Remove the keyboard panel completely.
-
-
-
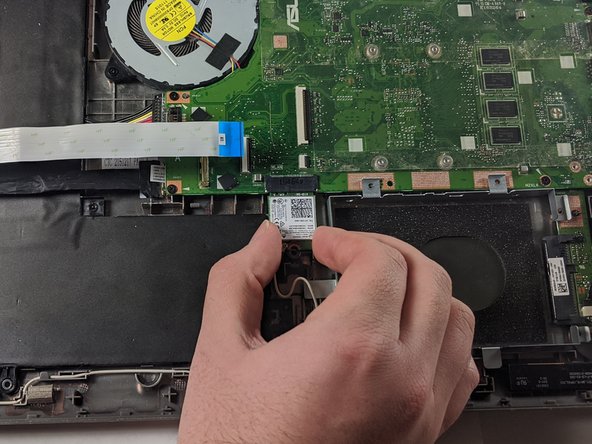
Locate and remove the single 3.17 mm screw holding in the WiFi card suing a Phillips #00 driver.
-
Disconnect the card from the motherboard by pulling down on the card.
-
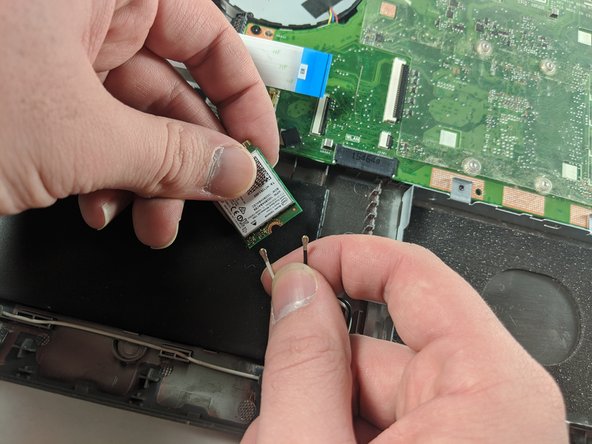
Unplug the two black and white wires from the bottom of the card. They should pop off.
-


To reassemble your device, follow these instructions in reverse order.
To reassemble your device, follow these instructions in reverse order.

Команда

Embry-Riddle Aeronautical University, Team S1-G1, Cromer Twal Spring 2020 Участник Embry-Riddle Aeronautical University, Team S1-G1, Cromer Twal Spring 2020
ERAU-CROMER TWAL-S20S1G1
4 членов
Автор 6 руководств