Введение
Loaded programs and data in a computer are stored in temporary memory known as RAM. Most commonly, you would replace the RAM as a means of upgrade, whether it be faster speeds or more space.
Please keep in mind that due to the limitations of this laptop, the RAM has a maximum size constraint of 8GB.
Выберете то, что вам нужно
-
-
Unscrew the (10) screws on the bottom of the computer chassis using the JIS #0 screwdriver.
-
-
-
Slightly lift the lower case and push it toward the rear of the computer to free the mounting tabs.
-
-
-
Remove the (6) six screws attaching the battery to the frame using the JIS #0 screwdriver.
-
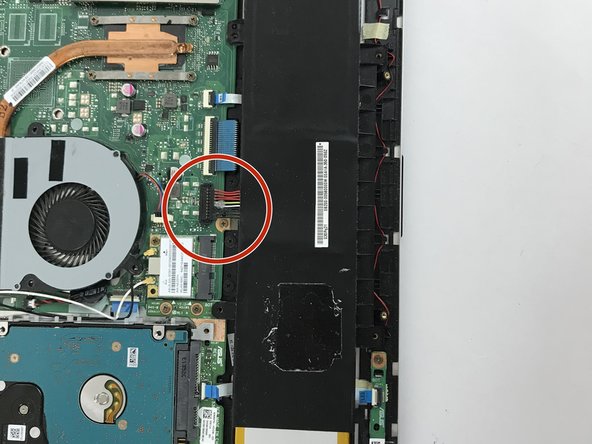
Use the black plastic spudger to remove the battery from the device.
-
-
-
-
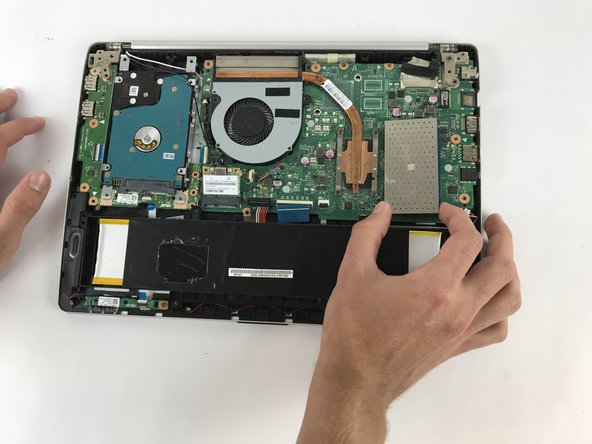
Gently take the battery out of the laptop, making sure that all wires connecting to it are disconnected.
-
-
-
Now the RAM stick is exposed. Using two fingers, gently push the buttons to release the RAM stick
-
-
-
When you put in the new RAM, make sure to line up the connectors. Put the RAM in gently, as being rough with it can cause damage to the stick.
-


To reassemble your device, follow these instructions in reverse order.
To reassemble your device, follow these instructions in reverse order.
Команда

USF Tampa, Team S5-G1, Walkup Fall 2017 Участник USF Tampa, Team S5-G1, Walkup Fall 2017
USFT-WALKUP-F17S5G1
4 членов
Автор 6 руководств
Pay attention to the different lengths of the screws
hugodevreugd - Ответить