Перейти к основному содержанию

ATT Trek HD 9020A Screen Replacement

Выберете то, что вам нужно

  1. ATT Trek HD 9020A Screen Replacement, Back Cover: шаг 1, изображение 1 из 1
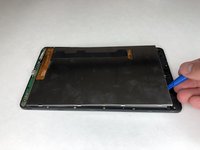
    • To separate the screen from the back panel, run the plastic opening tool along the outer edge of the device.

  2. ATT Trek HD 9020A Screen Replacement: шаг 2, изображение 1 из 1
    • Pull the screen away from the back panel.

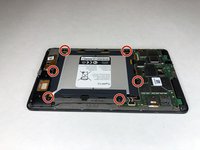
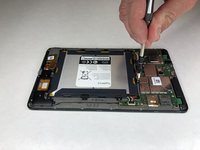
  3. ATT Trek HD 9020A Screen Replacement, Battery: шаг 3, изображение 1 из 2 ATT Trek HD 9020A Screen Replacement, Battery: шаг 3, изображение 2 из 2
    • Use a Phillips #00 screwdriver to remove the six 2.5 mm screws located around the perimeter of the battery.

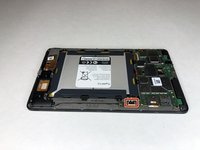
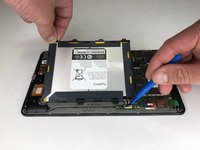
  4. ATT Trek HD 9020A Screen Replacement: шаг 4, изображение 1 из 2 ATT Trek HD 9020A Screen Replacement: шаг 4, изображение 2 из 2
    • Use the plastic opening tool to disconnect the black battery connector.

    • Gently lift the battery out of the device.

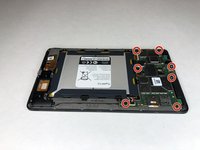
  5. ATT Trek HD 9020A Screen Replacement, Motherboard: шаг 5, изображение 1 из 2 ATT Trek HD 9020A Screen Replacement, Motherboard: шаг 5, изображение 2 из 2
    • Using a Phillips #00 screwdriver, remove the seven 1 mm screws on the green perimeter of the motherboard.

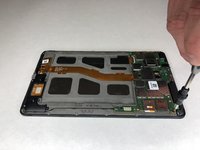
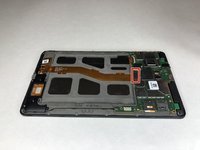
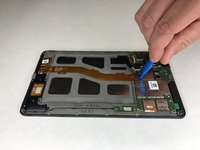
  6. ATT Trek HD 9020A Screen Replacement: шаг 6, изображение 1 из 2 ATT Trek HD 9020A Screen Replacement: шаг 6, изображение 2 из 2
    • Use the plastic opening tool to disconnect the large gold strip underneath the metal plate from the motherboard.

  7. ATT Trek HD 9020A Screen Replacement: шаг 7, изображение 1 из 1
    • Use the plastic opening tool to disconnect the front and back cameras from motherboard.

  8. ATT Trek HD 9020A Screen Replacement: шаг 8, изображение 1 из 2 ATT Trek HD 9020A Screen Replacement: шаг 8, изображение 2 из 2
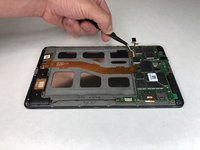
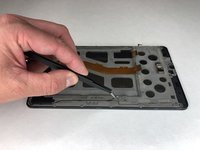
    • Use angled tweezers to pry up the black tab.

    • Use the angled tweezers to pull out the gold connector.

  9. ATT Trek HD 9020A Screen Replacement: шаг 9, изображение 1 из 2 ATT Trek HD 9020A Screen Replacement: шаг 9, изображение 2 из 2
    • Use the angled tweezers to disconnect the gold connector.

  10. ATT Trek HD 9020A Screen Replacement: шаг 10, изображение 1 из 1
    • Use the plastic opening tool to disconnect the black connectors on each side of the motherboard.

  11. ATT Trek HD 9020A Screen Replacement: шаг 11, изображение 1 из 2 ATT Trek HD 9020A Screen Replacement: шаг 11, изображение 2 из 2
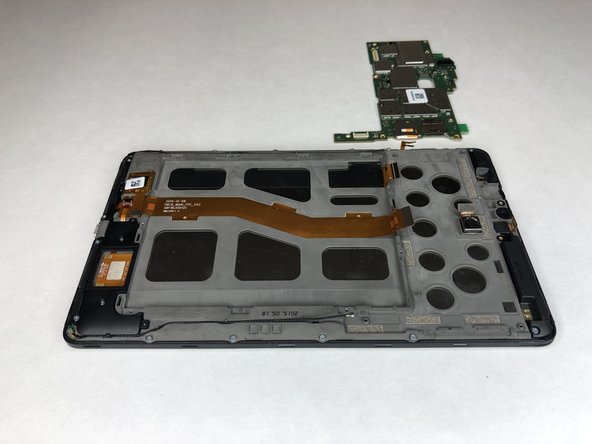
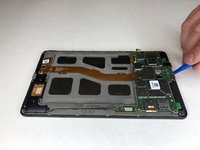
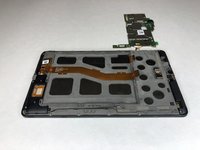
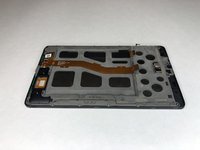
    • Use the plastic opening tool to lift the motherboard out of place.

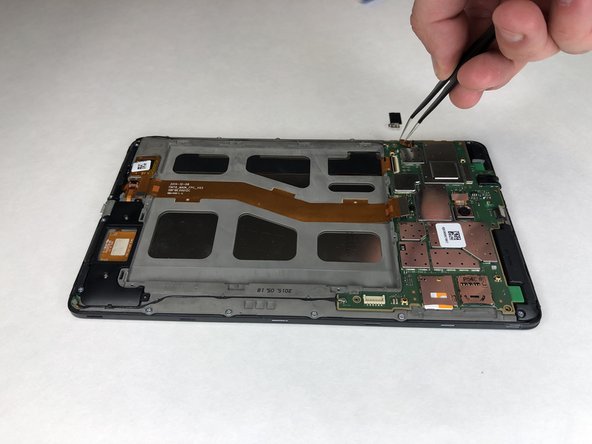
  12. ATT Trek HD 9020A Screen Replacement, Front Camera: шаг 12, изображение 1 из 2 ATT Trek HD 9020A Screen Replacement, Front Camera: шаг 12, изображение 2 из 2
    • Use the angled tweezers to lift the camera out.

  13. ATT Trek HD 9020A Screen Replacement, Screen: шаг 13, изображение 1 из 3 ATT Trek HD 9020A Screen Replacement, Screen: шаг 13, изображение 2 из 3 ATT Trek HD 9020A Screen Replacement, Screen: шаг 13, изображение 3 из 3
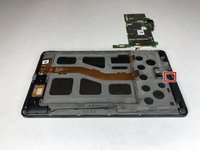
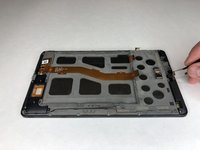
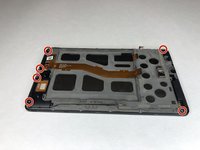
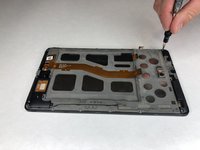
    • Use the Phillips #00 screwdriver to remove the six 3 mm screws holding the black plastic corner pieces in place.

    • Gently lift the black corner pieces out of the device.

  14. ATT Trek HD 9020A Screen Replacement: шаг 14, изображение 1 из 2 ATT Trek HD 9020A Screen Replacement: шаг 14, изображение 2 из 2
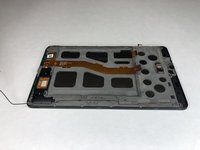
    • Use the angled tweezers to remove the black cables on each side of the device from their groove.

  15. ATT Trek HD 9020A Screen Replacement: шаг 15, изображение 1 из 2 ATT Trek HD 9020A Screen Replacement: шаг 15, изображение 2 из 2
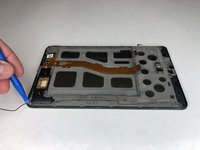
    • Use the plastic opening tool to disconnect the black cable connectors from each side of the device.

  16. ATT Trek HD 9020A Screen Replacement: шаг 16, изображение 1 из 2 ATT Trek HD 9020A Screen Replacement: шаг 16, изображение 2 из 2
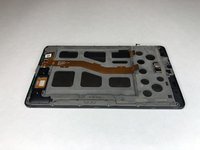
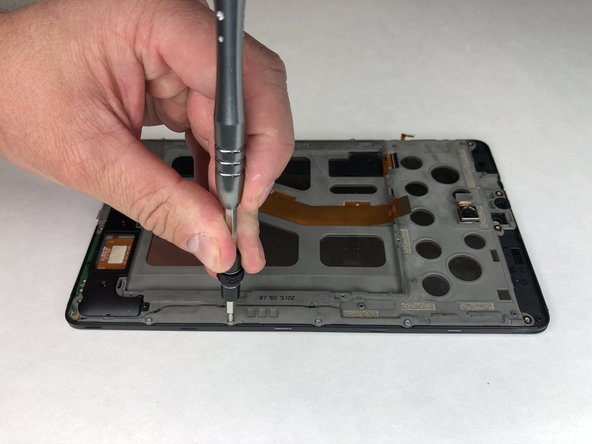
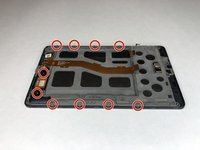
    • Remove the remaining ten 3 mm Phillips #00 screws.

  17. ATT Trek HD 9020A Screen Replacement: шаг 17, изображение 1 из 2 ATT Trek HD 9020A Screen Replacement: шаг 17, изображение 2 из 2
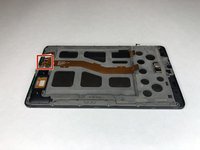
    • Use the plastic opening tool to disconnect the remaining three gold connectors at the bottom of the device.

  18. ATT Trek HD 9020A Screen Replacement: шаг 18, изображение 1 из 2 ATT Trek HD 9020A Screen Replacement: шаг 18, изображение 2 из 2
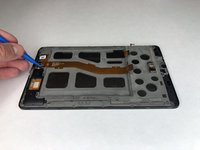
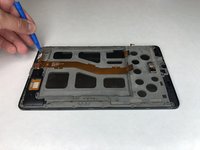
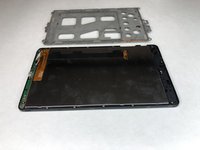
    • Use the plastic opening tool to pry up the grey plastic panel.

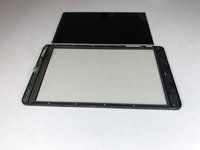
  19. ATT Trek HD 9020A Screen Replacement: шаг 19, изображение 1 из 2 ATT Trek HD 9020A Screen Replacement: шаг 19, изображение 2 из 2
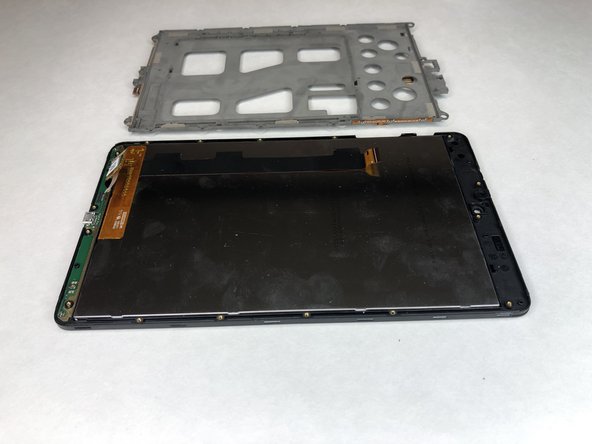
    • Use the plastic opening tool to pry the screen out of the device.

Заключение

To reassemble your device, follow these instructions in reverse order.

Еще один человек закончил это руководство.

Jacob Cross

Участник с: 01/16/19

475 Репутация

Автор 4 руководств

Команда

University of Alabama, Team S1-G3, Bedsole Spring 2019 Участник University of Alabama, Team S1-G3, Bedsole Spring 2019

UA-BEDSOLE-S19S1G3

4 членов

Автор 6 руководств

0 Комментариев

Добавить комментарий

Просмотр статистики:

За последние 24часов: 0

За последние 7 дней: 1

За последние 30 дней: 8

За всё время: 597