Введение
This guide will walk you through how to replace a disk drive on your Acer Aspire 5517-1127 device. If your device is not recognizing or reading disks when inside the disk drive, this guide may be able to assist you.
Выберете то, что вам нужно
-
-
Orient the laptop so that its upside down facing away from you.
-
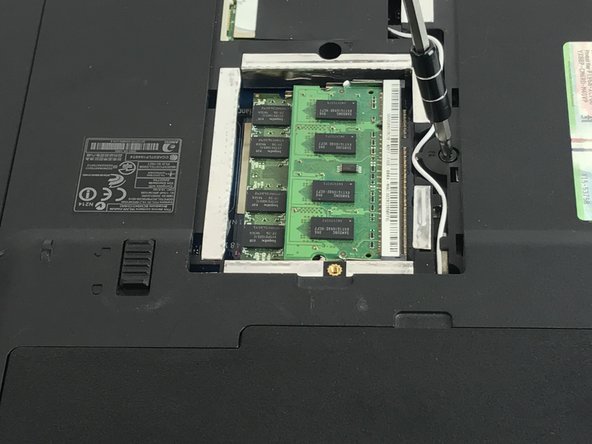
The screw is at the bottom of the RAM panel.
-
-
-
Using a Phillips screwdriver (PH1), unscrew the screw from the panel.
-
Pull the panel away from the device as shown.
-
-
-
-
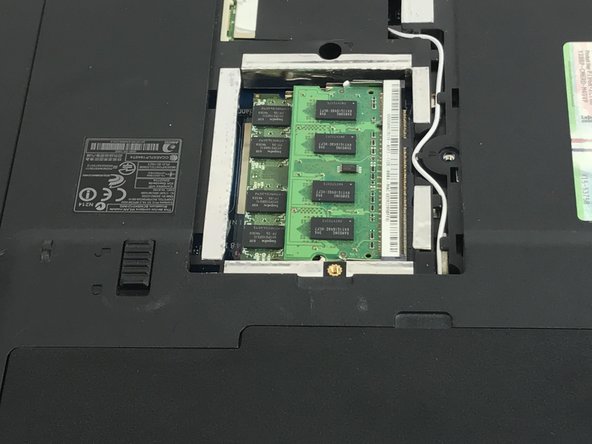
The screw to the right of the inner RAM casing is shown.
-
Using the same Phillips screwdriver (PH1), unscrew the screw.
-
-
-
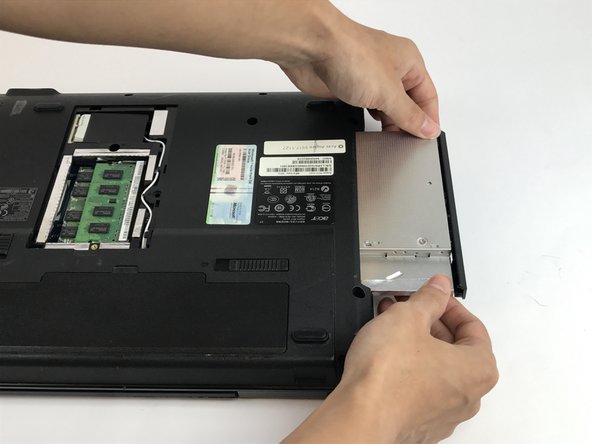
Gently push the disk drive away from the device as demonstrated.
-
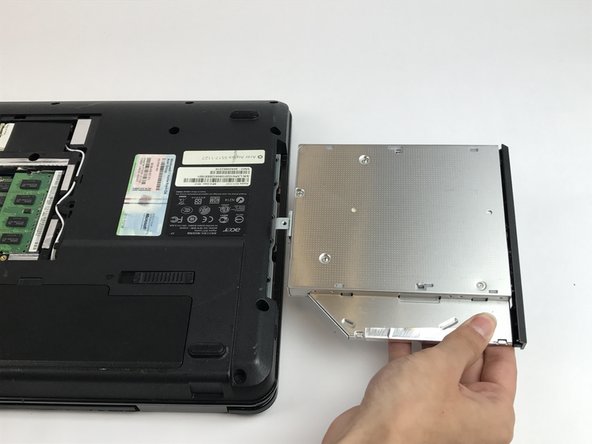
The disk drive will come out with the screw removed from the RAM casing.
-


To reassemble your device, follow these instructions in reverse order.
To reassemble your device, follow these instructions in reverse order.
Отменить: Я не выполнил это руководство.
Еще один человек закончил это руководство.
Команда

USF Tampa, Team 17-1, Blackwell Spring 2017 Участник USF Tampa, Team 17-1, Blackwell Spring 2017
USFT-BLACKWELL-S17S17G1
4 членов
Автор 5 руководств