Введение
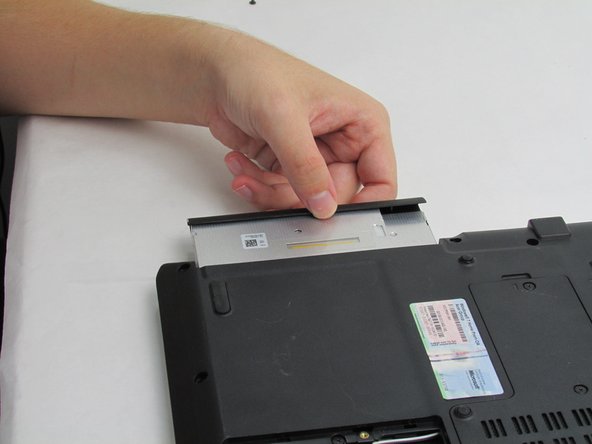
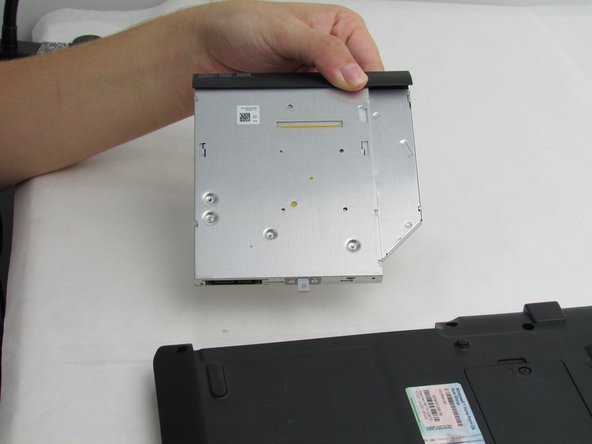
“Compact Disk”, CD Drive, is an external accessible memory component. Data is stored on the CD and is usually read by the drive. Data may also be written with the appropriate “read-write”, CD-RW, drive. The CD-ROM may be replaced by the added improvement of a “Digital Video Disk” drive, DVD will allow you to stream video. This guide will demonstrate how to replace the Acer Aspire 5534-1096 CD drive.
Выберете то, что вам нужно
-
-
-
Use the spudger to release the CD drive by placing it between the lip of the drive and the rest of the device.
-
To reassemble your device, follow these instructions in reverse order.
To reassemble your device, follow these instructions in reverse order.


