Введение
Before replacing the LCD module, make sure to back up your laptop.
Выберете то, что вам нужно
-
-
Use the Phillips #1 screwdriver to remove the eight 6.5 mm Phillips #1 screws.
-
-
-
-
Use the Phillips #1 screwdriver to remove the two 6.5mm Phillips #1 screws.
-
-
-
Use the Phillips #1 screwdriver to remove the three 4.5mm Phillips #1 screws.
-
-
-
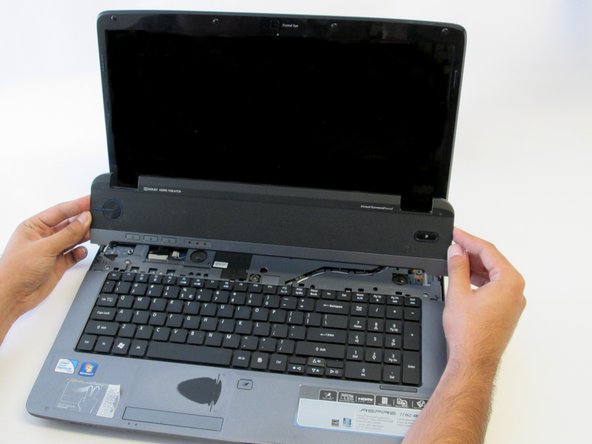
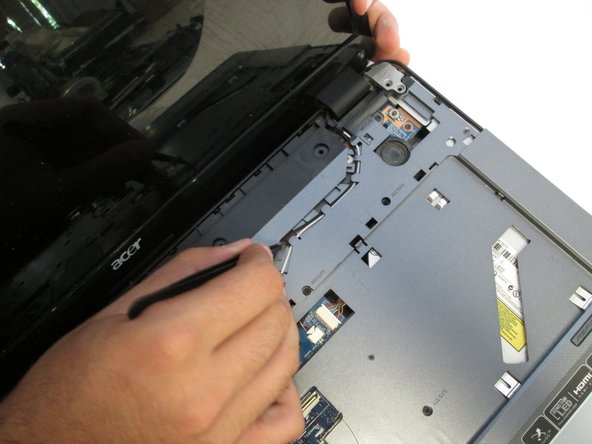
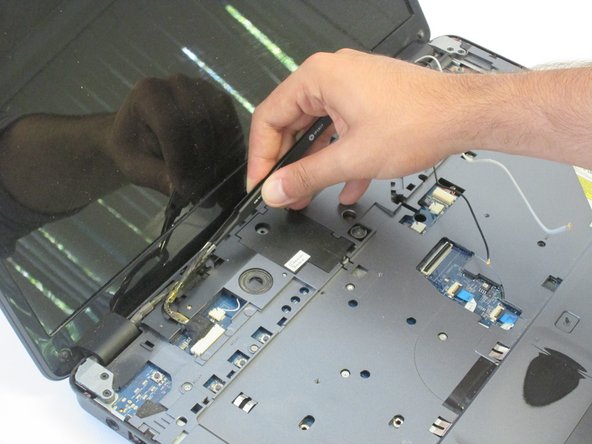
Orient the laptop so that the hinges between the LCD module and the laptop's bottom base are visible.
-
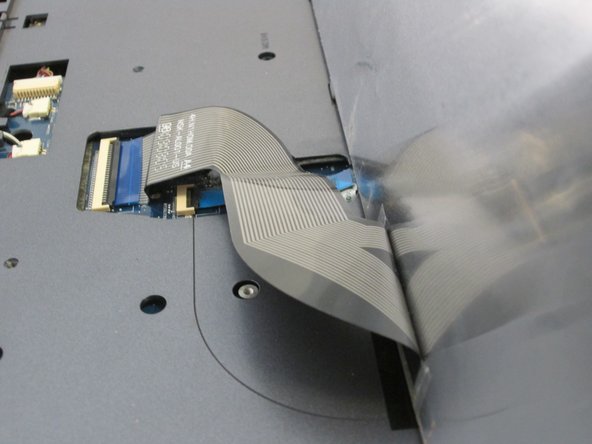
Use the plastic opening tools to separate the speaker panel from the laptop.
-
-
-
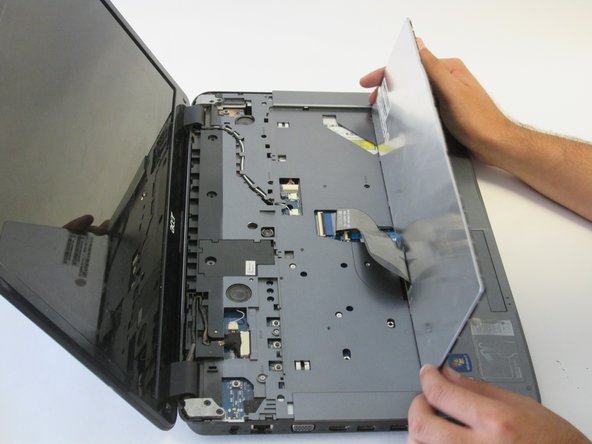
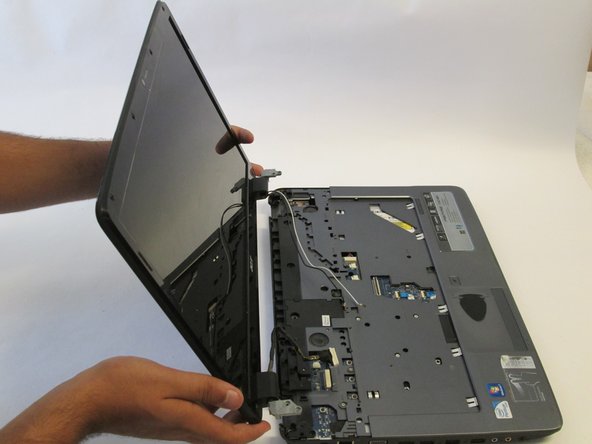
Flip over the LCD module of the laptop.
-
Use the plastic opening tools to separate the speaker panel from the laptop.
-
Repeat this step with the other side of the laptop.
-
-
-
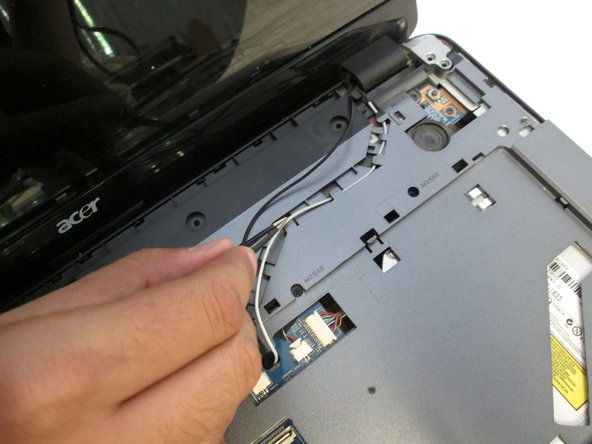
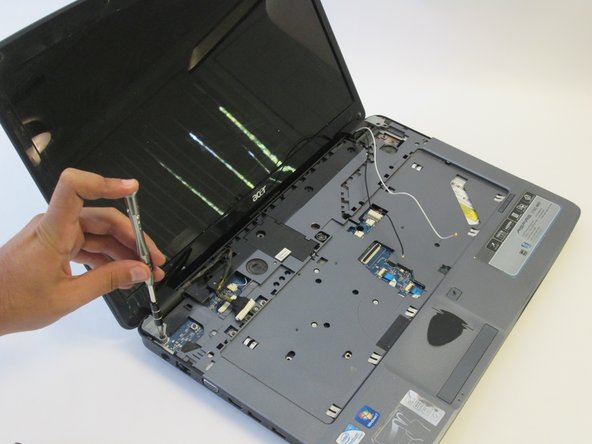
Gently hold the speaker panel by the sides and pull upwards to release the panel.
-
-
-
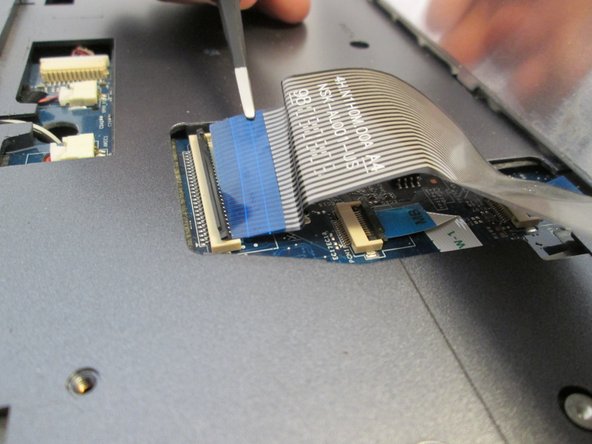
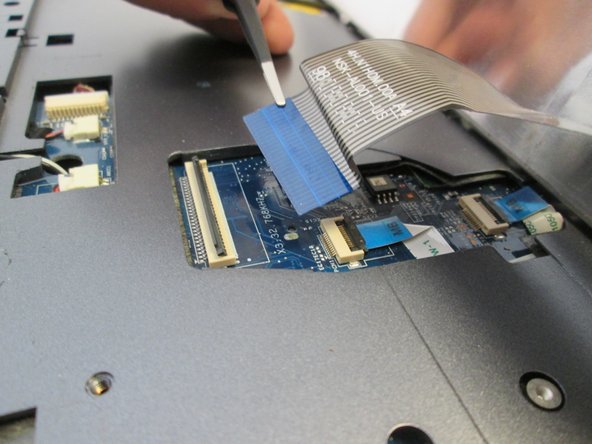
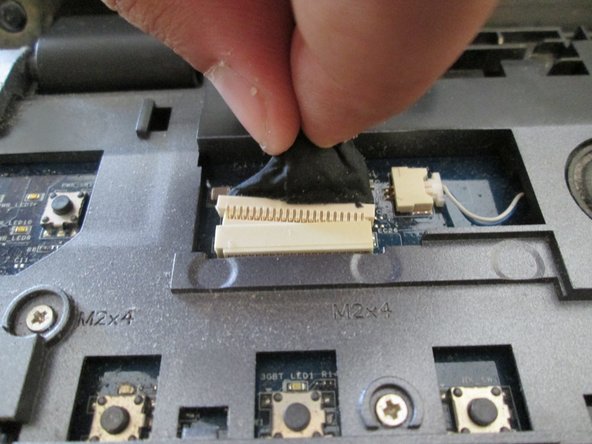
Use the flat end of the medium sized metal spudger tool to release the two tabs at the top of the keyboard.
-
-
-
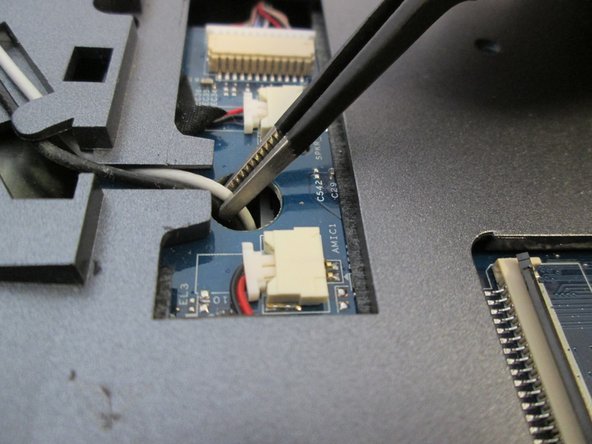
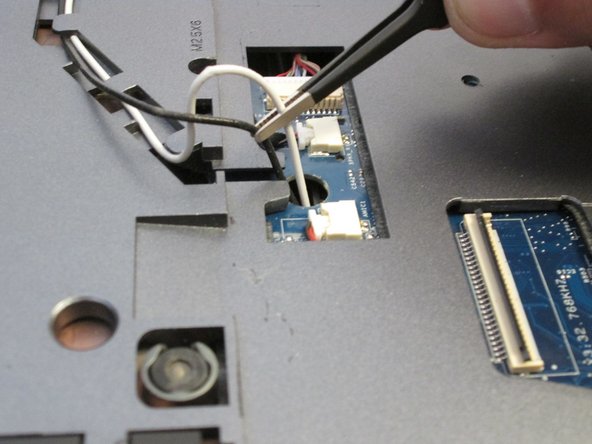
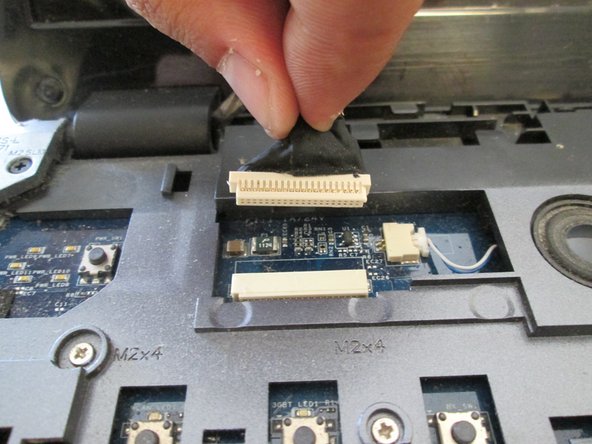
Insert a finger into the opening above the F11 key and pry the keyboard until it is released from the casing.
-


To reassemble your device, follow these instructions in reverse order.
To reassemble your device, follow these instructions in reverse order.
Отменить: Я не выполнил это руководство.
Еще один человек закончил это руководство.
Команда

UC Davis, Team 2-4, Oliver Fall 2016 Участник UC Davis, Team 2-4, Oliver Fall 2016
UCD-OLIVER-F16S2G4
5 членов
Автор 10 руководств