Введение
An outdated, full, or failing hard disk can cause your Acer Aspire E1-572-6829 to slow down. This can lead to your device being unresponsive or having random crashes.
If following the steps in our troubleshooting page to fix these issues doesn't help, this guide will demonstrate how to replace your old hard disk and replace it with a new hard disk or solid state drive.
Make sure that your device is powered off and the charger is unplugged before beginning the steps in this guide.
Выберете то, что вам нужно
-
-
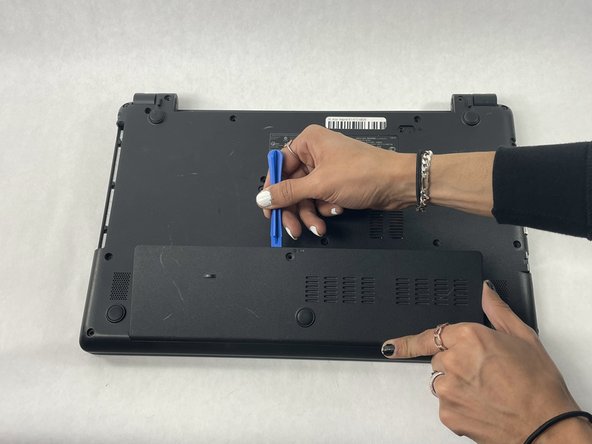
Flip the laptop over so that you are facing the back panel.
-
Locate the battery lock switch below the battery.
-
-
-
Slide the battery lock switch to the open position using your finger or a plastic spudger.
-
While holding this switch open, use your other hand to slide the battery out from the back of the laptop.
-
Your battery is removed. You can now let go of the lock switch.
-
-
-
-
Remove the 8 mm screw holding down the lower back panel using a Phillips #0 screwdriver.
-
Use a plastic spudger or a similar tool to pry open the panel from the top edge.
-
Lift up the panel to remove it.
-
-
-
Remove the two 8 mm Phillips #0 screws holding the Hard Disk tray.
-
Once both screws are removed, use the tab on the left to slide the hard disk tray out from the SATA port.
-
Once the tray is pulled out to the left, the assembly can safely be removed from the laptop.
-
-
-
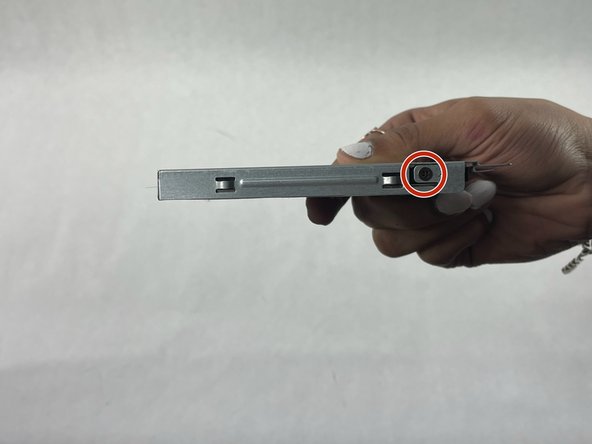
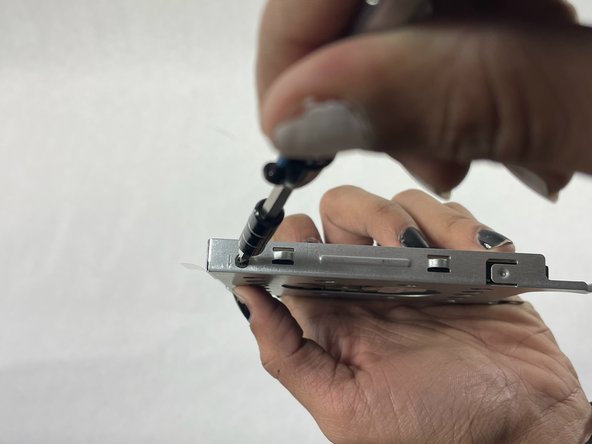
Use a Phillips #0 screwdriver to remove the two 2 mm screws (one on each side) attaching the hard disk to the hard disk tray.
-
-
-
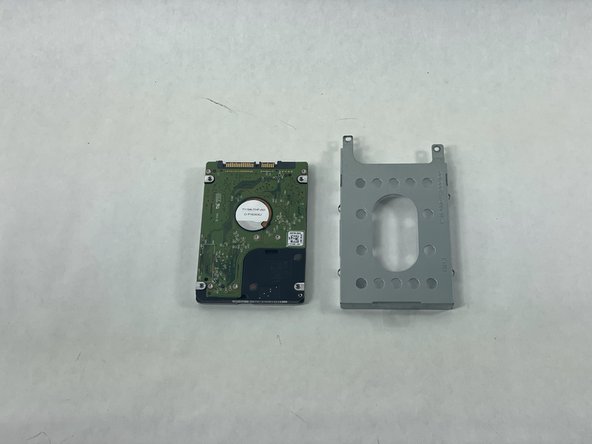
Once the screws have been removed, the hard disk can be separated from the tray.
-


To reassemble your device, follow these instructions in reverse order.
To reassemble your device, follow these instructions in reverse order.

Команда

UMass Dartmouth, Team 2-2, Petersen Spring 2023 Участник UMass Dartmouth, Team 2-2, Petersen Spring 2023
UMASSD-PETERSEN-S23S2G2
3 членов
Автор 6 руководств