Перейти к основному содержанию

Acer Aspire ES1-332 LCD Screen Replacement

Выберете то, что вам нужно

Видео обзор

  1. Acer Aspire ES1-332 LCD Screen Replacement, LCD Screen: шаг 1, изображение 1 из 3 Acer Aspire ES1-332 LCD Screen Replacement, LCD Screen: шаг 1, изображение 2 из 3 Acer Aspire ES1-332 LCD Screen Replacement, LCD Screen: шаг 1, изображение 3 из 3
    • Grab a spudger and work your way around the outer edge of the screen

    • Lean the screen all the way back to remove the plastic frame from the hinges at the bottom

  2. Acer Aspire ES1-332 LCD Screen Replacement: шаг 2, изображение 1 из 2 Acer Aspire ES1-332 LCD Screen Replacement: шаг 2, изображение 2 из 2
    • Unscrew the 4 screws around the edge of the screen

    • Lean the screen all the way forward on to the keyboard

  3. Acer Aspire ES1-332 LCD Screen Replacement: шаг 3, изображение 1 из 2 Acer Aspire ES1-332 LCD Screen Replacement: шаг 3, изображение 2 из 2
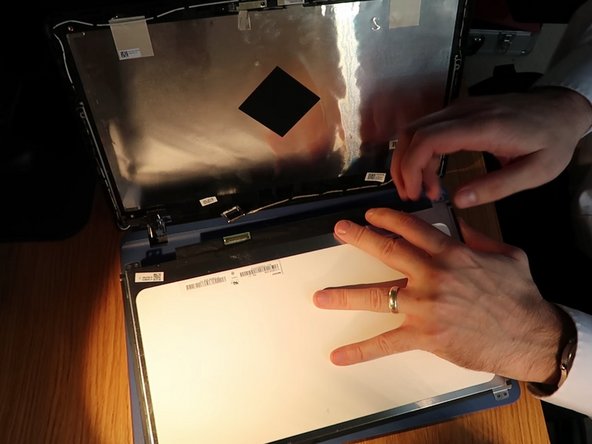
    • Peal up the sticky tape next to the screen connector

    • Pull the connector down carefully away from the screen and disconnect it

  4. Acer Aspire ES1-332 LCD Screen Replacement: шаг 4, изображение 1 из 3 Acer Aspire ES1-332 LCD Screen Replacement: шаг 4, изображение 2 из 3 Acer Aspire ES1-332 LCD Screen Replacement: шаг 4, изображение 3 из 3
    • connect the new screen and screw back in place

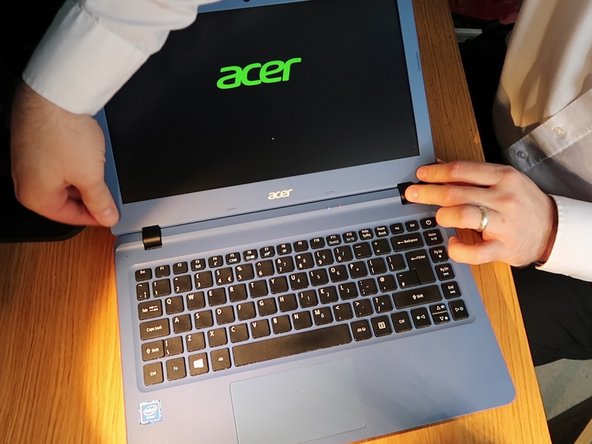
    • Turn on the screen to test before putting the screen frame back on

    • Tilt the screen all the way back and push the frame back on hinges 1st.

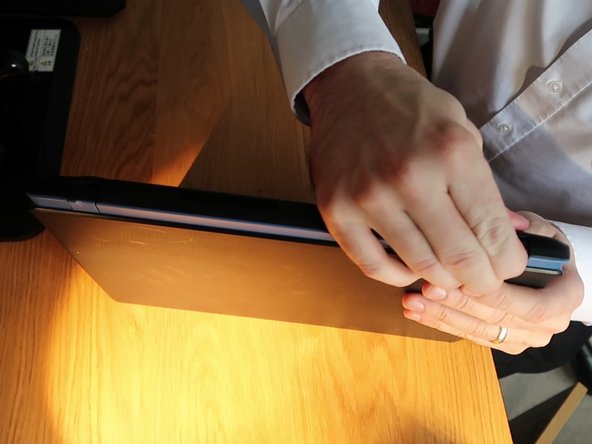
    • Finally lean the laptop on its edge and clip the back on the hinges back in place.

Финишная черта

Еще один человек закончил это руководство.

Nick Myers

Участник с: 04/15/18

3 410 Репутация

Автор 22 руководств

0 Комментариев

Добавить комментарий

Просмотр статистики:

За последние 24часов: 0

За последние 7 дней: 1

За последние 30 дней: 4

За всё время: 676