Введение
This guide will lead you through the steps of replacing your screen on your Acer Aspier ES1-711-P1UV. The screen may need to be replaced if you are having issues seeing images on the screen.
Выберете то, что вам нужно
-
-
Place the laptop face down on a flat, clean surface.
-
Remove all twenty-seven 7 mm screws on the back cover of the laptop with a Phillips #0 screwdriver. Screws are circled in red on the diagram.
-
-
-
Use the iFixit opening tool to pry open the four corners of the back cover of the laptop. You may need to use your hands to fully remove the cover.
-
Be sure to evenly apply pressure when removing the back cover.
-
-
-
-
Disconnect the colored bundled cable connectors from the motherboard. To do this, pull on the wires to disconnect the cable and remove the battery.
-
-
-
Place the laptop on a flat surface and open it to see the screen.
-
Using your fingers or a plastic opening tool, pry open the bezel that holds the screen in place.
-
-
-
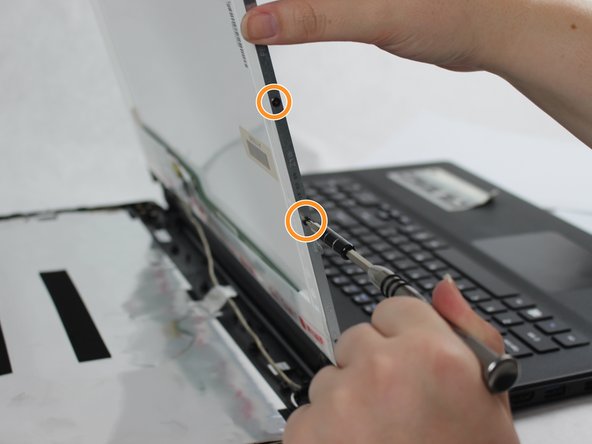
Use the Phillips #0 screwdriver to remove the fourteen 5mm screws around the screen.
-
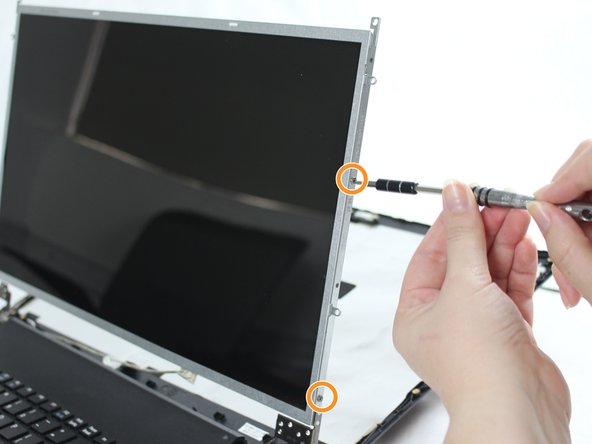
Use the Phillips #0 screwdriver to remove the four 4mm screws holding in the screen.
-
-
-
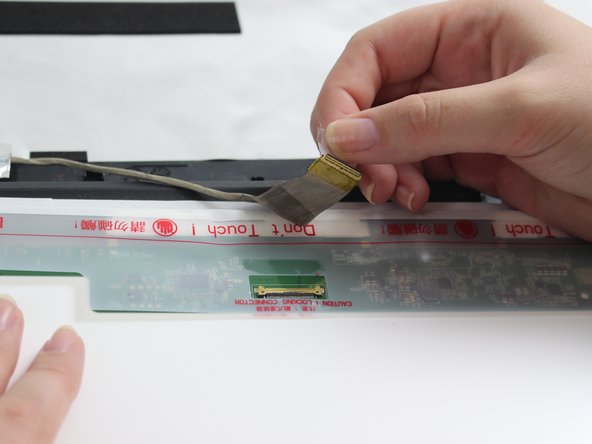
With the screen on the paper, detach the Zero Insertion Force (ZIF) connector attaching the screen to the video cable inside of the front cover.
-
Gently remove the screen from laptop.
-


To reassemble your device, follow these instructions in reverse order.
To reassemble your device, follow these instructions in reverse order.
Отменить: Я не выполнил это руководство.
Еще один человек закончил это руководство.
Команда

Sam Houston State, Team S17-G3, Blackburne Winter 2018 Участник Sam Houston State, Team S17-G3, Blackburne Winter 2018
SHSU-BLACKBURNE-W18S17G3
1 член
Автор 2 руководств