Перейти к основному содержанию

Acer Aspire One 722 Screen Replacement

Выберете то, что вам нужно

  1. Acer Aspire One 722 Screen Replacement, Battery: шаг 1, изображение 1 из 1
    • Power down the netbook by pressing the power button on the top left corner.

  2. Acer Aspire One 722 Screen Replacement: шаг 2, изображение 1 из 1
    • Close the netbook and flip it over so that the back is facing up.

  3. Acer Aspire One 722 Screen Replacement: шаг 3, изображение 1 из 1
    • Slide the button below the battery to the right while simultaneously pulling the battery out.

  4. Acer Aspire One 722 Screen Replacement: шаг 4, изображение 1 из 2 Acer Aspire One 722 Screen Replacement: шаг 4, изображение 2 из 2
    • If necessary, remove the old battery and replace it with a new one.

  5. Acer Aspire One 722 Screen Replacement: шаг 5, изображение 1 из 1
    • Check the thin grooves on the side of the battery entry and line the replacement battery up to the grooves.

  6. Acer Aspire One 722 Screen Replacement, Screen: шаг 6, изображение 1 из 2 Acer Aspire One 722 Screen Replacement, Screen: шаг 6, изображение 2 из 2
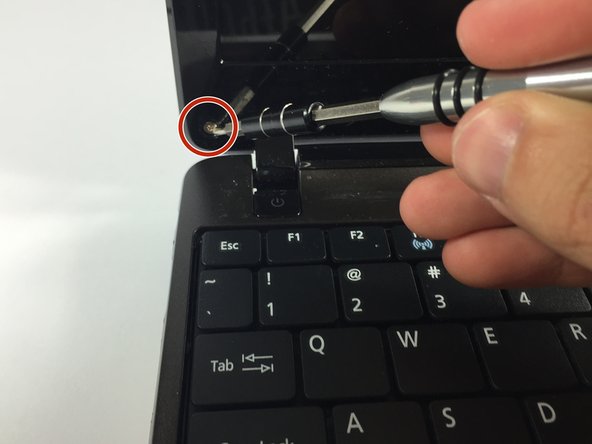
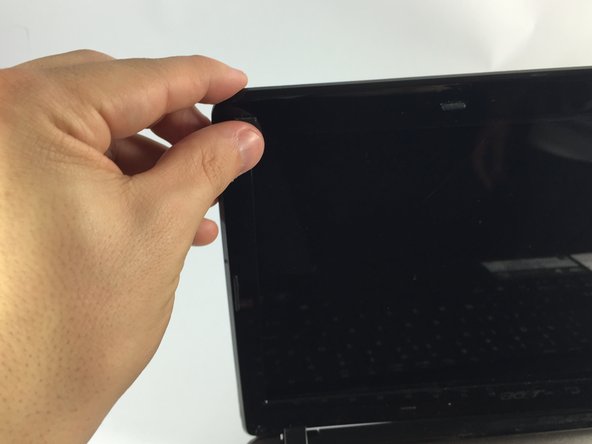
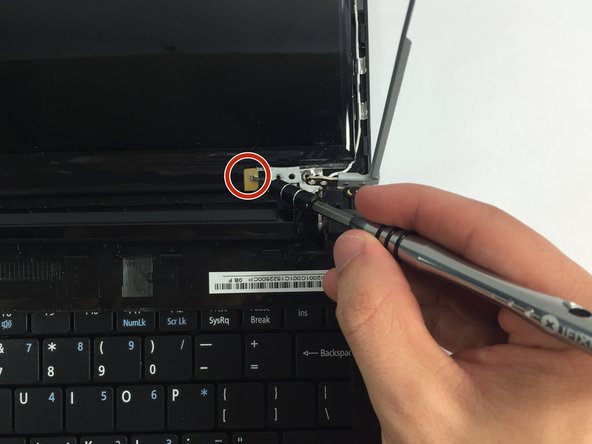
    • Remove the black rubber clips from the bottom right and left of the netbook screen.

  7. Acer Aspire One 722 Screen Replacement: шаг 7, изображение 1 из 2 Acer Aspire One 722 Screen Replacement: шаг 7, изображение 2 из 2
    • Remove the screws under the black caps.

  8. Acer Aspire One 722 Screen Replacement: шаг 8, изображение 1 из 3 Acer Aspire One 722 Screen Replacement: шаг 8, изображение 2 из 3 Acer Aspire One 722 Screen Replacement: шаг 8, изображение 3 из 3
    • Slowly separate the screen casing from the screen.

    • Potential for device damage: Be careful when detaching the screen casing from the screen. If not done slowly, it can break.

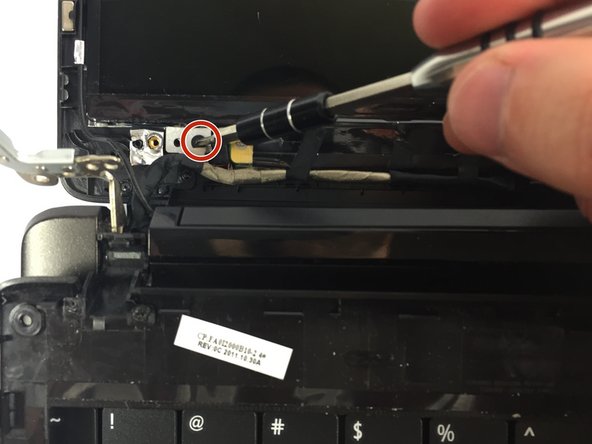
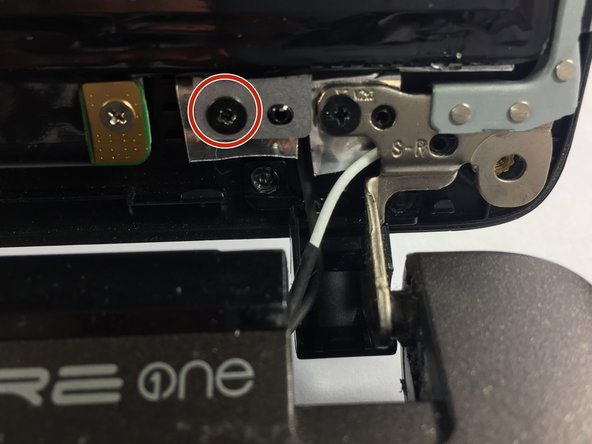
  9. Acer Aspire One 722 Screen Replacement: шаг 9, изображение 1 из 3 Acer Aspire One 722 Screen Replacement: шаг 9, изображение 2 из 3 Acer Aspire One 722 Screen Replacement: шаг 9, изображение 3 из 3
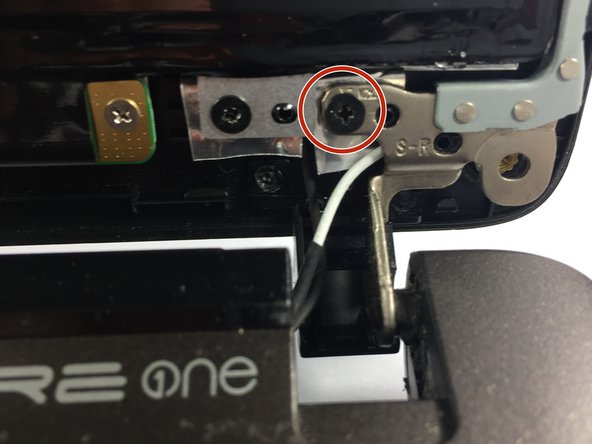
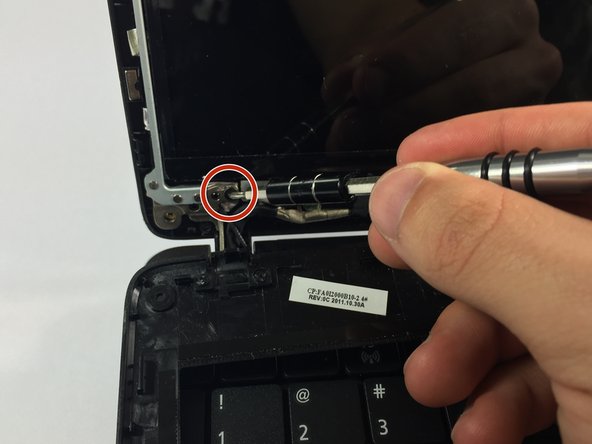
    • Remove the screws located on the four corners of the screen.

  10. Acer Aspire One 722 Screen Replacement: шаг 10, изображение 1 из 3 Acer Aspire One 722 Screen Replacement: шаг 10, изображение 2 из 3 Acer Aspire One 722 Screen Replacement: шаг 10, изображение 3 из 3
    • Remove the two bottom screws.

    • Taking out these screws will allow you to remove the screen from its attachment.

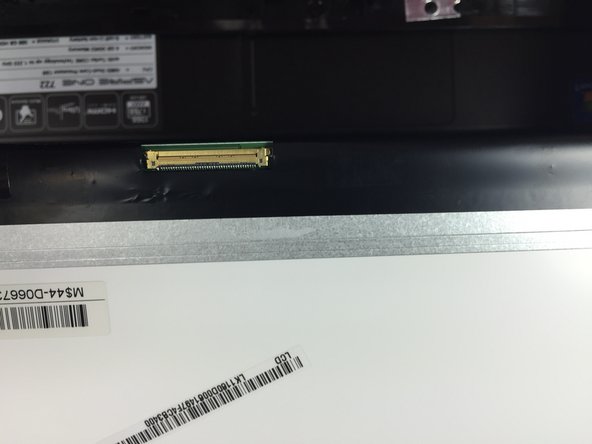
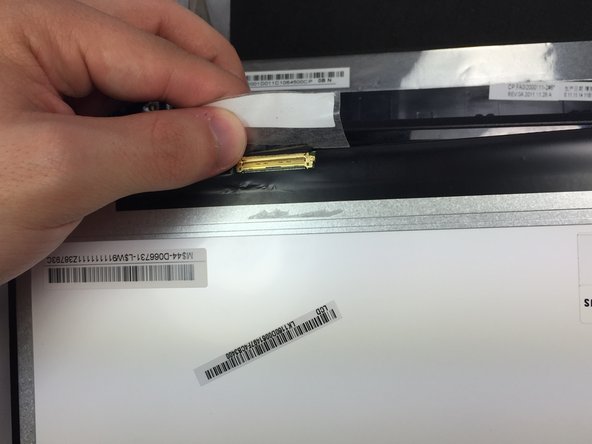
  11. Acer Aspire One 722 Screen Replacement: шаг 11, изображение 1 из 3 Acer Aspire One 722 Screen Replacement: шаг 11, изображение 2 из 3 Acer Aspire One 722 Screen Replacement: шаг 11, изображение 3 из 3
    • On the bottom left of the screen there is a cord attached. Remove the tape that is attached to the screen.

  12. Acer Aspire One 722 Screen Replacement: шаг 12, изображение 1 из 3 Acer Aspire One 722 Screen Replacement: шаг 12, изображение 2 из 3 Acer Aspire One 722 Screen Replacement: шаг 12, изображение 3 из 3
    • On the green board, remove the two screws.

    • Remove the board.

Заключение

To reassemble your device, follow these instructions in reverse order.

4 участников успешно повторили данное руководство.

Christian Barboza

Участник с: 10/25/15

818 Репутация

Автор 5 руководств

Команда

UMass Dartmouth, Team 5-6, Gulbrandsen Fall 2015 Участник UMass Dartmouth, Team 5-6, Gulbrandsen Fall 2015

UMASSD-GULBRANDSEN-F15S5G6

3 членов

Автор 10 руководств

0 Комментариев

Добавить комментарий

Просмотр статистики:

За последние 24часов: 1

За последние 7 дней: 3

За последние 30 дней: 9

За всё время: 3,293