Введение
Follow this guide to replace the charging port on a Acer Aspire V5-571P-6815 laptop.
Выберете то, что вам нужно
-
-
Slide the locking latch to the right and hold while pulling the battery out with your other hand.
-
-
-
Insert a plastic opening tool underneath the keyboard and pry upwards.
-
Slide the plastic opening tool around the perimeter to free the keyboard.
-
Flip the keyboard over and onto the palm rest.
-
-
-
-
Use a spudger to flip up the retaining flap on the keyboard ribbon cable ZIF socket.
-
Pull the ribbon cable out of the socket.
-
Remove the keyboard from the laptop.
-
-
-
Remove the six 6mm Phillips #0 screws from underneath the keyboard.
-
-
-
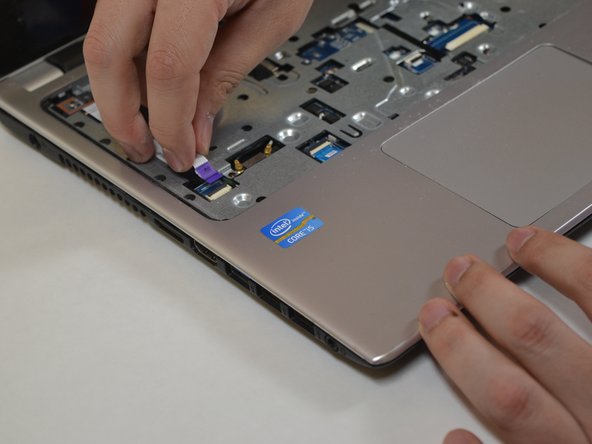
Use a spudger to flip up the retaining flap on the ribbon cable ZIF socket.
-
Pull the ribbon cable from the socket.
-
-
-
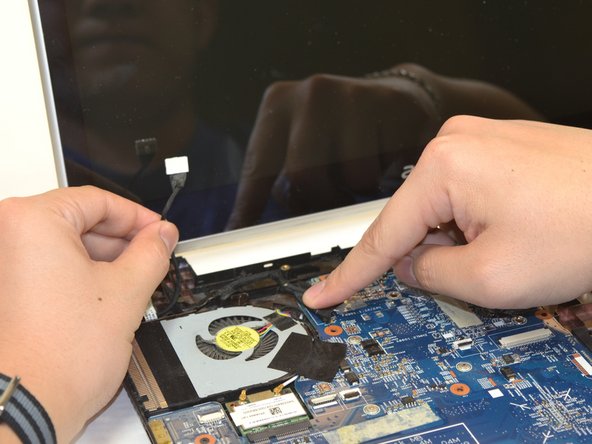
Use a spudger to flip up the retaining flap on the ribbon cable ZIF socket.
-
Pull the ribbon cable from the socket.
-
-
-
Use a plastic opening tool to pry up the palm rest from the laptop body.
-
Remove the palm rest from the laptop.
-


Follow the steps in reverse with a new cable.
Follow the steps in reverse with a new cable.
Отменить: Я не выполнил это руководство.
Еще один человек закончил это руководство.
Команда

UW Tacoma, Team S1-G4, Liner Spring 2018 Участник UW Tacoma, Team S1-G4, Liner Spring 2018
UWT-LINER-S18S1G4
5 членов
Автор 8 руководств