Введение
If the Acer Chromebook 14 CB3-431-C7EX is experiencing problems related to the trakpad, use this guide to replace the trackpad.
The trackpad of the Acer Chromebook 14 allows users to move the cursor using their fingers as well as utilize the clicking function. A faulty trackpad may cause the Acer Chromebook 14 to have a jittery cursor, complete loss of cursor control, or loss of the click function on the trackpad.
Before buying a replacement trackpad, use the guide to ensure that the trackpad is properly connected within the laptop. You may be able to fix this issue by reconnecting a loose connector.
Before beginning, be sure to power down the laptop, and unplug from the external power source(s).
Выберете то, что вам нужно
-
-
Use a Phillips #0 screwdriver to unscrew the eight 4mm screws.
-
Use a Phillips #0 screwdriver to unscrew the two 7mm screws.
-
Remove the cover of the device by prying up from one of the edges with a spudger or plastic opening tool.
-
-
-
Use a spudger to disconnect the battery's connector from the motherboard. The connector should slide out toward the battery.
-
-
-
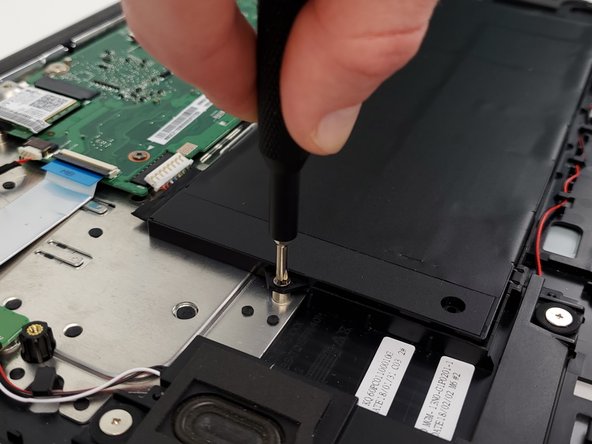
Use a Phillips #0 screwdriver to unscrew the two 5.5mm screws from the battery housing.
-
-
-
-
While lifting the connector side of the battery, slide the battery towards the center of the laptop.
-
Remove the battery from the laptop.
-
-
-
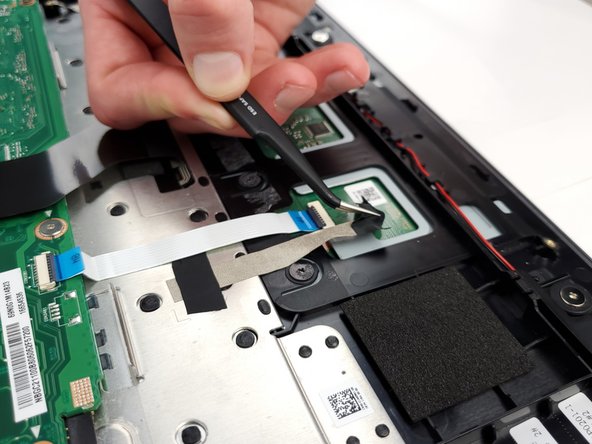
Use tweezers to set aside the electric tape (black) and the ground tape (tan) to reveal the trackpad screws and ribbon connector.
-
-
-
Use a spudger to disconnect the connector that connects the trackpad to the motherboard. Once the locking tab of the ZIF connector is flipped up, the ribbon cable should slide out toward the motherboard.
-
-
-
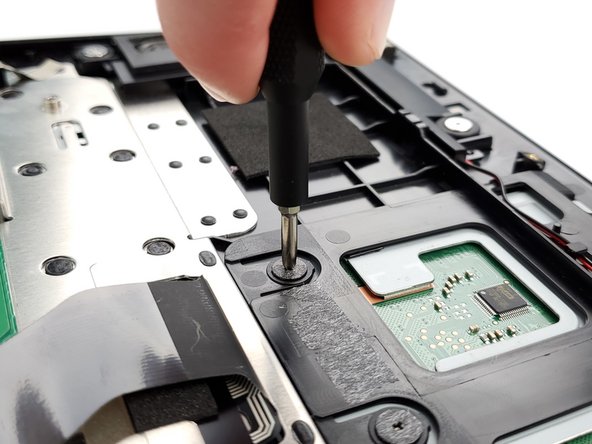
Use a Phillips #0 screwdriver to unscrew the three 2mm screws from the top of the trackpad.
-
-
-
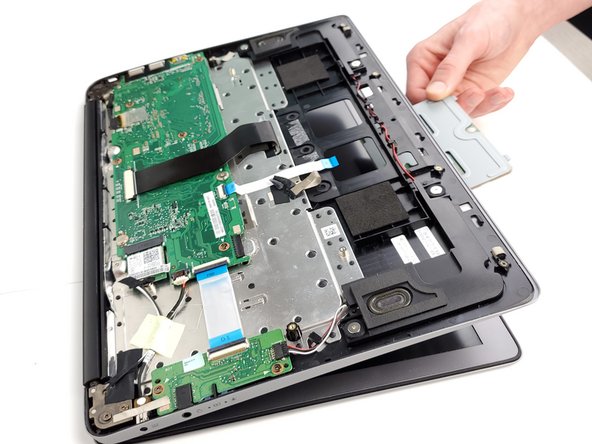
Remove the trackpad out from its housing by first sliding it towards the keyboard and then down towards the screen.
-
To reassemble your device, follow these instructions in reverse order.
To reassemble your device, follow these instructions in reverse order.
Отменить: Я не выполнил это руководство.
2 участников успешно повторили данное руководство.
Один комментарий
Thanks for this guide. You have helped a non-techie look oh so impressive with his repair skills!


