Введение
This guide will explain how to remove a lamp module with a failed bulb from your Acer H5380BD projector and replace it with a functioning lamp module.
A projector with a failed lamp will be dim or not produce any light. Replacing the lamp module of your projector will return it to normal function.
While naked bulbs are also available, complete lamp modules are not much more expensive, and replacing just the bulb requires more significant disassembly and directly handling the glass bulb.
It is important to let the projector cool completely before disassembling it to replace the lamp module because the lamp module is dangerously hot when the projector is being used.
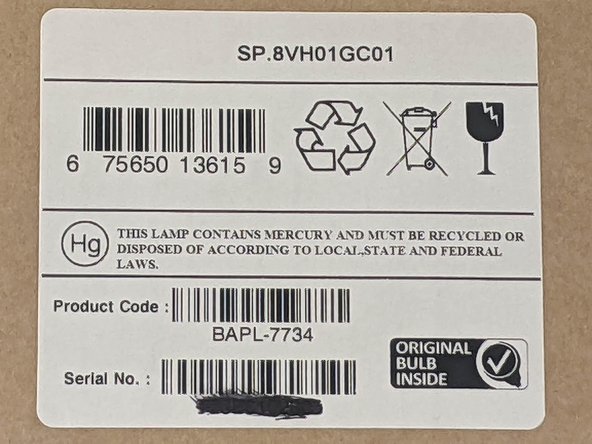
Make sure to be careful while handling the lamp modules because they include a glass bulb that contains mercury, which could shatter from mishandling.
Выберете то, что вам нужно
-
-
Unplug the power cord from the projector.
-
Allow the projector to completely cool for at least 30 minutes.
-
-
-
Fully loosen the 11 mm captive screw holding on the top plate using a Phillips #2 screwdriver.
-
-
-
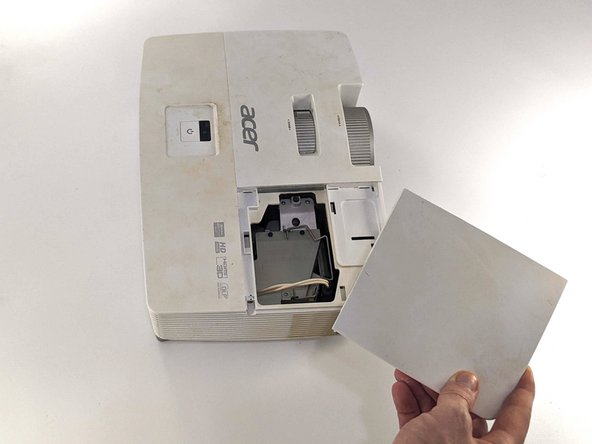
Slide the top plate away from the center of the projector by about a centimeter.
-
Lift the top plate off of the projector.
-
-
-
-
Fully loosen the 11 mm captive screw holding the lamp module in place using a Phillips #2 screwdriver.
-
-
-
Unplug the cable connecting the projector to the lamp module from its socket using your fingers.
-
-
-
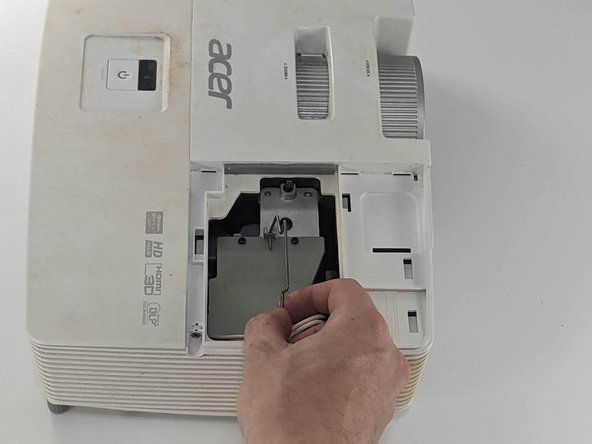
Lift the swinging handle on the lamp module using your fingers.
-
Pull straight up on the swinging handle to remove the lamp module from the projector.
-
Place the removed lamp module in a safe location.
-
-
-
Carefully remove the replacement lamp module from its packaging.
-
Take care not touch the lens while handling the replacement lamp module so that you don't get it dirty.
-
-
-
Package the old lamp module using packaging appropriate for fragile items, like the box that the replacement lamp module came in.
-
Dispose of the old lamp module in accordance with local, state, and federal laws by giving it to a local recycling center or shipping it to a lamp recycling center.
-


To reassemble your device, follow these instructions in reverse order. To stay safe and comply with the law, it's important to properly dispose of projector bulbs containing mercury.
To reassemble your device, follow these instructions in reverse order. To stay safe and comply with the law, it's important to properly dispose of projector bulbs containing mercury.

Команда

University of North Texas, Team 1-10, Martin Fall 2023 Участник University of North Texas, Team 1-10, Martin Fall 2023
UNT-MARTIN-F23S1G10
1 член
Автор 1 руководств