Введение
Good sound is very important to device experience. If your Acer Iconia Tab A501 speakers have problems, you may want to replace them. This guide will show you how to replace the speakers in your Iconia Tab A501.
Выберете то, что вам нужно
-
-
Use a plastic opening tool to carefully separate the back cover, starting at the volume buttons.
-
Continue separating the back cover along the short side closest to the camera and around the device.
-
-
-
When separated enough, a little more than halfway around the device, the back cover will be easy to take off.
-
-
-
-
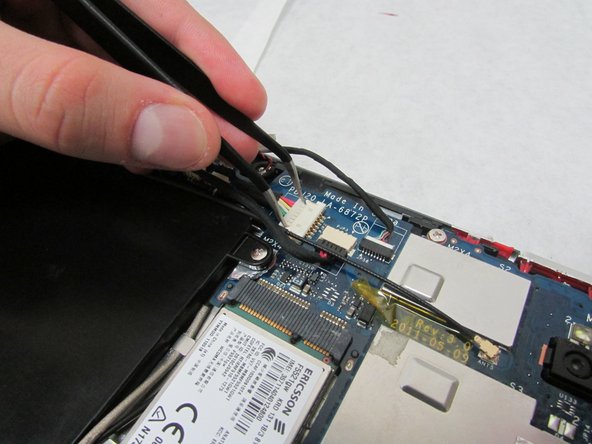
Use the angled tweezers to disconnect the white motherboard-battery connector in the middle of the side opposite the docking port.
-
-
-
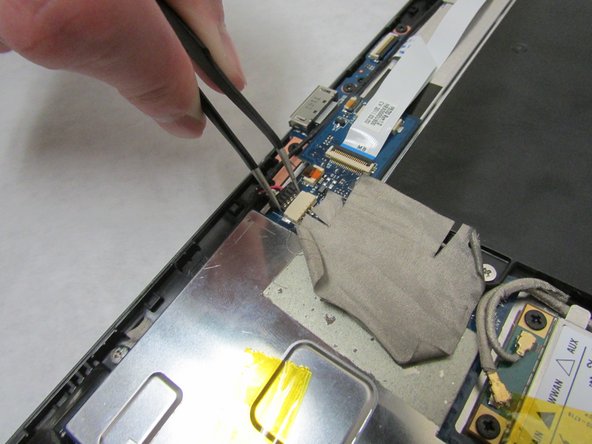
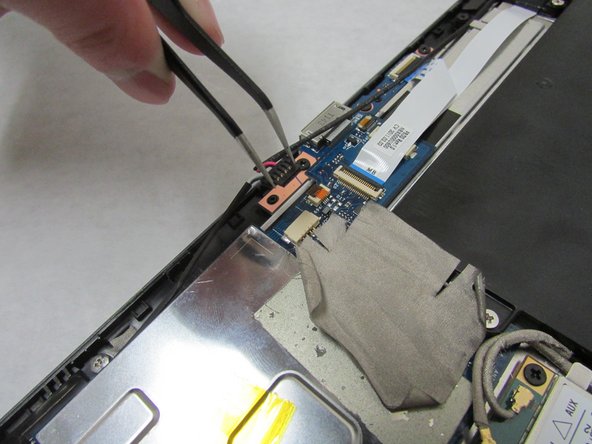
Use the angled tweezers to disconnect the cable with red, white and green wires from the beige connector slightly toward the side with the Micro-HDMI port relative to the docking port.
-
-
-
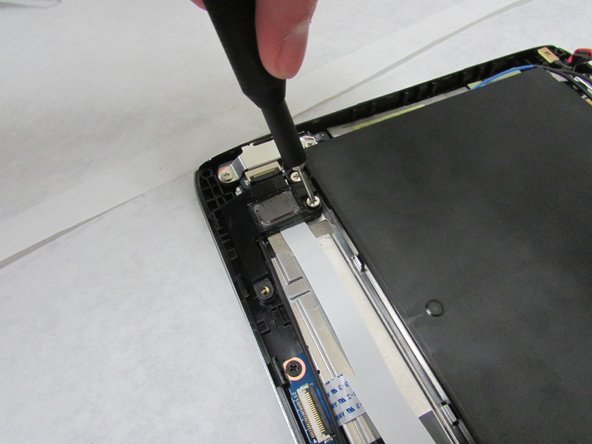
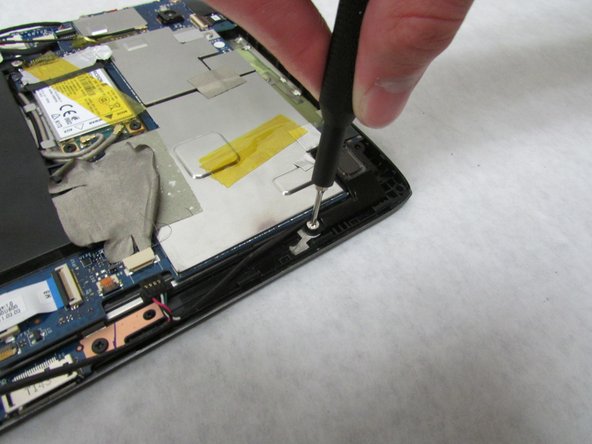
Unscrew the 3.0 mm Phillips head screw on each speaker using a Phillips #1 screwdriver.
-
Unscrew the 4.0 mm Phillips head screw on each speaker using a Phillips #1 screwdriver.
-


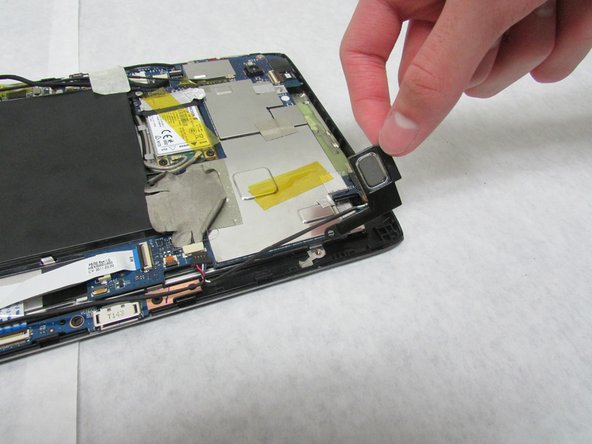
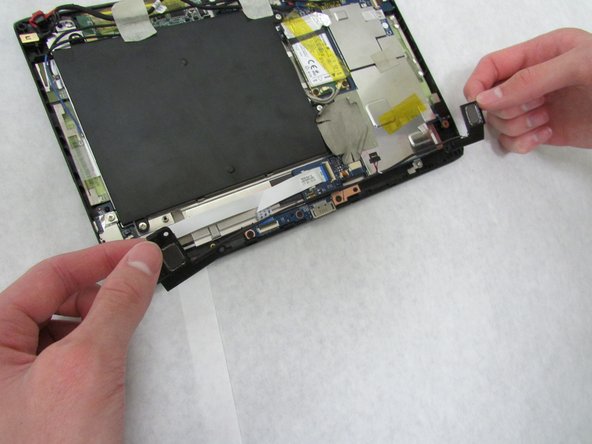
To reassemble your device, follow these instructions in reverse order.
To reassemble your device, follow these instructions in reverse order.
Команда

Embry-Riddle Aeronautical University, Team S3-G1, Watkins Summer 2019 Участник Embry-Riddle Aeronautical University, Team S3-G1, Watkins Summer 2019
ERAU-WATKINS-SU19S3G1
5 членов
Автор 10 руководств