Введение
This guide will walk you through the process of replacing a damaged or dead display in an Acer Nitro 5 AN515-53-55G9. If your display is cracked, has lines running across it, or otherwise won’t turn on, this guide will help you to replace it with a functioning version. You can narrow your problem down to the display by hooking up your computer to an external monitor before performing the replacement. If your computer functions perfectly fine when connected to an external monitor, the issue is most likely caused by a malfunctioning display.
If your display is cracked excessively, it may be helpful to lay some clear tape over the display to prevent cutting yourself on the glass shards. Just be sure not to cover the plastic bezel, as you will need to remove it to complete this guide.
Выберете то, что вам нужно
-
-
Pry open the plastic bezel around the screen by going around all four sides with a plastic opening tool.
-
-
-
-
Remove the four 9 mm screws holding the display in place with a Phillips #0 screwdriver.
-
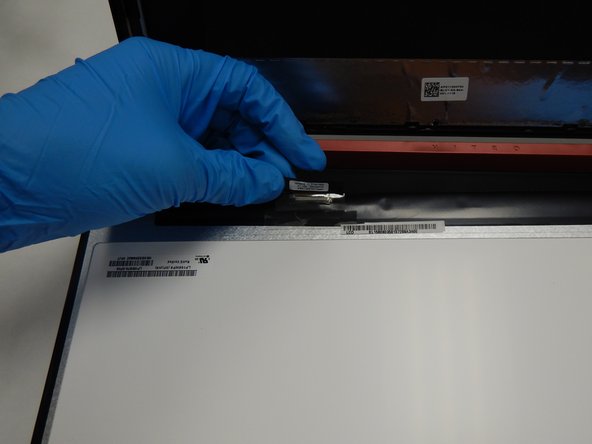
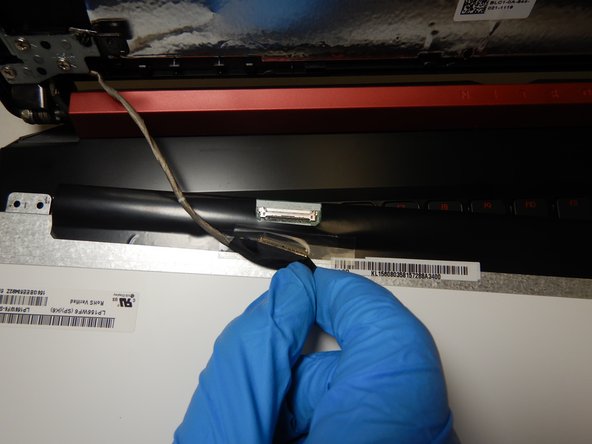
Carefully lower the display to rest on the keyboard.
-


To reassemble your device, follow these instructions in reverse order.
To reassemble your device, follow these instructions in reverse order.
Отменить: Я не выполнил это руководство.
7 участников успешно повторили данное руководство.
Команда

The Citadel Military College of South Carolina, Team S2-G11, Eggleston Fall 2020 Участник The Citadel Military College of South Carolina, Team S2-G11, Eggleston Fall 2020
CMCSC-EGGLESTON-F20S2G11
3 членов
Автор 6 руководств
3 Комментариев
This guide was helpful in replacing the screen in my son’s Acer Nitro 5 AN515--43-R0YM, with a slight difference. That model’s screen is held in place with adhesive strips, not screws. Kind of pain, but not too bad to deal with. The strips work basically like 3M Command Strips. Use pliers are strong tweezers to grab the tab peeking out from behind the screen at each corner (but do one at a time, of course), and _slowly_ pull straight out (parallel to the screen). Once enough has come out, grab with your fingers and keep pulling _slowly_. If you pull too fast it could break, and then you’ve got a real headache on your hands. Be patient and eventually the tape will release.
I've use it for a AN515-52 and the steps are the same. I did a screen replace in less then 15 min. Top guide
nice 15 min is it hard for a beginner