Введение
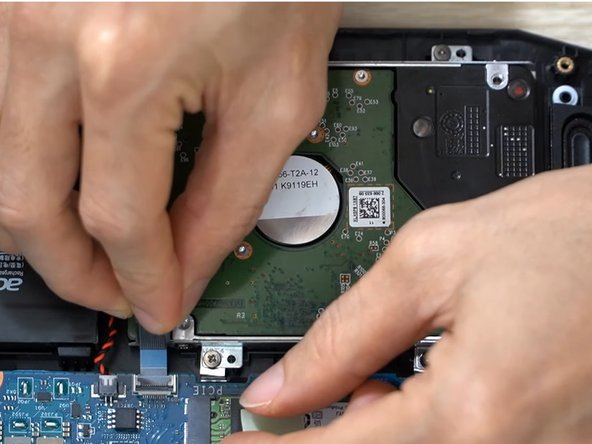
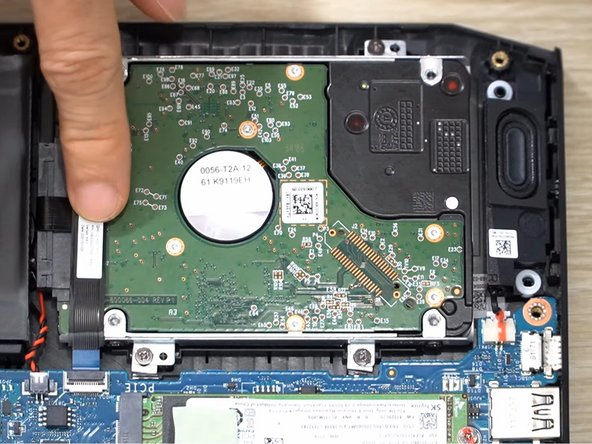
This guide will show you how to replace or install an HDD for your Acer Nitro 5 AN515-55-56GN.
Before opening and updating the laptop, it is important to sync the necessary files to the cloud or storage in order to back up data to avoid losing it. Additionally, prior to beginning this repair or upgrade, power off your device and physically unplug your laptop, don't just switch it off.
HDD is used for traditional storage devices that read and write data.
The purpose of installing the HDD (Hard Disk Drive) is to gain additional storage space, especially during the pandemic, when people have to work from home and use a laptop more frequently than usual.
Выберете то, что вам нужно
-
-
Turn off the laptop and unplug it from the charging cord.
-
Flip the laptop over so the backside is facing up.
-
Use a Phillips #0 screwdriver to remove ten 9 mm screws.
-
-
-
Use your fingers or an opening tool to remove the back case by separating it at the seam.
-
Work your way gently around the perimeter to undo the clips.
-
Remove the back case.
-
-
-
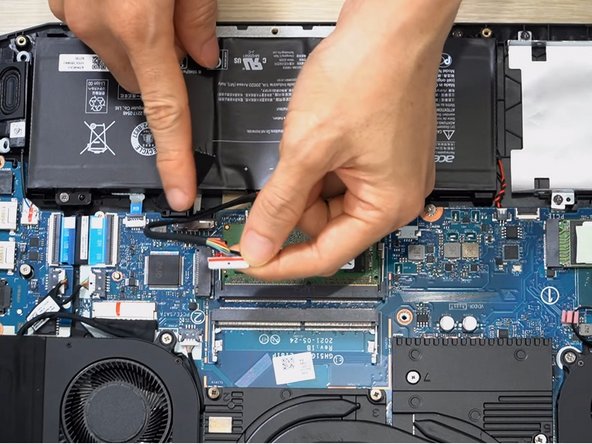
Unplug the battery cable from the connector attaching the battery to the motherboard.
-
-
-
-
Use the Phillips #0 screwdriver to remove four 3 mm screws from the hard drive bracket.
-
Remove the bracket from the device.
-
-
-
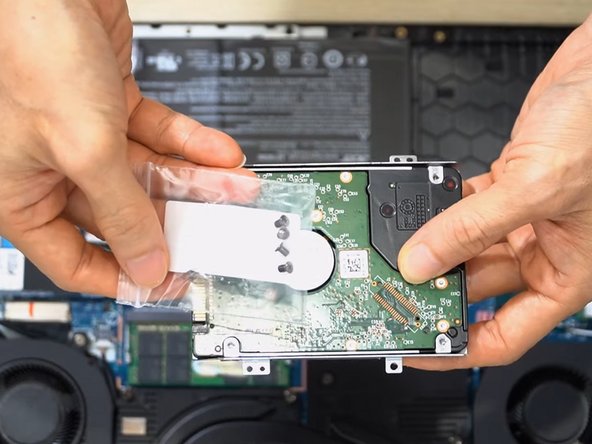
Place the HDD 1TB in the bracket.
-
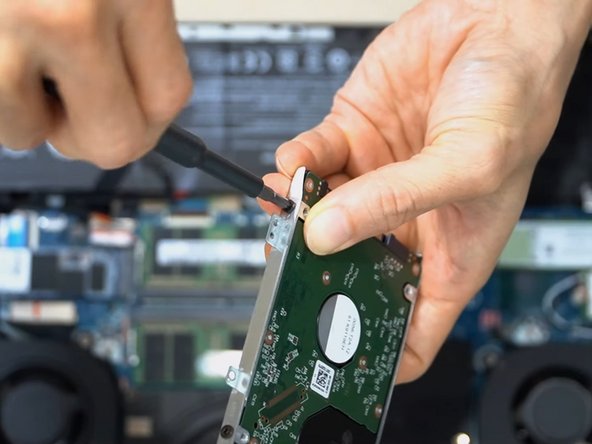
Use the Phillips #0 screwdriver to secure the 2 mm screws that hold the HDD in the bracket.
-
-
-
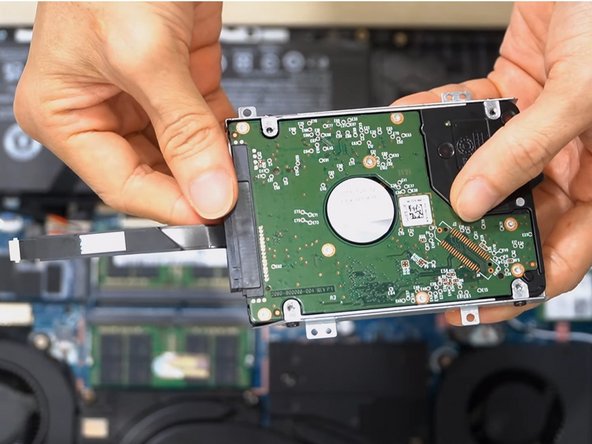
Slide the HDD into the socket on the motherboard.
-
Replace the four 3 mm screws using the Phillips #0 screwdriver.
-
To reassemble your device, follow these instructions in reverse order.
That is all step-to-step on how to Install the new HDD to the laptop Acer Nitro 5 (AN515-55-56GN)
To reassemble your device, follow these instructions in reverse order.
That is all step-to-step on how to Install the new HDD to the laptop Acer Nitro 5 (AN515-55-56GN)
Отменить: Я не выполнил это руководство.
5 участников успешно повторили данное руководство.


