Введение
Use this guide to replace the camera on your Alienware Aurora M9700. Be sure to power off the computer and disconnect from any external power source before beginning the camera replacement. Care should be taken when removing the display frame from the computer screen since it is very fragile.
Выберете то, что вам нужно
-
-
Open the device so the main screen is facing forward.
-
Locate the 8 rubber buttons around the bezel of the display and remove the rubber buttons with the metal spudger to expose the screws underneath.
-
Locate the 8 screws around the perimeter of the screen and unscrew them.
-
-
-
Insert the plastic opening tool between the black and green frames to remove the display frame at the bottom of the display.
-
Slide the lock to the right when removing the display frame.
-
Remove the frame display.
-
-
-
-
Now that the outer frame is removed, locate the two screws to the right and the left of the camera.
-
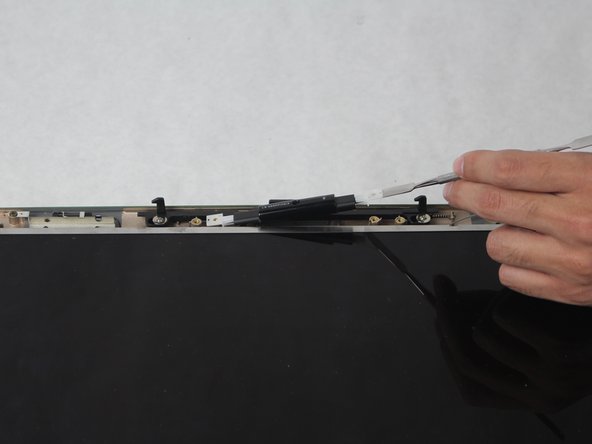
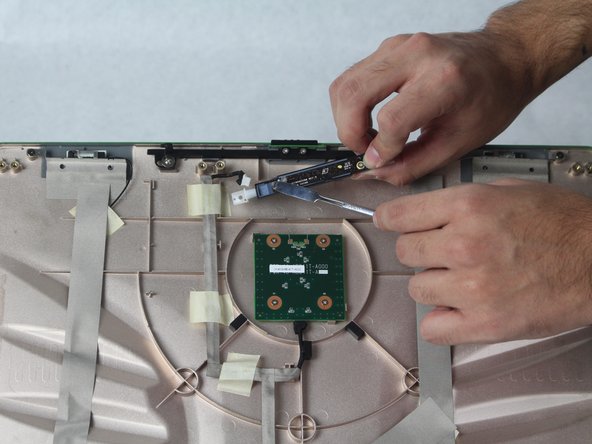
Remove the two screws freeing the camera of the brackets holding it in place.
-
Pry the camera upward from its designated location using the metal spudger.
-
To reassemble your device, follow these instructions in reverse order.
To reassemble your device, follow these instructions in reverse order.


