Перейти к основному содержанию

Alienware M17x Display Assembly Replacement

Выберете то, что вам нужно

  1. Alienware M17x Display Assembly Replacement, Battery: шаг 1, изображение 1 из 2 Alienware M17x Display Assembly Replacement, Battery: шаг 1, изображение 2 из 2
    • Turn off your laptop before starting.

    • Flip the laptop over so the model stickers face the ceiling.

  2. Alienware M17x Display Assembly Replacement: шаг 2, изображение 1 из 1
    • Remove the two 3.5 mm Phillips #0 screws holding the cover in place.

    • Slide cover forward then carefully lift up.

  3. Alienware M17x Display Assembly Replacement: шаг 3, изображение 1 из 1
    • Remove the two 5.5 mm Phillips #0 screws holding the battery in place.

  4. Alienware M17x Display Assembly Replacement: шаг 4, изображение 1 из 2 Alienware M17x Display Assembly Replacement: шаг 4, изображение 2 из 2
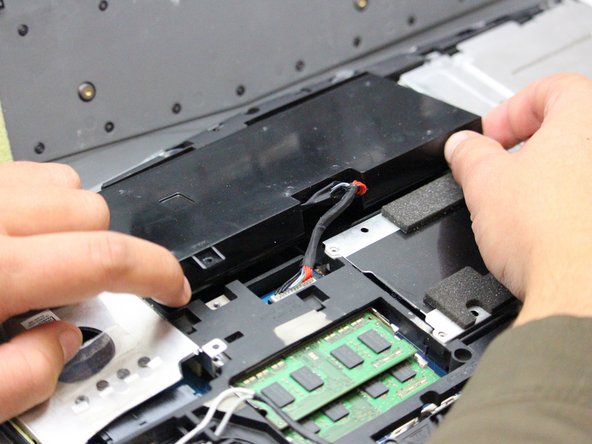
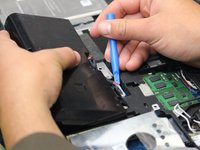
    • Carefully use the Plastic Opening Tool to unplug the battery.

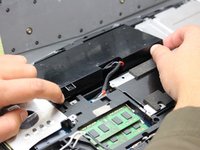
    • Lift the battery up and out to remove.

  5. Alienware M17x Display Assembly Replacement, Display Assembly: шаг 5, изображение 1 из 1
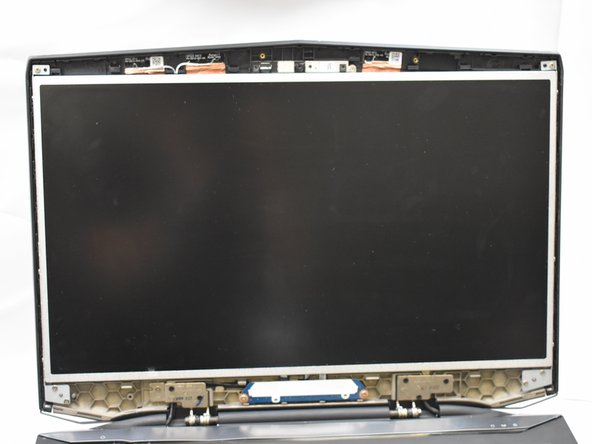
    • Flip the laptop back over so that the Alienware logo faces the ceiling then open the lid to view the screen.

  6. Alienware M17x Display Assembly Replacement: шаг 6, изображение 1 из 3 Alienware M17x Display Assembly Replacement: шаг 6, изображение 2 из 3 Alienware M17x Display Assembly Replacement: шаг 6, изображение 3 из 3
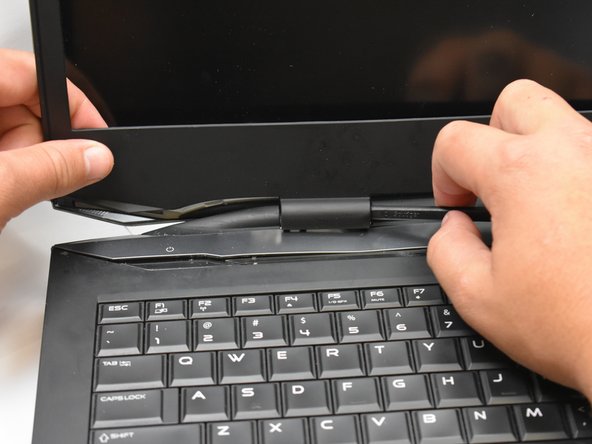
    • Use a spudger as a lever to pry the black plastic siding off of the frame starting on either of the top corners.

    • Use the spudger to remove the siding from the bottom of the frame near the hinges.

    • Carefully lift the black plastic siding up and out of the hinged area making sure not to break the fragile sides.

  7. Alienware M17x Display Assembly Replacement: шаг 7, изображение 1 из 2 Alienware M17x Display Assembly Replacement: шаг 7, изображение 2 из 2
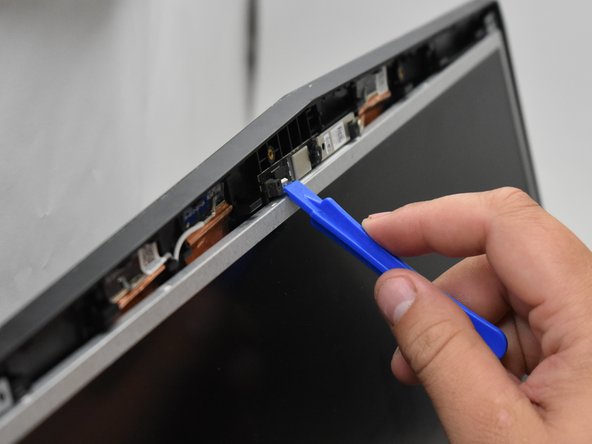
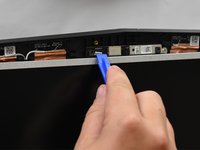
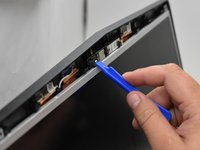
    • Use the plastic opening tool to disconnect the screen from the top mount.

  8. Alienware M17x Display Assembly Replacement: шаг 8, изображение 1 из 1
    • Avoid directly touching the connectors with anything other than plastic tools to avoid damaging the internal components.

  9. Alienware M17x Display Assembly Replacement: шаг 9, изображение 1 из 1
    • Tilt the screen forward to expose the connecting wires.

    • Disconnect said wires to then lift the display assembly out of the frame.

Заключение

To reassemble your device, follow these instructions in reverse order.

Еще один человек закончил это руководство.

Mosier Locke

Участник с: 09/27/18

783 Репутация

Автор 5 руководств

Команду

Oregon Institute of Technology, Team S1-G2, Lancaster Fall 2018 Участник Oregon Institute of Technology, Team S1-G2, Lancaster Fall 2018

OIT-LANCASTER-F18S1G2

3 членов

Автор 5 руководств

0Комментарии к руководству

Добавить комментарий

Статистика просмотров:

За последние 24 час(ов): 0

За последние 7 дней: 1

За последние 30 дней: 12

За всё время: 669