Введение
If your laptop is incapable of performing routine tasks or recognizing when USB devices are plugged in, use this guide to remove and replace your motherboard.
Выберете то, что вам нужно
-
-
Remove the two 3.5 mm Phillips #0 screws holding the cover in place.
-
Slide cover forward then carefully lift up.
-
-
-
-
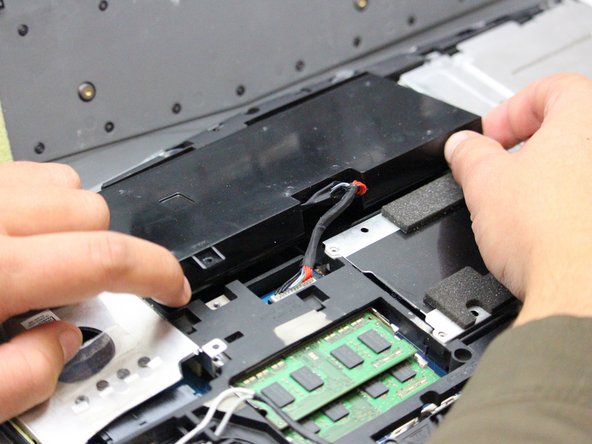
Carefully use the Plastic Opening Tool to unplug the battery.
-
Lift the battery up and out to remove.
-
-
-
Remove the following screws using a Phillips #0 screwdriver to free the motherboard from the rest of the internal components.
-
Twelve 5.5 mm Phillips #0 main frame screws.
-
Six 3.5 mm Phillips #0 fan screws.
-
Four 3.5 mm Phillips #0 internal compartment screws.
-
Eight 3.5 mm Phillips #0 Hard Drive screws.
-
Four 3.5 mm Phillips #0 CD Drive screws.
-
-
-
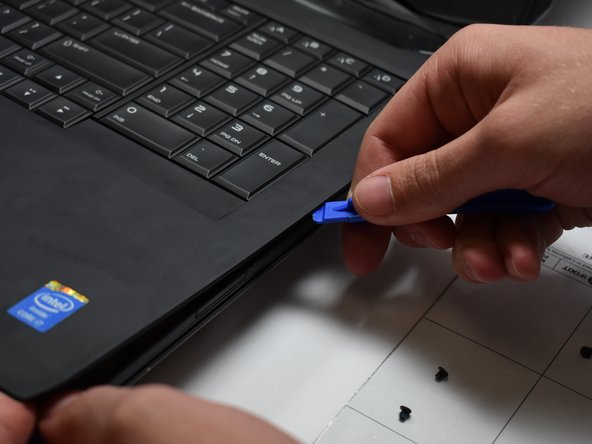
Flip the laptop over so that the Alienware logo is facing the ceiling and open the lid exposing the screen and keyboard.
-
Use a plastic opening tool to pry the keyboard from the base of the computer.
-
-
-
Remove five 3.5 mm Phillips #0 screws from the motherboard.
-
Unplug the consumer IR cables on the consumer IR board using a plastic opening tool.
-
Lift the motherboard at an angle and remove it from the computer base.
-


To reassemble your device, follow these instructions in reverse order.
To reassemble your device, follow these instructions in reverse order.
Команда

Oregon Institute of Technology, Team S1-G2, Lancaster Fall 2018 Участник Oregon Institute of Technology, Team S1-G2, Lancaster Fall 2018
OIT-LANCASTER-F18S1G2
3 членов
Автор 5 руководств