Введение
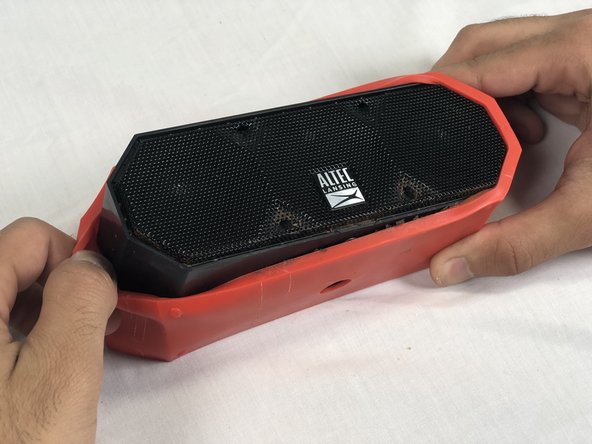
If your Altec Lansing Mini Lifejacket 2's aux input or power jack is faulty or damaged, this guide will show you how to replace the back panel of your device.
Выберете то, что вам нужно
-
-
Use the spudger to remove the eight black pins from the front and back of the wire screens.
-
-
-
Detach the eight secondary pins from the front and back of the wire mesh plates with a spudger.
-
-
-
-
Remove the single 7.8mm Phillips #2 screw from the mounting plate located under the device.
-
Slide the mounting plate out to remove it.
-
-
-
Using tweezers, remove the four rubber stoppers in each corner of the rear panel.
-
-
-
Remove the four 13.7mm Phillips #1 screws located underneath the rubber stoppers.
-
-
-
To remove the back panel, gently pull out its wire harness.
-


To reassemble your device, follow these instructions in reverse order.
To reassemble your device, follow these instructions in reverse order.
Отменить: Я не выполнил это руководство.
4 участников успешно повторили данное руководство.
Команда

USF Tampa, Team S3-G2, Nance Spring 2018 Участник USF Tampa, Team S3-G2, Nance Spring 2018
USFT-NANCE-S18S3G2
4 членов
Автор 4 руководств
9 Комментариев
What do I replace once I have it apart? Where's the charging port? How do I get another charging port that works?
The charging port and the aux input are mounted to a circuit board enclosed within a small compartment on the back panel. We didn’t open the compartment in this guide because it requires breaking the seal of the compartment’s gasket, which would be unreasonable to replace. We figured it would be easier to replace the whole back panel instead. My advice for finding a new charging port would be to scour eBay or a similar site for a broken Mini Lifejacket and use its entire back panel as the replacement.
Mine has the ports on the side not the back were do i get this part
on the IMW-477-CG, the front grill covering the speakers did not have to be removed, only the back. This would potentially avoid damage to the speakers.
In my case, the micro-usb connector was separated from the board. Looks like it was surface mount soldered and power cord stress bending the connector up off the board broke it off.
The 477 also does not have connectors like in the pictures. It’s all soldered.
Where can we find a replacement back?
Is there another way to charge the device witout using the DC port?
I think it's shameful and unbelievable that a quality company like Altec Lansing can't make a better charger port than this!!REALLY?
It is terrible that what seemed like a good quality blue tooth speaker had such a short life. I only charged it two times since purchasing. Now a use less piece of crap. It cannot be fixed. The warranty literally ran out three days prior to all the issues. It was an expensive little blue tooth speaker for having such little use. Crap parts and crap assembly. Unacceptable. Taking it all part as offered on this video would be a waste of time as there was no actual resolution.