Введение
Note that before removing the Micro-USB port you will need to remove the battery.
Выберете то, что вам нужно
-
-
Power off your phone.
-
Remove the SIM card from the left side of the phone by pressing the small hole and allowing it to eject using the 0.8 screwdriver head.
-
Remove the two 4mm screws on the bottom of the phone using the Torx T3 screwdriver.
-
-
-
Press the small suction cup just above the home button.
-
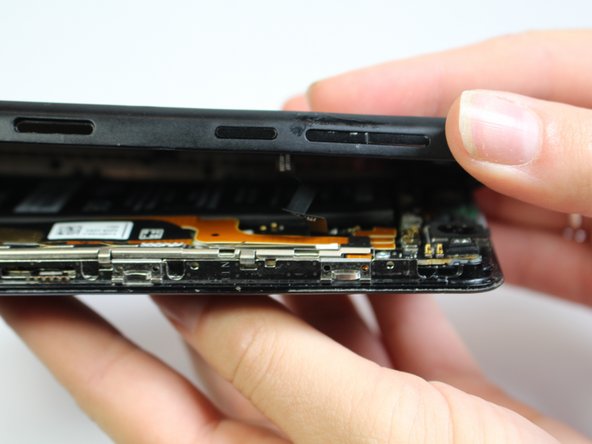
While lifting up on the suction cup insert an opening pick into the crevice between the screen and back casing to pry the screen off carefully.
-
Using the opening tool, disconnect the volume rocker ribbon cable from the base of the phone freeing the two halves of the phone.
-
-
-
Using the J000 screwdriver head, remove the three 3mm screws holding the bracket in place.
-
Remove the silver bracket that was held into place by the three screws just removed.
https://www.youtube.com/watch?v=4U5oMcXD...
A lot easier way to replace it.
I kind of like the way the battery just “disappears” between step 5 and 6; mine was glued in with a REALLY good quality adhesive tape that took some chiseling to get free; happily, the battery didn’t explode, hopefully it will still work.
-
-
-
-
Disconnect the battery connection cable by using the plastic opening tool and applying light pressure upwards on the cable.
Single hardest step, removing this battery takes both time and the jaws of life, it has an adhesive strip that will nearly RIP the battery or motherboard of the phone part, just keep careful while your at it, both mine and my wifes survived the tearing of this battery out, iv never been so sure I was breaking something while removing the battery but they went back together very easily once the devil adhesive let the battery go. This battery the the differential between a 1star difficulty and the 5star difficulty.
-
-
-
Unscrew the 1mm screw on the top left side of the phone
-
Maneuver the bracket off slowly
-
-
-
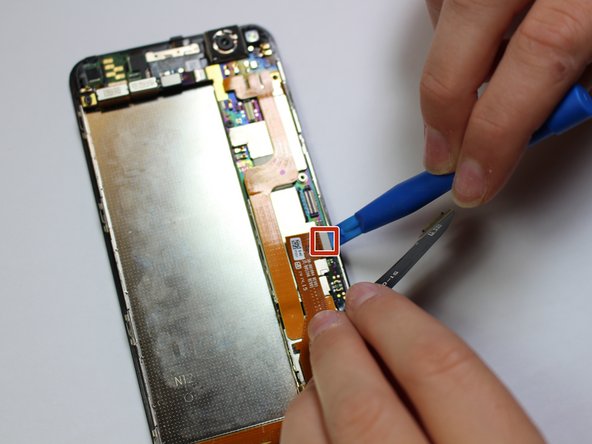
Disconnect the 9 cables along the top and right side of motherboard using the plastic opening tool
-
-
-
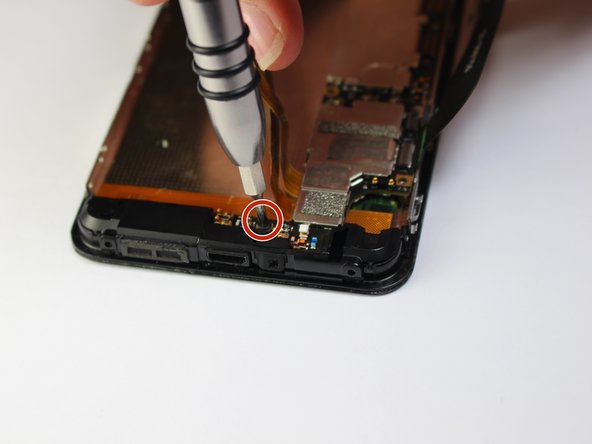
Unscrew the 3mm screw located on the top left side of the phone with a flat head
-
-
-
Unscrew the four 2mm screws along the right side of the motherboard with a philips head
-
-
-
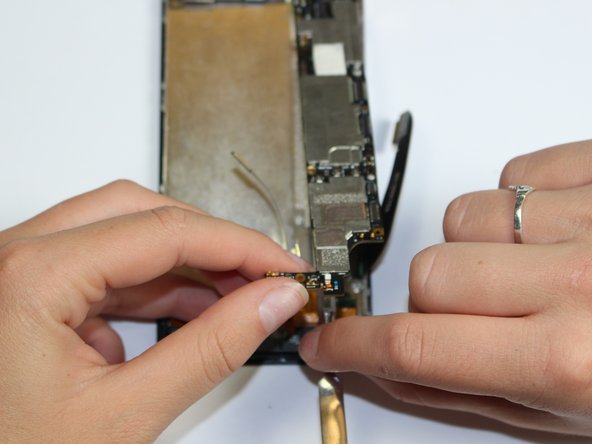
Carefully lift up the motherboard and using the spudger pry camera from the camera holder
Boy, that could use a little more detail - pry camera from camera holder accompanied by a pic in which the fingernails and only the fingernails are in focus kind of leaves us wanting more…
-
-
-
Lift off bottom plastic piece with flat antenna cables
we really don’t have a feel for focus in this camera, do we?
how to change the charging port
-


To reassemble your device, follow these instructions in reverse order.
To reassemble your device, follow these instructions in reverse order.
Отменить: Я не выполнил это руководство.
3 участников успешно повторили данное руководство.
Команда

Cal Poly, Team 5-7, Maness Fall 2015 Участник Cal Poly, Team 5-7, Maness Fall 2015
CPSU-MANESS-F15S5G7
5 членов
Автор 10 руководств
2 Комментариев
Incomplete...