Введение
This guide will show you how to replace the battery in an Amazon Kindle DX. Kindle batteries can last many years, but it may be necessary to replace a battery if its performance is at an unbearable level. Rechargeable batteries of any kind can be tricky, and there can be many causes to the worsening of a battery’s health.
Some of these causes could be overcharging or undercharging. Overcharging may result from frequent usage of a device and undercharging may result from an extended period of time without access to a charger. Other possible issues may result from charging the battery to full capacity too often and also using the battery until it dies on a regular basis. Batteries are still not perfectly understood, however, so it is not often easy to pinpoint causes for deterioration of battery health.
Выберете то, что вам нужно
-
-
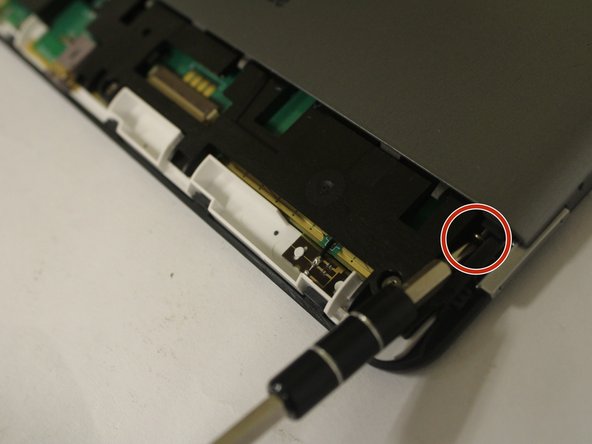
Push an opening tool against the bottom cover edge of the device. Move the tool's edge around the bottom plastic piece to pop it open.
-
-
-
-
Use the edges of the opening tool, get in between the seams of the front and back panel, and use the tool to separate the pieces. Once loose, lift back panel off of the device.
-
-
-
Remove the battery from the device.
Good guide. Concise. Simple. Easy to follow. My Kindle DX lives once again!
-


To reassemble your device, follow these instructions in reverse order.
To reassemble your device, follow these instructions in reverse order.
Отменить: Я не выполнил это руководство.
12 участников успешно повторили данное руководство.
Команда

USF Tampa, Team 1-5, Cagle Fall 2016 Участник USF Tampa, Team 1-5, Cagle Fall 2016
USFT-CAGLE-F16S1G5
3 членов
Автор 8 руководств
2 Комментариев
Thank you very much for a comprehensive guide. Especially the measurements for where to insert the screwdrivers were very helpful! Kind regards - Jakob