Этот документ имеет более свежие изменения. Перейти к последней непроверенной версии.
Введение
If all other troubleshooting options fail, you may need to replace the logic board.
Выберете то, что вам нужно
-
-
First start by peeling off the outer rubbery covering on the bottom of the device.
-
-
-
After removing the rubber covering, unscrew the five 4.9mm Phillips screws in the holes of the plastic casing.
-
-
-
After unscrewing all five screws, remove the plastic casing. The back should now look like the picture shown.
-
-
-
The inner metal casing is latched inside the outer white plastic shell, so insert a pry tool underneath the metal casing and pry it apart from the shell.
-
It should make a click when it comes apart.
-
-
-
-
Take the device out of the casing and orient it so that you can see the WiFi card.
-
-
-
Wires come from the three antennas and connect on the outer edge of the WiFi card.
-
Carefully pull up on the end of one of the wires to disconnect it from the motherboard.
-
Do this for the remaining two wires.
-
-
-
There are two clips attached to the upper and lower ends of the WiFi card
-
Grab the end of one of the clips and pull away from the WiFi card. This should make the clip visibly detached from the WiFi card.
-
Do the same for the other clip.
-
-
-
Grasp the upper and lower ends of the WiFi card.
-
Carefully pull the WiFi card to the right.
-
Completely remove the WiFi card.
-
-
-
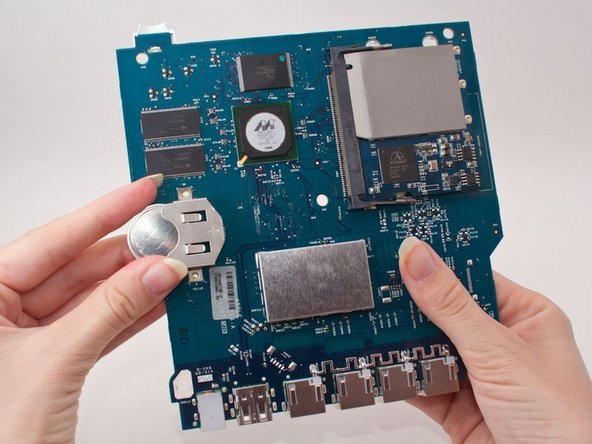
Remove the metal casing by gently prying the logic board away with you hands.
-
This should be pretty easy, you already removed the screws holding these pieces together.
-
-
-
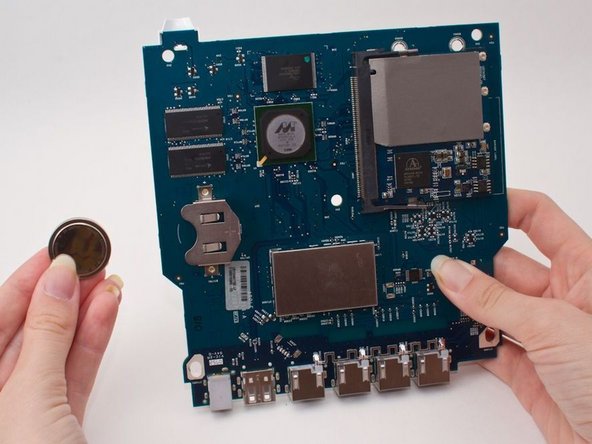
This is the "naked" logic board. You can order a new one and replace it by following the above steps in reverse order.
-


To reassemble your device, follow these instructions in reverse order.
To reassemble your device, follow these instructions in reverse order.
Отменить: Я не выполнил это руководство.
3 участников успешно повторили данное руководство.
Команда

Cal Poly, Team 5-2, Forte Spring 2012 Участник Cal Poly, Team 5-2, Forte Spring 2012
CPSU-FORTE-S12S5G2
5 членов
Автор 12 руководств