Выберете то, что вам нужно
-
-
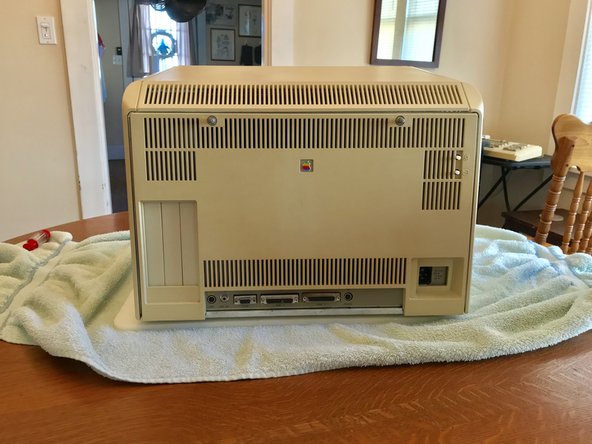
Follow the Apple Lisa Disassembly Guide to remove the Lisa's real panel.
-
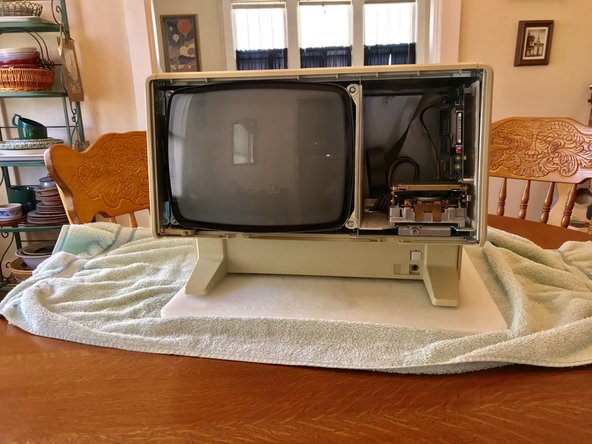
Remove the Lisa's Card Cage.
-
-
-
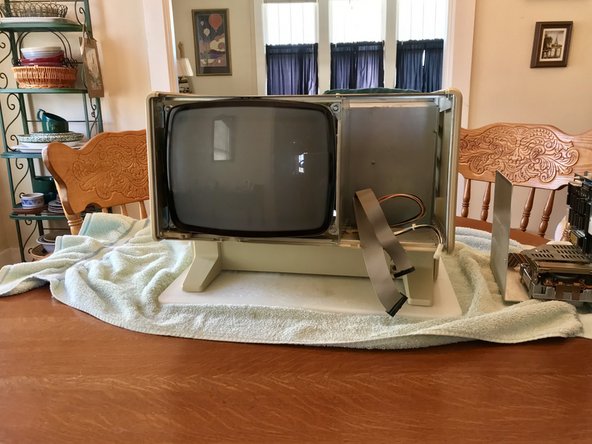
Remove the Lisa's I/O Board. The I/O Board's clips are marked in red.
-
Release both clips holding the I/O Board.
-
Pull the I/O Board up to remove it.
-
-
-
Locate the chip labeled U2A at location 2A.
-
Remove the ROM chip with a chip removing tool of your choice.
-
-
-
-
Reinstall the I/O Board.
-
Reinstall the Card Cage.
-
Reinstall the Lisa's rear panel.
-
-
-
Follow the Apple Lisa Disassembly Guide to remove the Lisa's front panel.
-
-
-
Twist the thumbscrew below the Drive Cage.
-
Slide Drive Cage out.
-
Unplug any attached cable.
-
-
-
Unscrew all the screws on the bottom of the Drive Cage to remove the floppy drive.
-
-
-
Attach the 800K Floppy Drive to the 800K Drive Bracket. If you do not have an official 800K bracket then you can be create and fashion one yourself as displayed in the image.
-
Reattach all Drive Cage wires.
-
Slide Drive Cage back into the Lisa.
-
-
-
The 800K floppy drive will perform as a 400K drive if the 800K driver is not installed.
-
MacWorks XL 3.0 and below does not support 800K functionally. MacWorks Plus and MacWorks Plus II natively support 800K functionally automatically.
-
Lisa Office System 3.0 and newer supports 800K functionality with a driver.
-
The driver can be found here.
-
The 800K driver floppy supplies the driver installer utility.
-


To reassemble your device, follow these instructions in reverse order.
To reassemble your device, follow these instructions in reverse order.
Отменить: Я не выполнил это руководство.
Еще один человек закончил это руководство.
