Перейти к основному содержанию

Aquarium Water Heater Heating Pad Replacement

Выберете то, что вам нужно

  1. Aquarium Water Heater Heating Pad Replacement, Heating pad: шаг 1, изображение 1 из 2 Aquarium Water Heater Heating Pad Replacement, Heating pad: шаг 1, изображение 2 из 2
    • Unplug the device from the outlet and let the heater cool down for 5-10 minutes.

    • Remove the heater from the aquarium.

    • The glass of this aquarium heater will not crack for this model. Some other heater models may crack.

    • Using a toothbrush and running water, thoroughly scrub the aquarium heater to remove any dirt and grime.

    • Dry the heater with a paper towel.

  2. Aquarium Water Heater Heating Pad Replacement: шаг 2, изображение 1 из 3 Aquarium Water Heater Heating Pad Replacement: шаг 2, изображение 2 из 3 Aquarium Water Heater Heating Pad Replacement: шаг 2, изображение 3 из 3
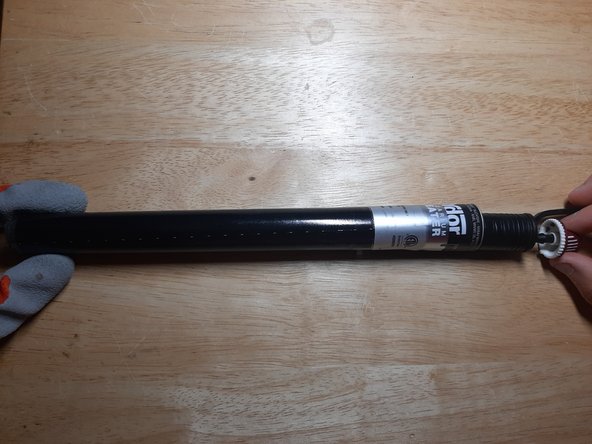
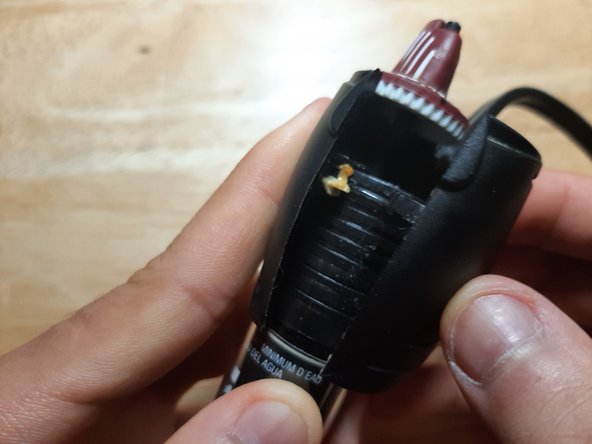
    • Move the thermostat switch to the end or to the farthest point it can go.

    • The direction you turn it, does not matter.

    • Using a visible colored Sharpie (depending on the color of your device), mark a line as a reference point. As this will not wipe off easily, you will be able to realign any deviations if necessary.

  3. Aquarium Water Heater Heating Pad Replacement: шаг 3, изображение 1 из 3 Aquarium Water Heater Heating Pad Replacement: шаг 3, изображение 2 из 3 Aquarium Water Heater Heating Pad Replacement: шаг 3, изображение 3 из 3
    • Be sure you are wearing gloves.

    • A nylon spudger or opening tool is recommended for this step, even though a screwdriver is shown in the photo.

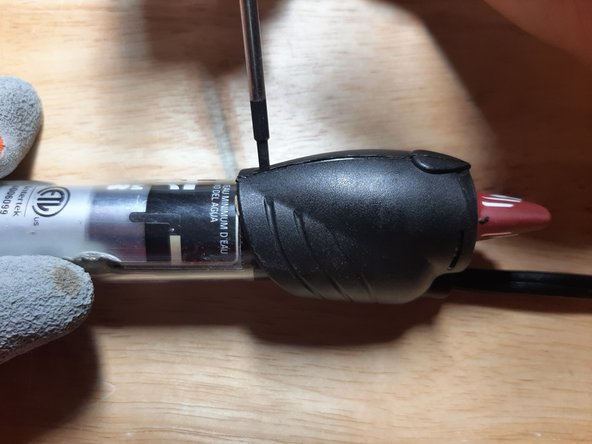
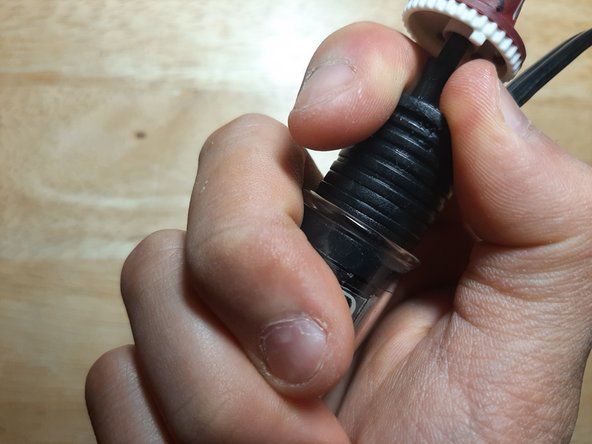
    • Starting near the bottom , slide the opening tool in between the plastic halves of the heater's dial.

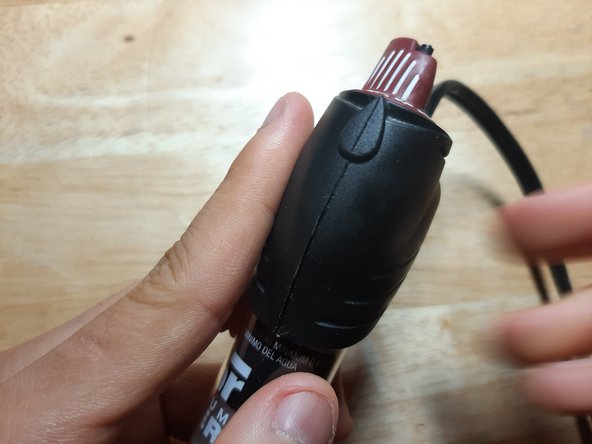
    • Once the tool is in between the two plastic halves, slowly slide the tool up until either the halves separate or you hit a plastic depression clamp.

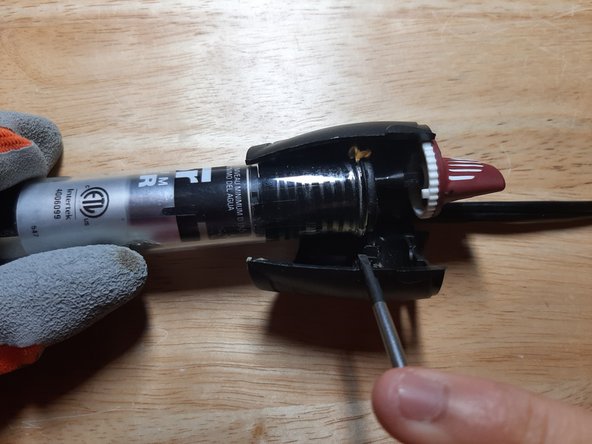
    • If you have hit the depression clamp, slightly bend the half to see if you can detach the clamp. If you cannot, slightly pull out the opening tool just enough to slide it above the depression clamp while prying the plastic halves apart.

    • Push downward and at a slight angle to detach the depression clamp and the plastic cover.

  4. Aquarium Water Heater Heating Pad Replacement: шаг 4, изображение 1 из 3 Aquarium Water Heater Heating Pad Replacement: шаг 4, изображение 2 из 3 Aquarium Water Heater Heating Pad Replacement: шаг 4, изображение 3 из 3
    • This is one of the slowest steps in the process. Take caution since the glass can crack or shatter if done too aggressively.

    • Step requires gloves.

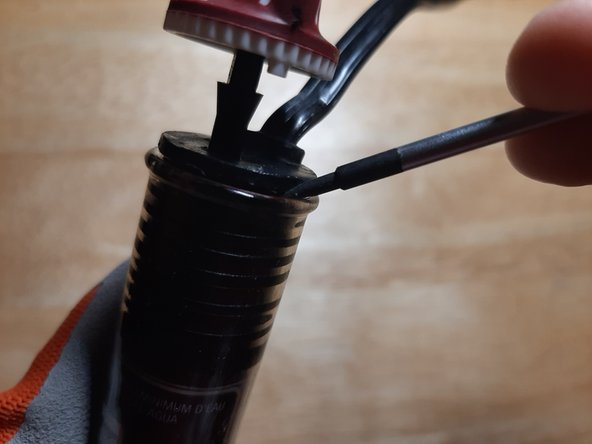
    • With two spudgers or opening tools, one small and the other large, carefully and slowly place the smaller one between the rubber stopper and the glass tube. Next, slowly apply pressure with a prying action to free the rubber stopper. Repeat around the stopper to eventually detach it.

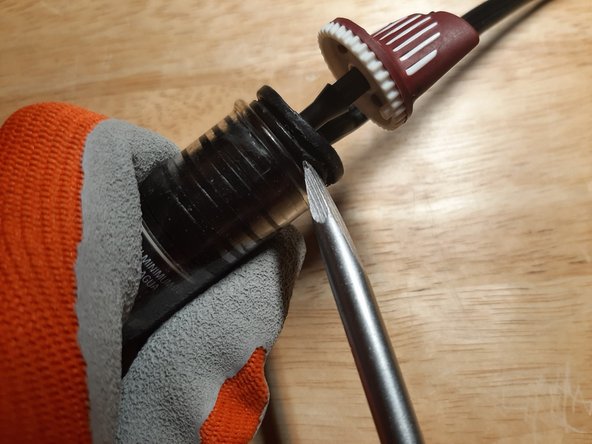
    • Once a small portion is lifted continue the prying step, with the larger opener.

    • Stop when about 60%-75% of the rubber stopper is sticking out.

  5. Aquarium Water Heater Heating Pad Replacement: шаг 5, изображение 1 из 2 Aquarium Water Heater Heating Pad Replacement: шаг 5, изображение 2 из 2
    • Without twisting or turning, slowly apply a pulling force to separate the glass tube from the core components of the water heater.

    • Pulling too fast and too hard can damage the components of the heating element.

  6. Aquarium Water Heater Heating Pad Replacement: шаг 6, изображение 1 из 3 Aquarium Water Heater Heating Pad Replacement: шаг 6, изображение 2 из 3 Aquarium Water Heater Heating Pad Replacement: шаг 6, изображение 3 из 3
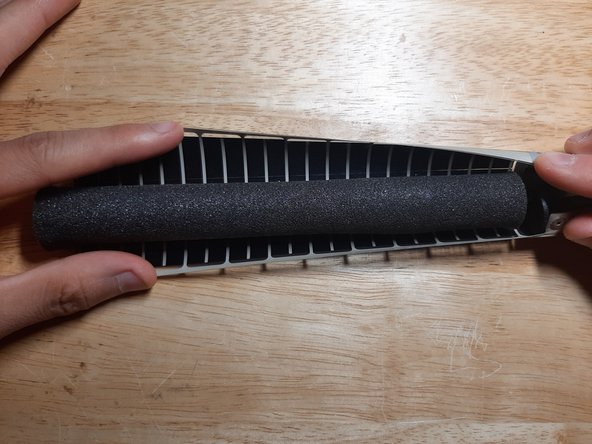
    • Locate the foam insert and carefully separate it from the heating pad.

    • Remove the foam insert.

  7. Aquarium Water Heater Heating Pad Replacement: шаг 7, изображение 1 из 3 Aquarium Water Heater Heating Pad Replacement: шаг 7, изображение 2 из 3 Aquarium Water Heater Heating Pad Replacement: шаг 7, изображение 3 из 3
    • Desolder the two power connections by referring to the attached photo.

    • Ensure you are wearing gloves and eye protection while in a well ventilated area. Fumes may be harmful if accidentally inhaled. If you are unfamiliar with soldering refer to this guide.

  8. Aquarium Water Heater Heating Pad Replacement: шаг 8, изображение 1 из 3 Aquarium Water Heater Heating Pad Replacement: шаг 8, изображение 2 из 3 Aquarium Water Heater Heating Pad Replacement: шаг 8, изображение 3 из 3
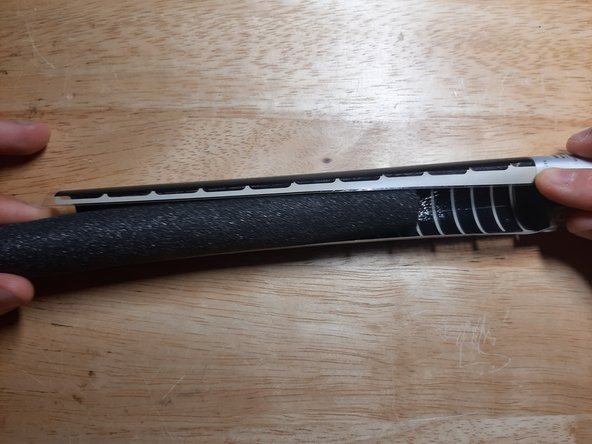
    • Bend the heating pad back while applying light pressure to the chip to assist separating the two components.

    • There is a high risk of burning your fingers, so make sure to use proper hand and eye protection such as gloves and goggles.

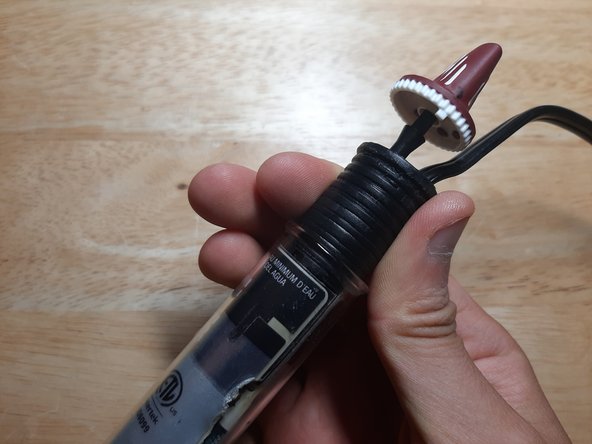
    • Start heating the top pin until it is liquefied and detachable. Remove the pin and set it aside. Repeat this process for the second pin.

  9. Aquarium Water Heater Heating Pad Replacement: шаг 9, изображение 1 из 3 Aquarium Water Heater Heating Pad Replacement: шаг 9, изображение 2 из 3 Aquarium Water Heater Heating Pad Replacement: шаг 9, изображение 3 из 3
    • Remove any old solder by melting and slightly scraping it off.

    • Insert the new heating element pin into the circuit board hole. Then push and flatten the heating pad.

    • Next, heat the pin to melt new solder to fuse the pin and the board together. Repeat this step for the other side.

    • Once finished, slide the circuit board chip back into the plastic housing of the heater.

  10. Aquarium Water Heater Heating Pad Replacement: шаг 10, изображение 1 из 3 Aquarium Water Heater Heating Pad Replacement: шаг 10, изображение 2 из 3 Aquarium Water Heater Heating Pad Replacement: шаг 10, изображение 3 из 3
    • Hold the heating pad down to position the chip inside the housing. You may need to press the wires down to close the casing. Repeat this process again for the other cable.

  11. Aquarium Water Heater Heating Pad Replacement: шаг 11, изображение 1 из 3 Aquarium Water Heater Heating Pad Replacement: шаг 11, изображение 2 из 3 Aquarium Water Heater Heating Pad Replacement: шаг 11, изображение 3 из 3
    • Re-insert the foam insert back into the heating pad.

    • Compress the heating core enough to fit back into the glass tube. Stop inserting once you hit the rubber stopper.

    • The fit should be tight.

    • Once you get to the chip, make sure there is enough clearance to avoid damaging it.

  12. Aquarium Water Heater Heating Pad Replacement: шаг 12, изображение 1 из 3 Aquarium Water Heater Heating Pad Replacement: шаг 12, изображение 2 из 3 Aquarium Water Heater Heating Pad Replacement: шаг 12, изображение 3 из 3
    • To easily reinsert the rubber stopper, it is recommended to use a form of grease.

    • Apply pressure until the rubber stopper is fully depressed.

  13. Aquarium Water Heater Heating Pad Replacement: шаг 13, изображение 1 из 3 Aquarium Water Heater Heating Pad Replacement: шаг 13, изображение 2 из 3 Aquarium Water Heater Heating Pad Replacement: шаг 13, изображение 3 из 3
    • Reattach the plastic housing, making sure that the previously marked heating switch is properly aligned.

Заключение

To reassemble your device, follow these instructions in reverse order.

chris mui

Участник с: 07/08/20

339 Репутация

1 руководство автора

Команда

York University, Team S1-G36, Allen Summer 2020 Участник York University, Team S1-G36, Allen Summer 2020

YORK-ALLEN-SU20S1G36

1 член

Автор 1 руководств

0 Комментариев

Добавить комментарий

Просмотр статистики:

За последние 24часов: 0

За последние 7 дней: 1

За последние 30 дней: 2

За всё время: 351