Перейти к основному содержанию

Astro A40 Gen2 Mixamp Button Replacement

Выберете то, что вам нужно

  1. Astro A40 Gen2 Mixamp Button Replacement, Remove Dials: шаг 1, изображение 1 из 3 Astro A40 Gen2 Mixamp Button Replacement, Remove Dials: шаг 1, изображение 2 из 3 Astro A40 Gen2 Mixamp Button Replacement, Remove Dials: шаг 1, изображение 3 из 3
    • Remove the dials using either a metal spudger or your hands. Be careful as the dials may be difficult to remove.

  2. Astro A40 Gen2 Mixamp Button Replacement, Remove nuts and washers.: шаг 2, изображение 1 из 1
    • Locate the two 11/32 inch nuts underneath the dials.

    • Use an 11/32 inch socket wrench or tweezers to unscrew and remove the nuts and washers.

  3. Astro A40 Gen2 Mixamp Button Replacement, Remove back pad.: шаг 3, изображение 1 из 2 Astro A40 Gen2 Mixamp Button Replacement, Remove back pad.: шаг 3, изображение 2 из 2
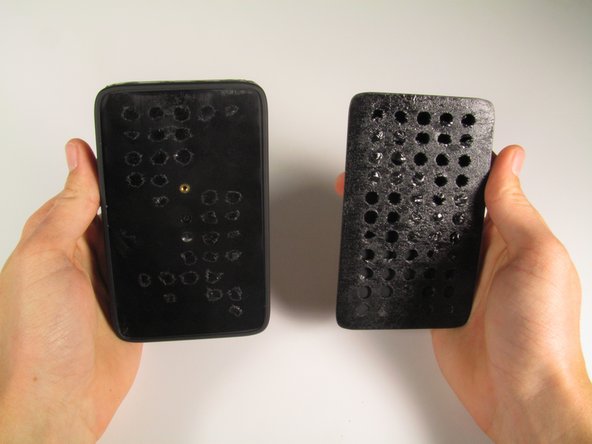
    • Using a larger metal spudger, remove the rubber back of the mixamp.

    • The back will have glue residue after removal. Depending on the stickiness of the residue, more glue may be needed to stick the backing back on.

  4. Astro A40 Gen2 Mixamp Button Replacement, Take out main case screw.: шаг 4, изображение 1 из 1
    • Remove the one 4.5 mm Phillips #0 screw on the back panel of the mixamp.

  5. Astro A40 Gen2 Mixamp Button Replacement, Pry open the case.: шаг 5, изображение 1 из 3 Astro A40 Gen2 Mixamp Button Replacement, Pry open the case.: шаг 5, изображение 2 из 3 Astro A40 Gen2 Mixamp Button Replacement, Pry open the case.: шаг 5, изображение 3 из 3
    • Using a large metal spudger, detach all plastic clips holding the bottom and top casings together.

    • Remove the input casing using your fingers.

    • Be careful when releasing the clips between the two casings, as it is very easy to scratch the mixamp or break the clips.

    • Use caution when pulling the two casings apart as it is very easy to pinch your fingers between them.

  6. Astro A40 Gen2 Mixamp Button Replacement, Remove the motherboard from the case.: шаг 6, изображение 1 из 1
    • Remove the four 5.8 mm Phillips #0 screws on the motherboard.

  7. Astro A40 Gen2 Mixamp Button Replacement: шаг 7, изображение 1 из 2 Astro A40 Gen2 Mixamp Button Replacement: шаг 7, изображение 2 из 2
    • Remove the motherboard from the casing.

  8. Astro A40 Gen2 Mixamp Button Replacement, Mixamp Button: шаг 8, изображение 1 из 2 Astro A40 Gen2 Mixamp Button Replacement, Mixamp Button: шаг 8, изображение 2 из 2
    • Use a metal spudger to pry off the buttons and remove them.

    • You may need to apply pressure to break off the small black caps which hold the buttons down. The buttons will still function without the black caps.

Заключение

To reassemble your device, follow these instructions in reverse order.

3 участников успешно повторили данное руководство.

Mark

Участник с: 01/22/15

412 Репутация

Автор 3 руководств

Команда

Cal Poly, Team 20-18, Maness Winter 2015 Участник Cal Poly, Team 20-18, Maness Winter 2015

CPSU-MANESS-W15S20G18

4 членов

Автор 10 руководств

0 Комментариев

Добавить комментарий

Просмотр статистики:

За последние 24часов: 0

За последние 7 дней: 2

За последние 30 дней: 5

За всё время: 2,283