Введение
The guide allows for you to take apart and replace the channel selection switch on an Astro A50 gaming headset with only a Phillips head screwdriver.
Выберете то, что вам нужно
-
-
Remove the four 3.5mm Phillips head screws circled in red, and remove the grey cover
-
-
-
-
Remove the four 3.5mm Phillips head screws circled in red and remove the silver cover.
-
-
-
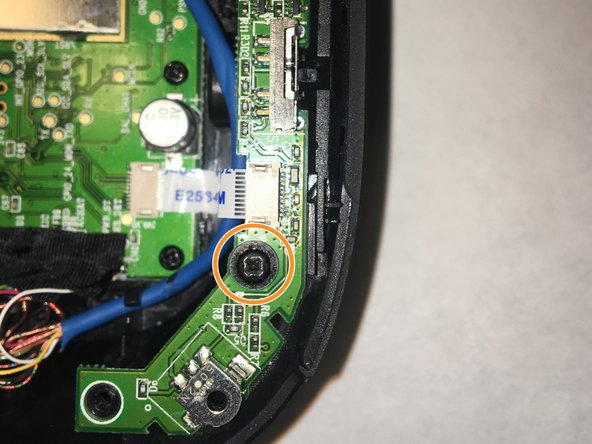
Remove the motherboard remove the four 3.5mm long Phillips head screws circled in red.
-
Remove the 3.5mm Phillips head screw circled in blue to remove secondary motherboard.
-
-
-
Separate the secondary mother board from the motherboard by pulling firmly to the right on the white connector.
-


To reassemble your device, follow these instructions in reverse order.
To reassemble your device, follow these instructions in reverse order.
Отменить: Я не выполнил это руководство.
Еще один человек закончил это руководство.
Команда

IUPUI, Team S1-G1, Baechle Fall 2017 Участник IUPUI, Team S1-G1, Baechle Fall 2017
IUPUI-BAECHLE-F17S1G1
2 членов
Автор 6 руководств