Введение
If your Asus Chromebook C300MA DB01 is not displaying a clear image, use this guide to replace the screen.
The screen transmits visual imagery through the wires connected to the screen. A faulty connection will transmit distorted images or no images at all.
Выберете то, что вам нужно
-
-
-
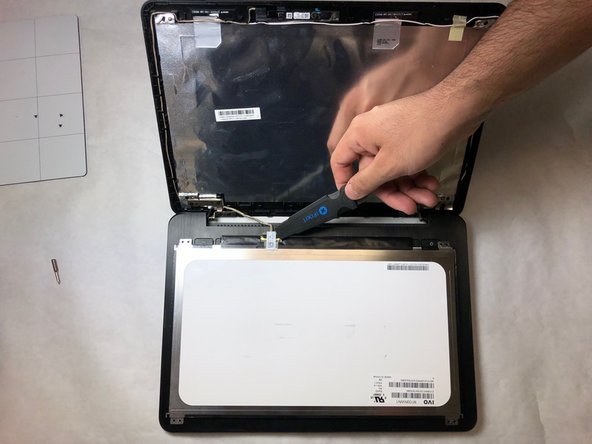
Run the Jimmy along the edges of the screen frame to unsnap it from the connectors.
-
Remove the screen frame manually.
-
-
-
Use a Phillips #1 screwdriver to remove the four screws on each corner of the screen.
-
Separate the screen from the top of the Chromebook with the Jimmy.
-
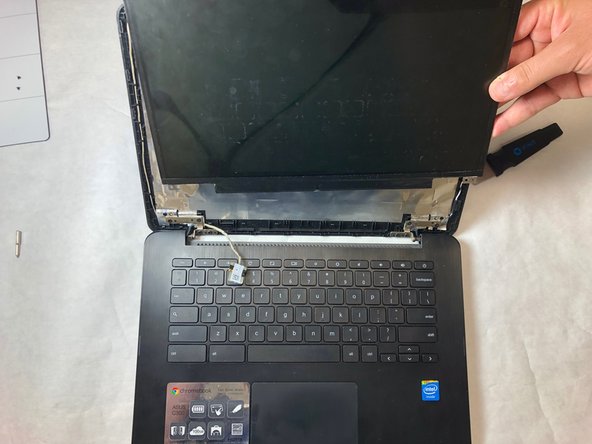
Use the Jimmy to lift the latch on the wire jack.
-
Remove the wires and detach the screen from the device manually.
-


To reassemble your device, follow these instructions in reverse order.
To reassemble your device, follow these instructions in reverse order.
Команда

IUPUI, Team S10-G10, Wilson Spring 2019 Участник IUPUI, Team S10-G10, Wilson Spring 2019
IUPUI-WILSON-S19S10G10
3 членов
Автор 3 руководств