Введение
This guide will help you replace your Asus EeeBook X205TA screen in case the screen is broken, damaged or worn out. If disposing of the screen, please follow the laws and regulations for proper disposal.
This guide only covers removing the entire LCD screen assembly.
Выберете то, что вам нужно
-
-
Unscrew all 10 screws located on the bottom of the laptop using 2mm Phillips Screwdriver.
-
-
-
Insert the plastic opening tool in the crevice between the back of the laptop and the rest of the case.
-
Carefully pry open the case from several points.
-
-
-
-
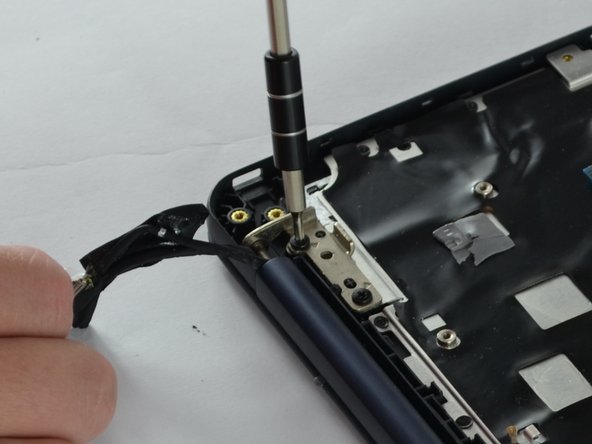
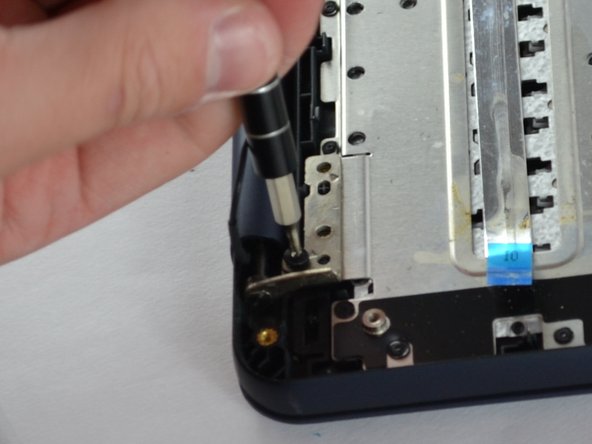
Unscrew the four screws using Philips #2 screwdriver that connect the screen to the inside of the case for the laptop.
-


To reassemble your device, follow these instructions in reverse order.
To reassemble your device, follow these instructions in reverse order.
Отменить: Я не выполнил это руководство.
3 участников успешно повторили данное руководство.
Команда

USF Tampa, Team 2-2, Sullivan Fall 2016 Участник USF Tampa, Team 2-2, Sullivan Fall 2016
USFT-SULLIVAN-F16S2G2
3 членов
Автор 10 руководств