Перейти к основному содержанию

Asus F554LA-WS52 Screen Replacement

Выберете то, что вам нужно

  1. Asus F554LA-WS52 Screen Replacement, Screen: шаг 1, изображение 1 из 2 Asus F554LA-WS52 Screen Replacement, Screen: шаг 1, изображение 2 из 2
    • Remove the two plastic screw coverings from the bottom of the screen panel.

  2. Asus F554LA-WS52 Screen Replacement: шаг 2, изображение 1 из 2 Asus F554LA-WS52 Screen Replacement: шаг 2, изображение 2 из 2
    • Remove the two 4.6mm screws using the Phillips #0 screwdriver.

  3. Asus F554LA-WS52 Screen Replacement: шаг 3, изображение 1 из 2 Asus F554LA-WS52 Screen Replacement: шаг 3, изображение 2 из 2
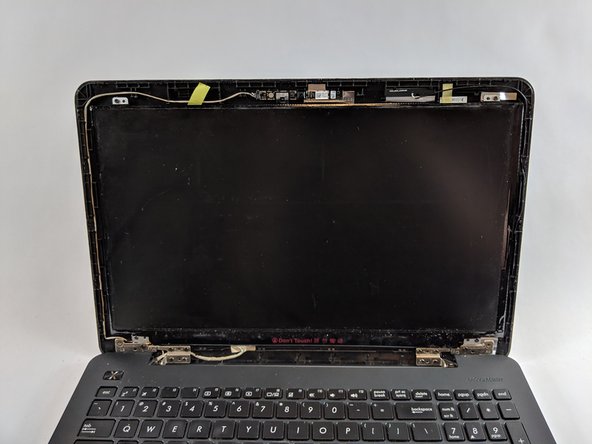
    • Using the plastic opening tool, gently pry the notebook's plastic screen covering away from the screen.

  4. Asus F554LA-WS52 Screen Replacement: шаг 4, изображение 1 из 2 Asus F554LA-WS52 Screen Replacement: шаг 4, изображение 2 из 2
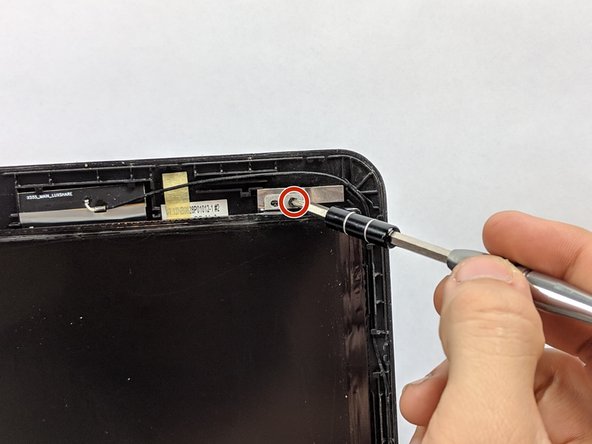
    • Remove the two 4.6mm screws holding screen in place.

  5. Asus F554LA-WS52 Screen Replacement: шаг 5, изображение 1 из 3 Asus F554LA-WS52 Screen Replacement: шаг 5, изображение 2 из 3 Asus F554LA-WS52 Screen Replacement: шаг 5, изображение 3 из 3
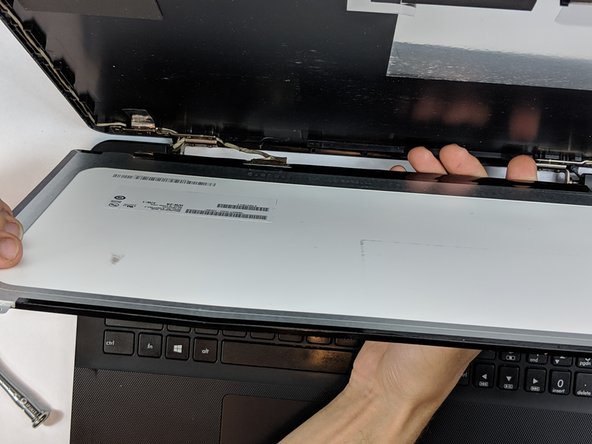
    • Carefully, lay screen down on the keyboard.

    • Be cautious as the screen will still be attached.

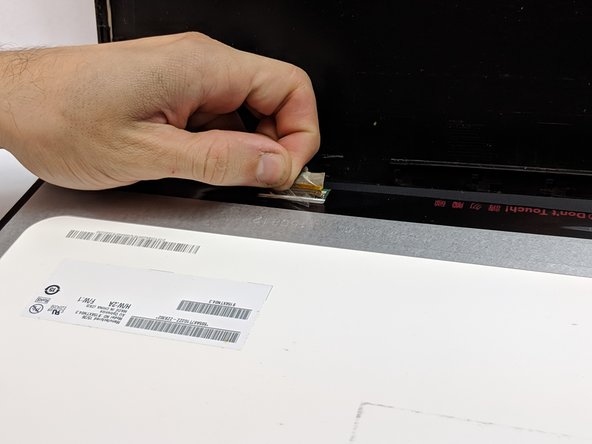
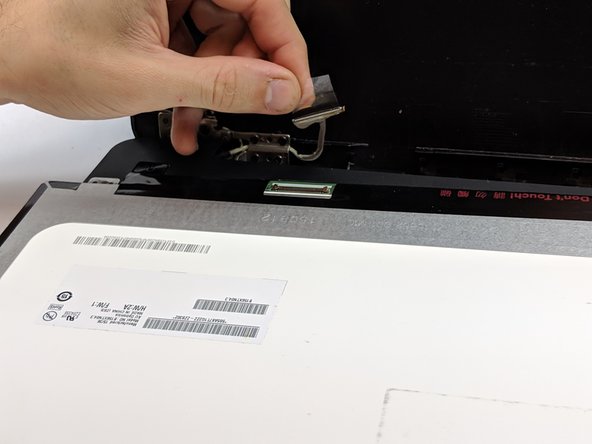
  6. Asus F554LA-WS52 Screen Replacement: шаг 6, изображение 1 из 3 Asus F554LA-WS52 Screen Replacement: шаг 6, изображение 2 из 3 Asus F554LA-WS52 Screen Replacement: шаг 6, изображение 3 из 3
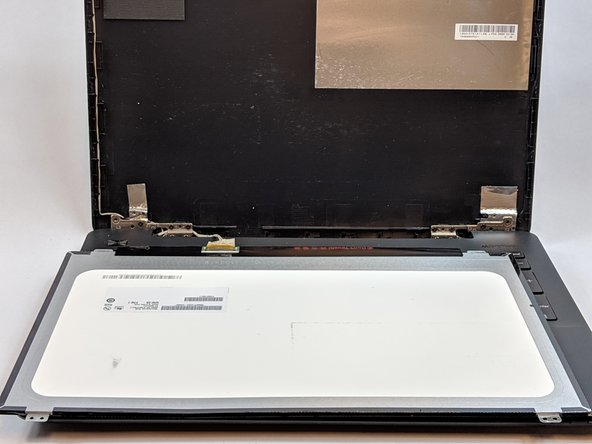
    • Remove tape that covers the visual pin connectors.

    • Gently disconnect the screen from the pin connectors and replace.

Заключение

To reassemble your device, follow these instructions in reverse order.

Aaron Ratliff

Участник с: 10/09/18

527 Репутация

Автор 4 руководств

Команда

USF Tampa, Team S1-G2, Leahy Fall 2018 Участник USF Tampa, Team S1-G2, Leahy Fall 2018

USFT-LEAHY-F18S1G2

4 членов

Автор 6 руководств

0 Комментариев

Добавить комментарий

Просмотр статистики:

За последние 24часов: 0

За последние 7 дней: 0

За последние 30 дней: 2

За всё время: 360