Введение
The screen is important for viewing content on your laptop. A malfunctioning screen can affect your workflow negatively. Be sure to use a screen that fits the dimensions of the laptop (13.3" WXGA).
Выберете то, что вам нужно
-
-
Flip laptop face down and rotate so the battery is facing toward you.
-
To remove the battery, place one finger on each of the two black slide tabs. Push each tab toward the center of the laptop to release the lock.
-
Slide the battery toward you and lift it out of the laptop.
-
-
-
Lay the laptop right side up.
-
Rotate laptop 90 degrees towards you, so the empty battery compartment is visible.
-
-
-
Insert a finger nail, or the flat end of the spudger, into the slot between the laptop base and the hinge guard on the right side. Gently pull the guard towards you until the guard pops off.
-
Repeat this process for the other guard.
-
-
-
Once the hinge guards are removed, lay the laptop flat on its bottom. Then, lift open the laptop screen as if you were about to use it.
-
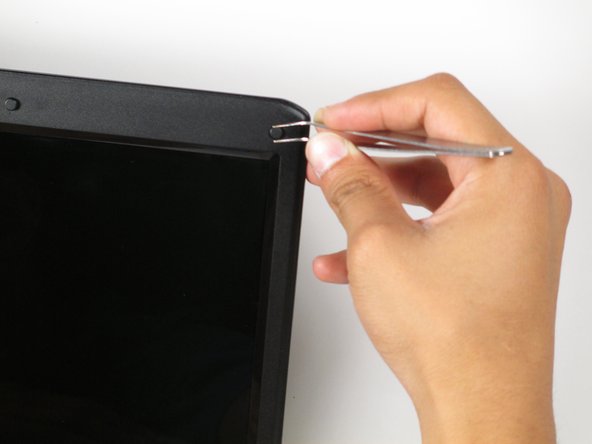
With a pair of tweezers, peel off the six rubber cushions from the bezel located around the perimeter of the screen.
-
-
-
-
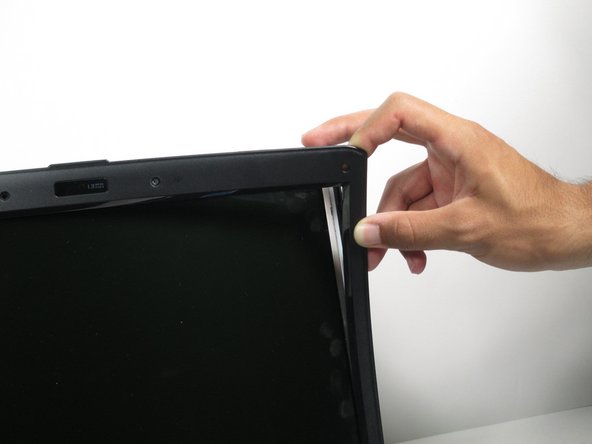
Insert a finger nail, or the flat end of a spudger, into the slit between the bezel and the back cover of the laptop.
-
Gently pry the bezel towards you to remove it from the back panel of the laptop.
-
Continue to pry around the perimeter of the laptop until the entire bezel has been removed.
-
-
-
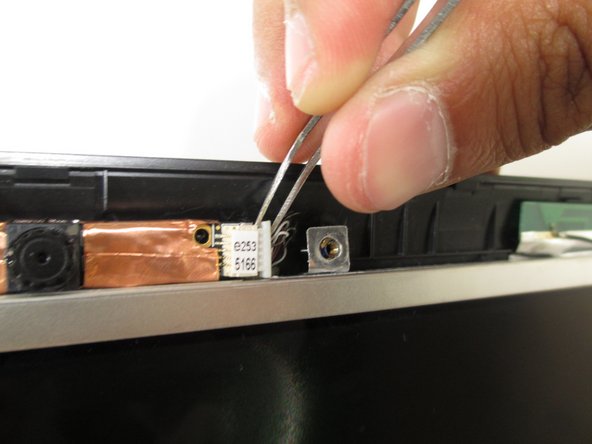
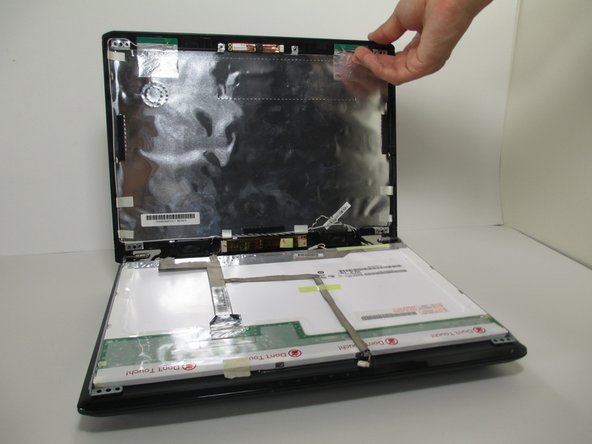
With a pair of tweezers, grab on to the white connector at the bottom of the screen. Gently, but firmly, pull the connector to the right to to remove it.
-
Repeat this process with the white connector attached to the webcam above the screen.
-
-
-
Close the laptop.
-
Open the laptop again. With the screws removed, the screen should remain flat against the keyboard.
-
-
-
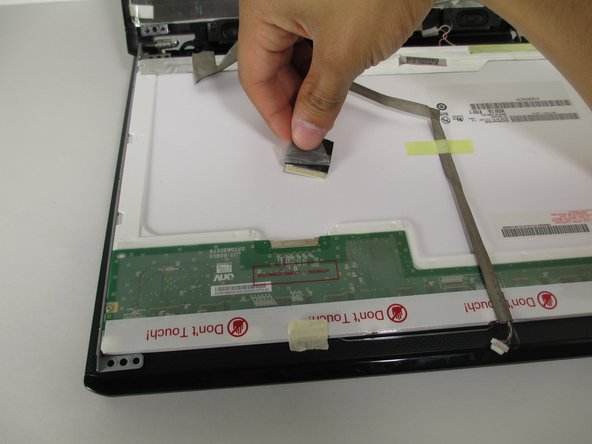
Partially remove the adhesive securing the black tap to the screen so that the adhesive is only attached to the black tab.
-
Pull the black tab gently, towards the back of the laptop to remove it from the screen.
-
-
-
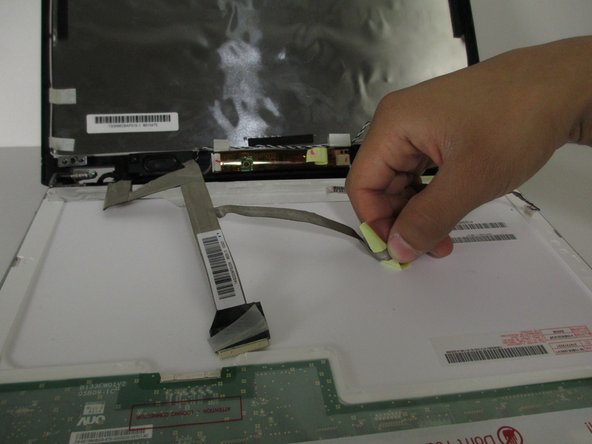
Remove the remaining adhesive by gently lifting up on the yellow pieces of tape.
-
Rest these wires on the back panel to prevent them from getting damaged.
-
-
-
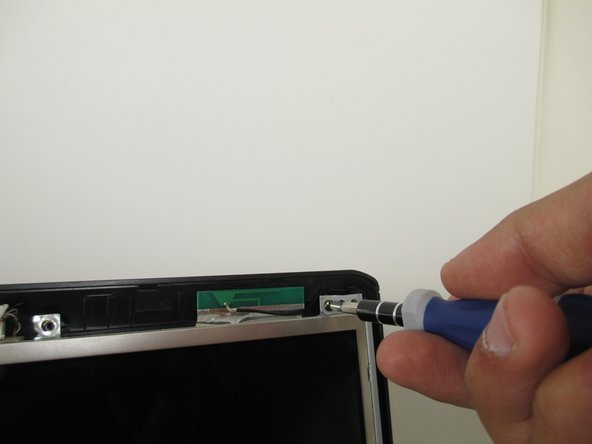
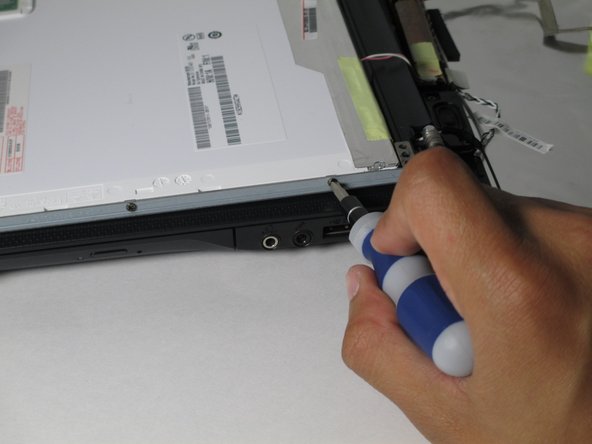
Remove the six 2.0 mm Phillips #1 screws securing the hinges to the screen. There are three screws on each side of the laptop.
-


To reassemble your device, follow these instructions in reverse order.
To reassemble your device, follow these instructions in reverse order.
Отменить: Я не выполнил это руководство.
Еще один человек закончил это руководство.
Команда

Cal Poly, Team 10-56, Amido Spring 2014 Участник Cal Poly, Team 10-56, Amido Spring 2014
CPSU-AMIDO-S14S10G56
4 членов
Автор 12 руководств