Введение
Does your computer frequently crash, freeze, reboot, or show the black screen of death? If so, here is the guide to simply remove the RAM chips, buy new ones and reinstall them. All you need is the standard Phillips #0 screwdriver in order to remove the screws.
Выберете то, что вам нужно
-
-
Slide the left slider to the left so that it locks in place.
-
Slide the right slider to the right while pushing the battery away from you. The battery should disconnect.
-
-
-
Begin by turning the device off and removing any power cords. Disassembling the device while it is under power may result in electric shock and potential damage to the device.
-
Flip the device upside down and rotate it so the battery port is facing away from you. Remove the two 5.5 mm Phillips #0 screws on the smaller back panel.
-
-
-
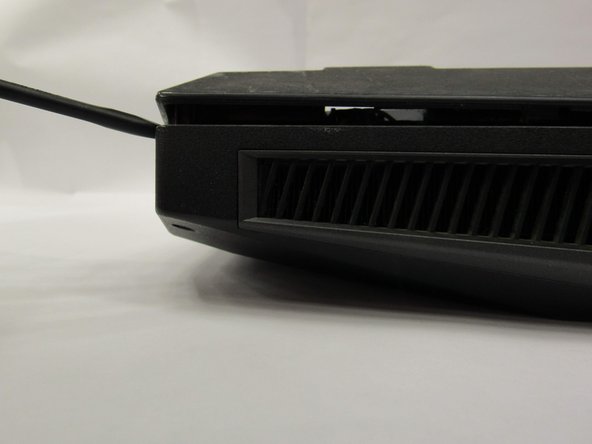
Insert the plastic opening tool into the small groove at the edge of the panel. Using the plastic opening tool, gently pry the back panel upward until it lifts free from the device. Gently lift the panel away with your fingers.
-
-
-
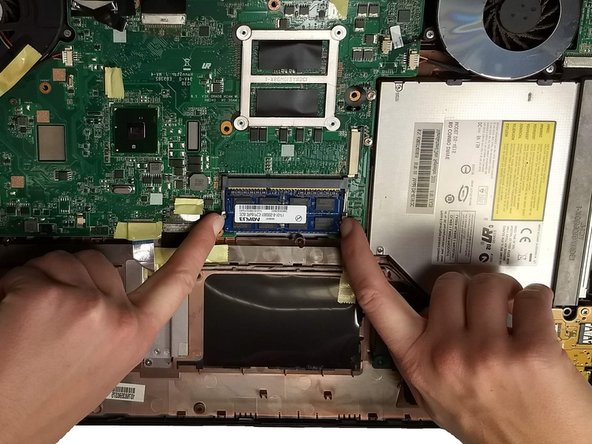
Push the metal retaining arms away from RAM cards. One edge of the card should release and stick upwards at a 30 degree angle. Grab the free edge of the RAM card with your fingers and pull it free. Repeat this process with the following two cards.
-
-
-
-
Remove eight 5.5 mm Phillips #0 screws around the perimeter of the back panel.
-
Remove two 5.5 mm Phillips #0 screws under the hard drives.
-
Remove three 5.5 mm Phillips #0 screws along the edge of the motherboard.
-
-
-
Flip the device over and turn it so the keyboard is facing away from you.
-
Insert the opener tool into the seam between the narrow plastic panel and the back panel.
-
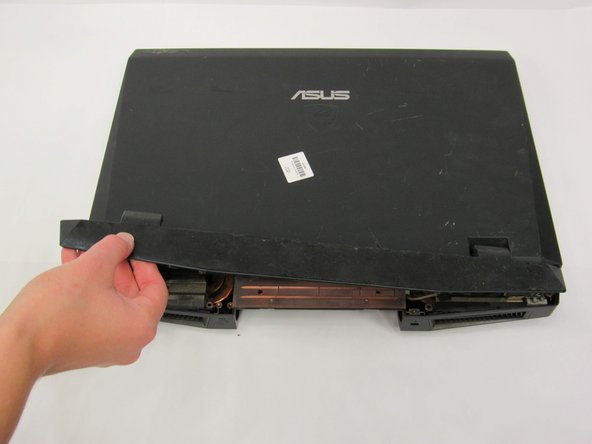
Gently pry the narrow panel upward until it comes free. Lift the narrow panel away from the device using your fingers.
-
-
-
Remove two 5.5 mm Phillips #0 screws on the left and right sides of the device directly behind the screen.
-
-
-
Rotate the device so the keyboard is facing you. Insert the plastic opening tool along the edge of the keyboard.
-
Working your way along the entire edge of the keyboard, gently pry the keyboard upward until it comes free.
-
-
-
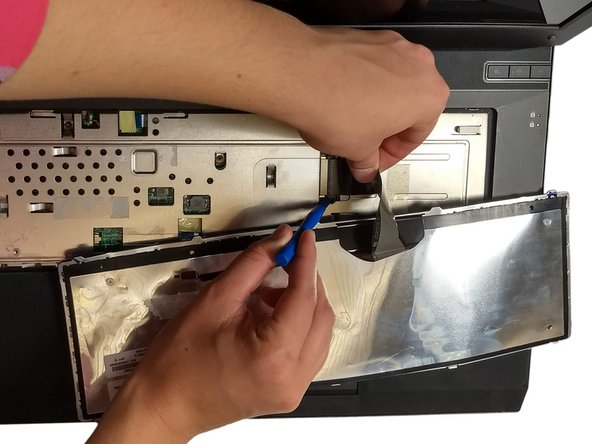
Lift the keyboard partially away from from the device. A ribbon cable will still be connecting the keyboard to the device.
-
Using the plastic opening tool, slide the small clips on either side of the ribbon cable to the left. The ribbon cable should now be released.
-
Gently pull the ribbon cable and set the keyboard aside.
-
-
-
Remove four 5.5 mm Phillips #0 screws in the area where the keyboard used to be.
-
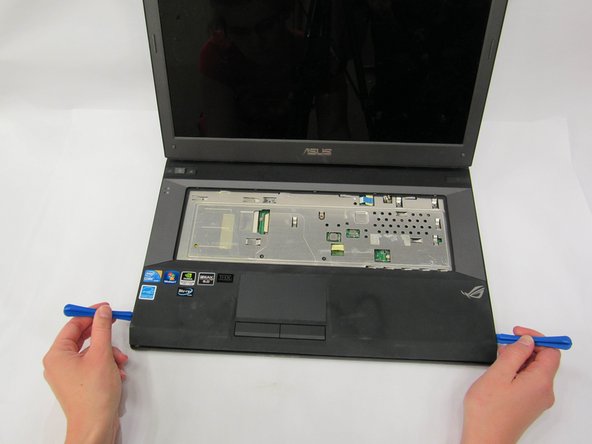
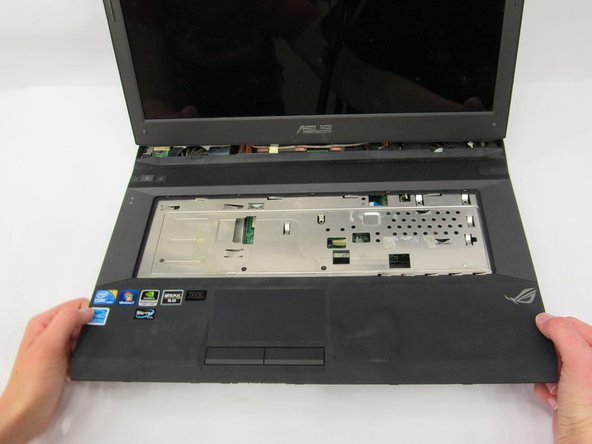
Insert the opener tool into the seam between the top and bottom panels. Using the plastic opening tool, gently pry the top panel upwards until it pops free. Repeat this process along the entire perimeter of the panel.
-
When the panel is free, grab the edge of the panel that is closest to you and pull it toward you.
-


To reassemble your device, follow these instructions in reverse order.
To reassemble your device, follow these instructions in reverse order.
Команда

Oregon Institute of Technology, Team S1-G3, Lancaster Fall 2018 Участник Oregon Institute of Technology, Team S1-G3, Lancaster Fall 2018
OIT-LANCASTER-F18S1G3
3 членов
Автор 5 руководств