Введение
RAM or system memory is an important part of every computer. The more memory your computer has, the more tasks it will be able to take on. This allows your computer to take on heavier workloads without freezing up or losing out on performance.
This guide will help you replace your RAM in your Asus M32BF desktop PC, specifically for the model, Asus M32BF-US002T.
Before using this guide, please ensure that you are installing a compatible stick of RAM into your computer. This computer specifically uses DDR3 RAM. If any RAM besides DDR3 is used, the notches on the ram slot will not align with the gap on the ram stick, and as a result, the ram will not properly fit into the slot.
Выберете то, что вам нужно
-
-
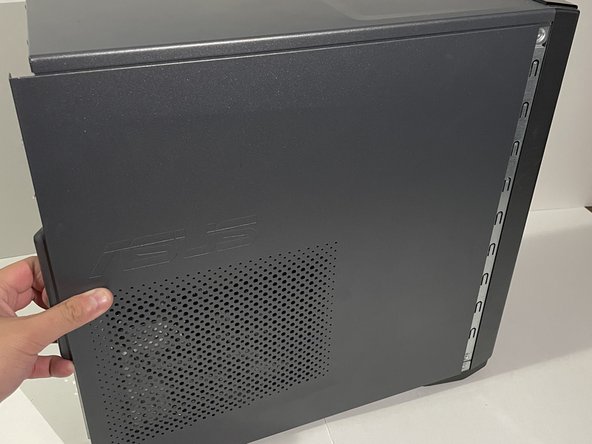
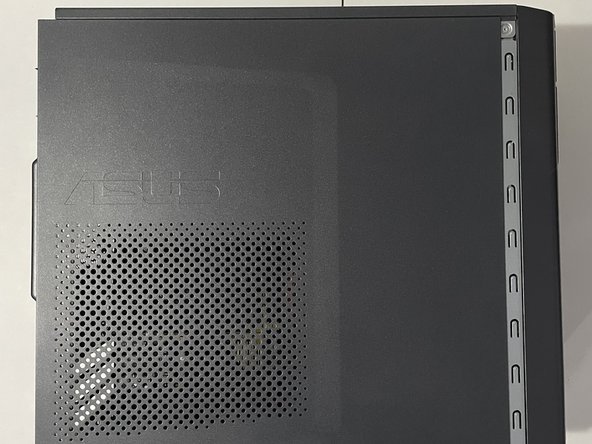
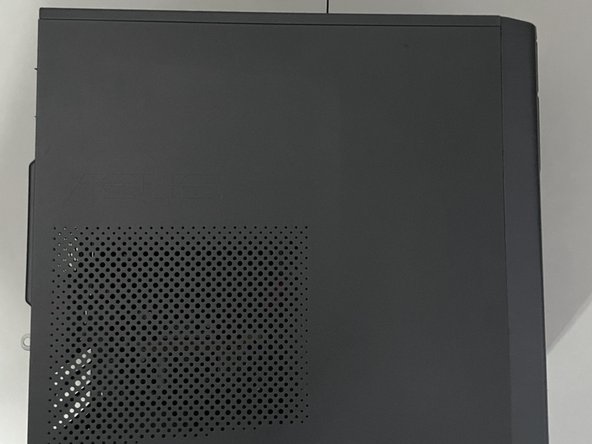
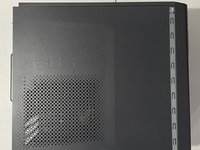
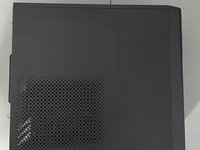
Face the back of the desktop towards you on a flat work service.
-
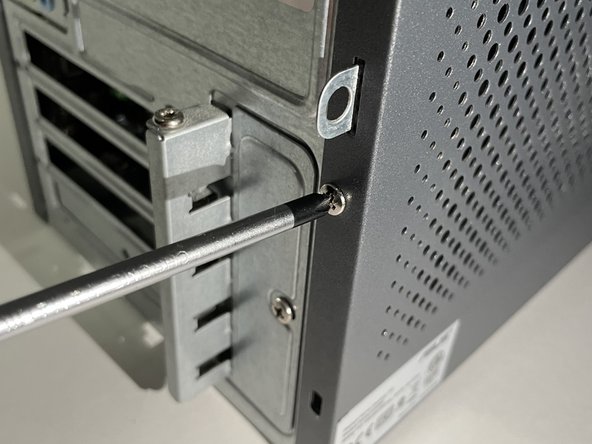
Use the Phillips #00 to remove the two 3.5 mm screws on the edge of the side panel.
-
-
-
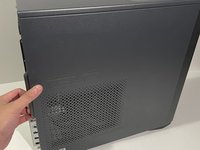
Pull the small tab on the left side panel.
-
Continue to pull gently until you hear a click sound, then remove the side panel.
-
-
-
-
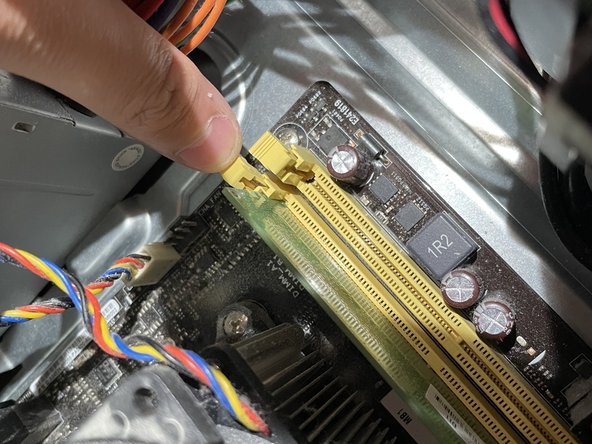
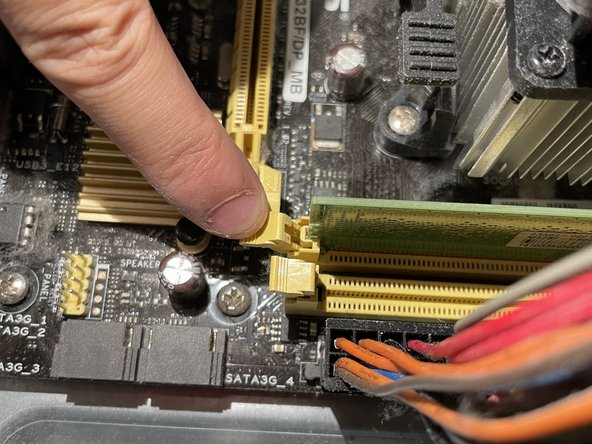
Unlock the locks that are holding the RAM module down, by pushing them downwards.
-
-
-
You can tell it is unlocked when the lock looks like it has been pushed away from the slot.
-
-
-
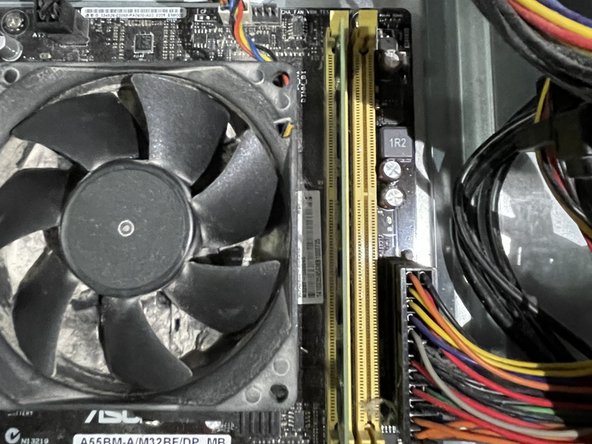
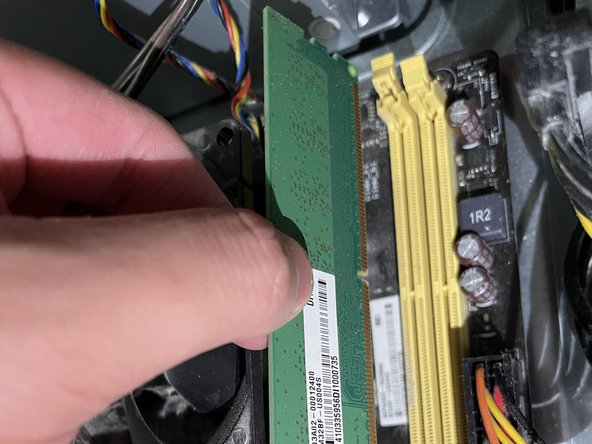
Before installing, ensure the gap on the RAM module aligns with the notch on the RAM slot.
-
-
-
Align the gap on the RAM module with the notch on the RAM slot.
-
Push straight down until you hear a click or until the locks have locked on their own.
-
-
-
Grab the side panel, and place it on the side of the computer.
-
Slide the side panel to the right to lock the side panel.
-
-
-
Using your Phillips #00 screwdriver, take the screws from Step 2 and screw them back onto the side panel.
-


To reassemble your device, follow these instructions in reverse order.
Отменить: Я не выполнил это руководство.
2 человек успешно провели ремонт по этому руководству.

Команда

York University, Team E-22, Melo-Thaiss Fall 2021 Участник York University, Team E-22, Melo-Thaiss Fall 2021
YORK-MELO-THAISS-F21SEG22
1 член
Автор 2 руководств