Введение
If your laptop frequently overheats, it may be time to clean or replace your fan. Access the Central Processing Unit (CPU) fan with this guide. If your fan is dusty, you may be able to used compressed air to clean it out and get it back into working order but either way, this guide will help you remove the fan from the device.
Since the battery and CPU fan share a screw in order to secure both components, you will need to remove both components in order to replace a faulty CPU fan. Careful attention must be made to correctly disconnect the difficult-to-access cord which runs along the side of the CPU fan.
Before beginning this repair, be sure to power off your laptop and disconnect from the power adapter.
Выберете то, что вам нужно
-
-
Carefully remove the two longer 9.5 mm screws on the corners with a Phillips #1 screwdriver.
-
Remove the eight 7.5 mm Phillips #1 screws on the back of the device.
-
-
-
Once the cover has been separated from the device, carefully lift the back cover off the device (begin by lifting from the front of the cover first).
-
-
-
The battery of the device is outlined in red.
-
Using a Phillips #1 screwdriver, remove the four 5 mm screws that are holding the battery in place.
-
-
-
-
Using the Halberd spudger, carefully lift the battery connector up to disconnect it from the motherboard.
-
-
-
Using a Phillips #1 screwdriver, remove five screws from the fan and heatsink.
-
Remove one 3 mm Phillips #1 screw on the side of the CPU fan.
-
Remove four 2 mm Phillips #1 screws from the heatsink.
-
-
-
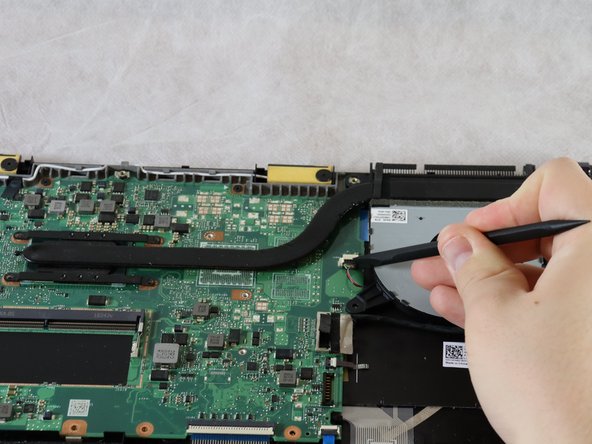
Use the Halberd spudger to carefully disconnect the bundled slide connector that connects the CPU fan to the motherboard.
-
-
-
Carefully remove the thicker black cord from the cord clips surrounding the fan.
-
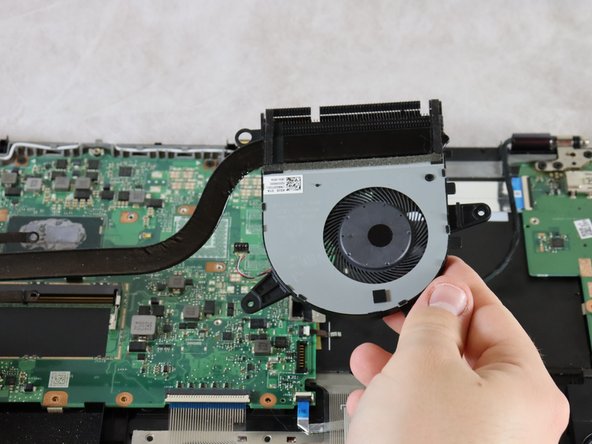
Remove the fan from the device.
-


To reassemble your device, follow these instructions in reverse order.
To reassemble your device, follow these instructions in reverse order.

Команда

Clemson, Team 2-5, Hunter Spring 2022 Участник Clemson, Team 2-5, Hunter Spring 2022
CLEM-HUNTER-S22S2G5
4 членов
Автор 8 руководств