Введение
The motherboard is the most impotent part in the computer because most of the computer's parts are located on it or attached to it, so you will need to remove them in order to replace the motherboard. Watch out for some wires because they are hard to see.
Выберете то, что вам нужно
-
-
Unscrew the 10 screws around the edge of the back panel. Eight of the screws are 0.0793mm T5 , two of them are 0.0793 JIS #0.
-
-
-
-
Un-clip both wire clips on the upper and right side of the battery.
-
Lift the battery out of the device.
In addition to instructions here, the manufacturer instructed to boot computer once battery is removed boot up using ac power. This might only apply to Macs. Power down and install battery. Let the battery drain. Shut down. Then charge the computer for12 hours to fully activate the lithium ion to reach full capacit. Also drain battery at least three times to reach maximum capacity.
-
-
-
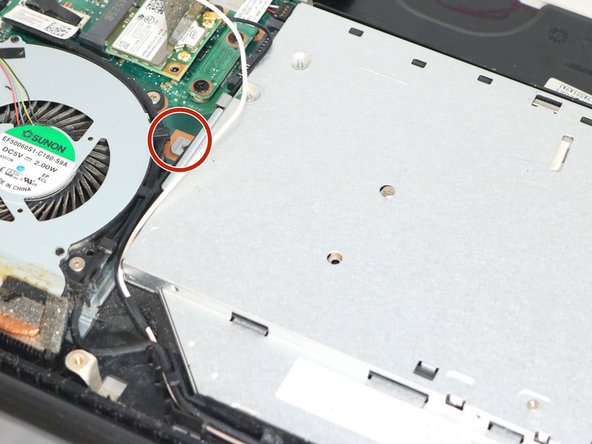
Lift up the sticker that sticks between the motherboard and the optical drive. Then, unscrew the one screw where it is marked and slide it out gently.
-
-
-
Remove the fan by unscrewing the nine screws shown in the images.
-
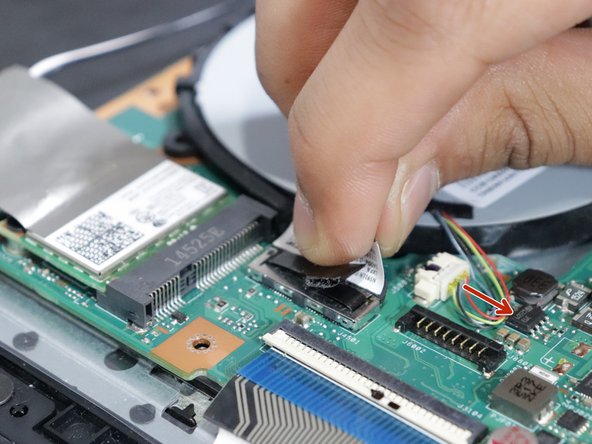
The four colored wire and the black cable need to be pulled out gently.
-
-
-
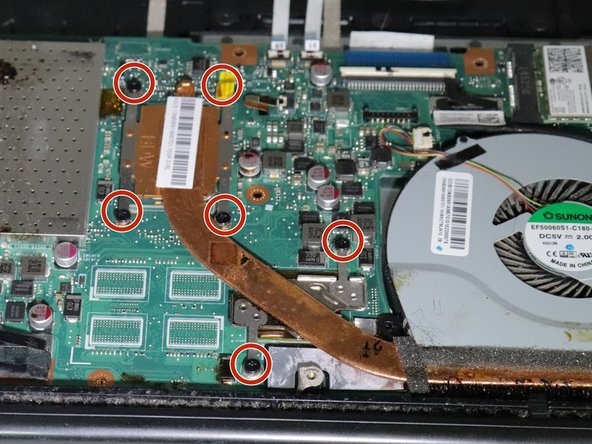
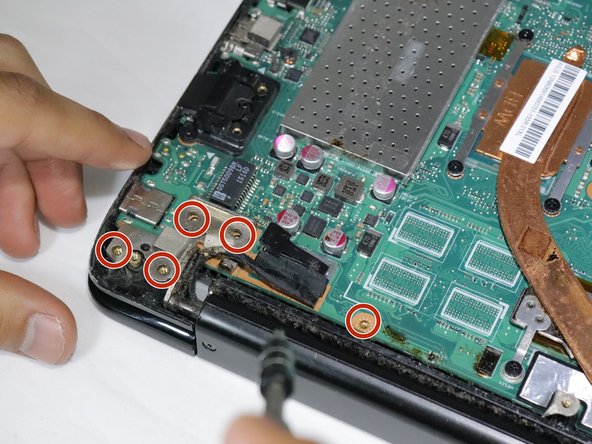
Unscrew the seven screws Phillips Head 0.0793 MM on the edges of the motherboard.
-
-
-
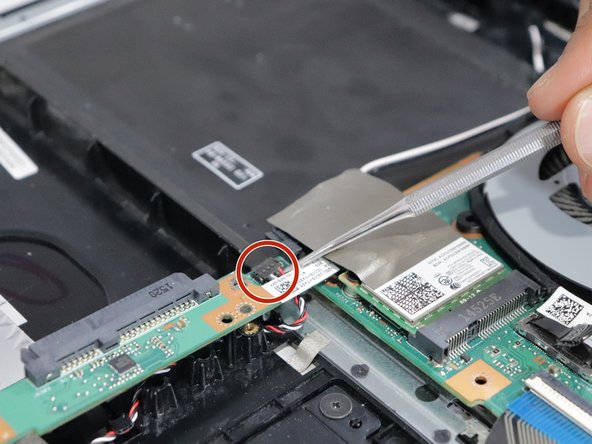
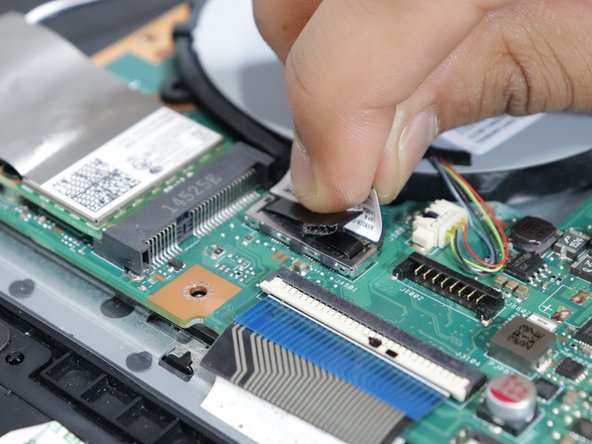
Disconnect any cables that hold the motherboard.
-
Open up the white adjustable latch first to pull out the tapes.
-


To reassemble your device, follow these instructions in reverse order.
To reassemble your device, follow these instructions in reverse order.
Отменить: Я не выполнил это руководство.
2 участников успешно повторили данное руководство.
Команда

Eastern Washington University, Team S3-G3, Rowley Spring 2018 Участник Eastern Washington University, Team S3-G3, Rowley Spring 2018
EWU-ROWLEY-S18S3G3
6 членов
Автор 6 руководств
Один комментарий
Thanks for posting this guide. Helped me to fix this model computer for a friend. Very well done!