Выберете то, что вам нужно
-
-
Turn off the laptop.
-
Disconnect the charging cable.
-
Flip the laptop so the back is facing up.
-
-
-
Use a Phillips #1 screwdriver to remove the five 6 mm screws that secure the back panel.
-
Use the same screwdriver to remove the six 13 mm screws securing the back panel.
-
-
-
-
Insert the plastic opening tool at a corner and pry up along the edges, leaving the back side with the hinges for last.
-
-
-
Gently lift up the back panel to release any remaining clips on the side with the hinges and remove the panel.
-
-
-
With a Phillips 0-bit screwdriver, remove eight 5.0 mm screws on the silver brackets
-
With a Phillips 0-bit screwdriver, remove two 5.0 mm screws holding the edge of the fans in place
-
-
-
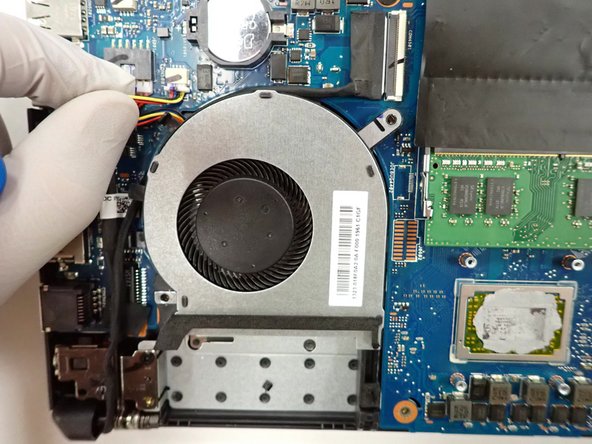
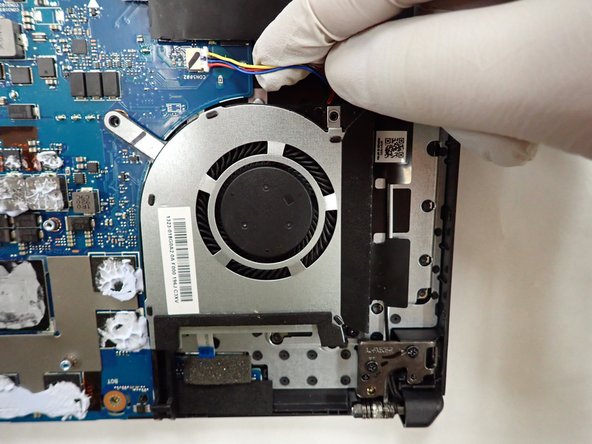
Disconnect two power cables connecting fans to the motherboard.
-
Once all cables and screws are removed, carefully lift up and remove the fans and heat sink
-


To reassemble your device, follow these instructions in reverse order.
To reassemble your device, follow these instructions in reverse order.
Отменить: Я не выполнил это руководство.
2 участников успешно повторили данное руководство.

Команда

The Citadel Military College of South Carolina, Team 3-19, Eggleston Fall 2022 Участник The Citadel Military College of South Carolina, Team 3-19, Eggleston Fall 2022
CMCSC-EGGLESTON-F22S3G19
2 членов
Автор 3 руководств