Перейти к основному содержанию

Asus V6800V Hard Drive Replacement

Выберете то, что вам нужно

  1. Asus V6800V Hard Drive Replacement, Hard Drive: шаг 1, изображение 1 из 2 Asus V6800V Hard Drive Replacement, Hard Drive: шаг 1, изображение 2 из 2
    • Remove the two screws using a Phillips #0 screwdriver.

  2. Asus V6800V Hard Drive Replacement: шаг 2, изображение 1 из 2 Asus V6800V Hard Drive Replacement: шаг 2, изображение 2 из 2
    • Pry open the case using an iFixit opening tool.

    • Actual hard drive is not shown in the second image.

  3. Asus V6800V Hard Drive Replacement: шаг 3, изображение 1 из 2 Asus V6800V Hard Drive Replacement: шаг 3, изображение 2 из 2
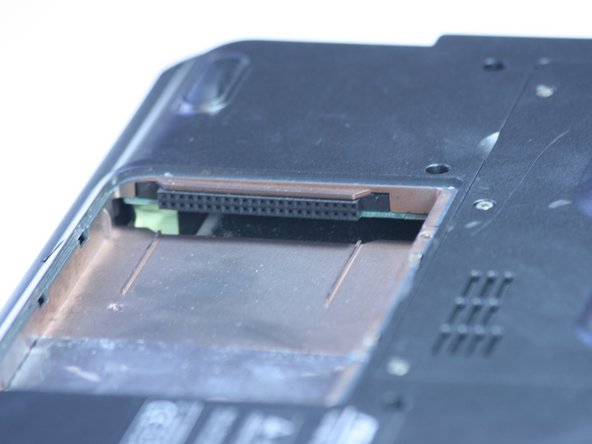
    • The highlighted area is where your hard drive would be. Slide it out away from its slot and pull it gently to remove.

    • Second image shows what it should look like once you remove the hard drive.

Заключение

To reassemble your device, follow these instructions in reverse order.

Jong Park

Участник с: 06/24/10

114 Репутация

Автор 5 руководств

Команда

Cal Poly, Team 2-9, Johann Summer 2010 Участник Cal Poly, Team 2-9, Johann Summer 2010

CPSU-JOHANN-R10S2G9

5 членов

Автор 10 руководств

0 Комментариев

Добавить комментарий

Просмотр статистики:

За последние 24часов: 0

За последние 7 дней: 1

За последние 30 дней: 3

За всё время: 2,939