Введение
If your Asus VivoBook E203MA-TBCL432B isn’t producing clear audio through its built-in speakers, use this guide to replace the built-in audio speakers.
Properly working speakers should play audio with no distortion to the sound. A faulty speaker will transmit distorted audio or no audio at all.
Before beginning, make sure to power off your laptop completely and disconnect from any external power source. Overall, this is a relatively simple repair that does not require advanced technical skills.
Выберете то, что вам нужно
-
-
Position the laptop so that the bottom panel is facing upwards, the hinge is away from you, and the ASUS logo is against the table.
-
-
-
Use a Phillips #0 screwdriver to remove the eight 5 mm screws on the back panel.
-
Remove the two 7 mm Phillips #0 screws.
-
-
-
-
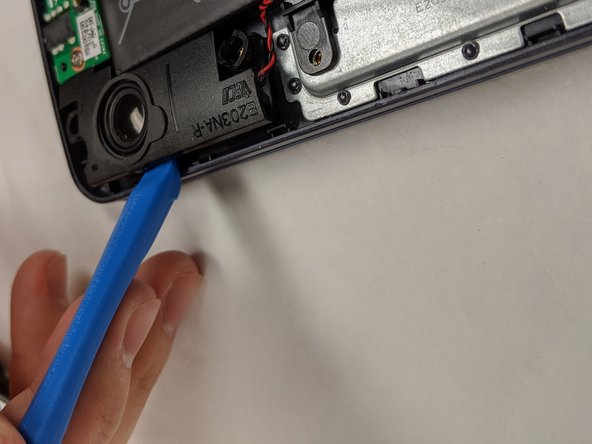
Insert the iFixit opening tool in between the back panel and the rest of the laptop.
-
With the iFixit opening tool, lift the panel from the laptop body. Work your way around the device creating separation with the tool.
-
Once there is enough separation between the back panel and the device, gently pull off the back panel with your hands and completely remove it.
-
-
-
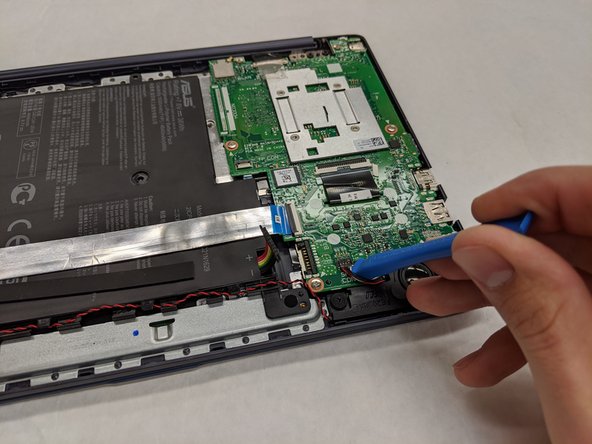
Using the iFixit opening tool, pry up and remove the battery connector from the motherboard.
-
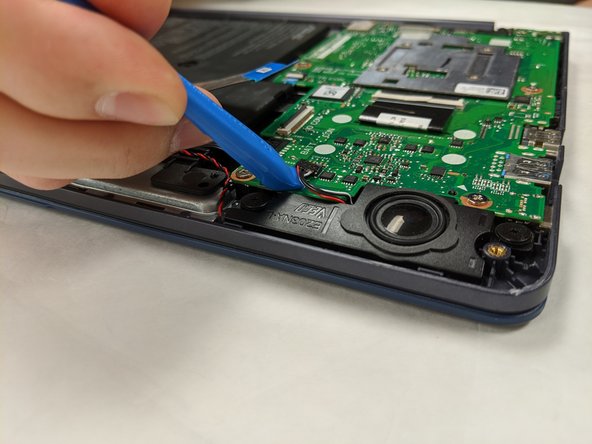
Using the iFixit opening tool again, carefully wedge the tool under a corner of the speaker connector on the motherboard that is connected by three wires (colored red, black, and white).
-
Slowly pry the connector up without damaging the motherboard.
-
-
-
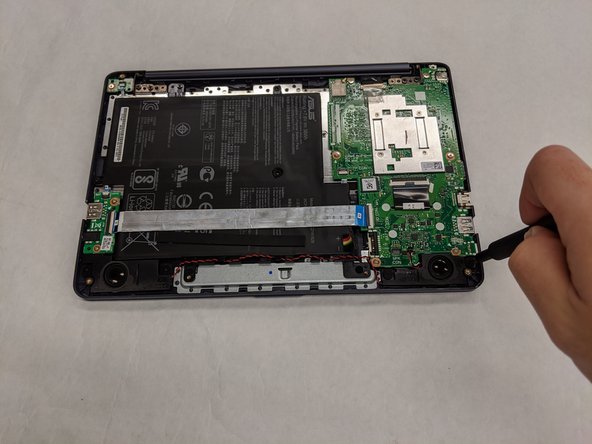
Using a Phillips #00 screwdriver, remove the four 2.0 mm screws near the edge opposite of the hinge.
-
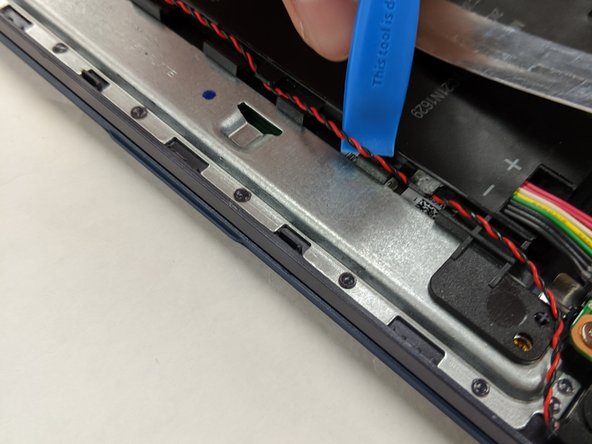
Insert the iFixit opening tool underneath the red and black wire and remove the wire from the small clasps.
-
-
-
Insert the iFixit opening tool underneath the speaker on the right side. Gently pry the speaker up to remove.
-
Repeat the step above for the opposite speaker. Then, carefully set both speakers off to the side.
-


To reassemble your device, follow these instructions in reverse order.
To reassemble your device, follow these instructions in reverse order.
Отменить: Я не выполнил это руководство.
Еще один человек закончил это руководство.
Команда

IUPUI, Team S3-G3, Wilson Fall 2019 Участник IUPUI, Team S3-G3, Wilson Fall 2019
IUPUI-WILSON-F19S3G3
4 членов
Автор 3 руководств