Введение
In the case of a cracked or broken display screen on your ASUS VivoBook X540SA-BPD0602V, a screen replacement may be necessary to restore the laptop to its normal functionality. This guide will walk the user through replacing the device's LCD display screen, through step-by-step instructions. All power sources, including the battery, should be removed before completing any repairs or replacements within the device.
Выберете то, что вам нужно
-
-
Power down the laptop using the device's power button in top right corner of the keyboard. Ensure that the device's power cord is disconnected.
-
-
-
Using a Phillips #1 screwdriver, remove the ten screws from the back panel.
-
Remove the two battery screws (15.6 mm)
-
Two top corner screws (12.5 mm)
-
Six case screws (9.7mm)
-
-
-
Using the blue plastic opening tool, wedge and loosen the seal all the way around the edges. Carefully lift up the keyboard panel.
-
-
-
-
Observe where the ribbons connect to the motherboard, there are two connections. Each connection has a black clamp. To remove the ribbon, lift the black clamp up to disconnect it.
-
-
-
Very carefully, remove the batteries with the blue plastic iFixit opening tool. Focus removing the battery near the highlighted area.
-
-
-
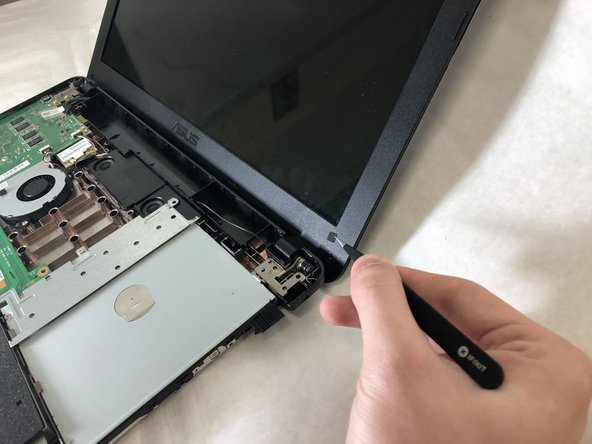
Use tweezers to remove small plastic screw covers from the bottom corners of the screen.
-
-
-
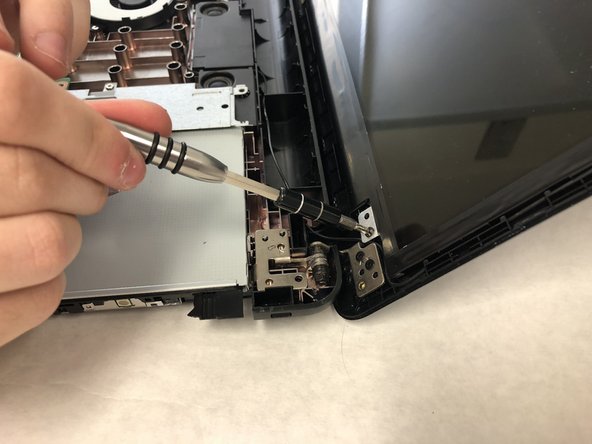
Using the Phillips #0 screwdriver, remove the screws (3.8mm) from the bottom corners of the screen.
-
-
-
Gently go around the screen and pry the plastic frame away with the metal spudger.
-
Before disconnecting the bottom edge of the plastic frame, be sure to disconnect it from the laptop's hinges.
-
-
-
Remove screws (3.5mm) from the four corners of the screen, utilizing Phillips #0 screwdriver.
-
-
-
Rotate the display to expose the motherboard connection at the bottom of the display, and disconnect.
-


To reassemble your device, follow these instructions in reverse order.
To reassemble your device, follow these instructions in reverse order.
Отменить: Я не выполнил это руководство.
2 участников успешно повторили данное руководство.
Команда

IUPUI, Team S2-G6, Harley Fall 2018 Участник IUPUI, Team S2-G6, Harley Fall 2018
IUPUI-HARLEY-F18S2G6
3 членов
Автор 4 руководств
Один комментарий
Hello, going through your step-by-step instructions and also seeing the appropriate tools and kit you have on your website for repairs, I've come to the conclusion that you folks are really good. Can you please help me with this same device model's touchpad not working. I mean ASUS Vivobook X540SA touchpad. There isn't any answer even on Microsoft Forum/community and I have tried almost all possible solution too.