Перейти к основному содержанию

Asus ZenBook Flip UX360C Motherboard Replacement

Выберете то, что вам нужно

  1. Asus ZenBook Flip UX360C Motherboard Replacement, Motherboard: шаг 1, изображение 1 из 1
    • Remove all ten T5 screws on the back cover near the edges.

    • Remove two Phillips #1 screws located under the rubber feet near the screen.

  2. Asus ZenBook Flip UX360C Motherboard Replacement: шаг 2, изображение 1 из 3 Asus ZenBook Flip UX360C Motherboard Replacement: шаг 2, изображение 2 из 3 Asus ZenBook Flip UX360C Motherboard Replacement: шаг 2, изображение 3 из 3
    • Use a metal spudger to gently separate the keyboard from the computer case.

    • Do not completely remove the keyboard as there are two ribbon cables that connect the keyboard to the motherboard.

    • Lift the keyboard slightly, and use a plastic spudger to release the two ZIF connections to free each ribbon cable.

    • Remove the keyboard.

  3. Asus ZenBook Flip UX360C Motherboard Replacement: шаг 3, изображение 1 из 1
    • Use the Phillips #1 screwdriver to remove all 5 mm screws.

  4. Asus ZenBook Flip UX360C Motherboard Replacement: шаг 4, изображение 1 из 1
    • Use a plastic opening tool or nylon spudger to lift the monitor connections off of the main board.

  5. Asus ZenBook Flip UX360C Motherboard Replacement: шаг 5, изображение 1 из 2 Asus ZenBook Flip UX360C Motherboard Replacement: шаг 5, изображение 2 из 2
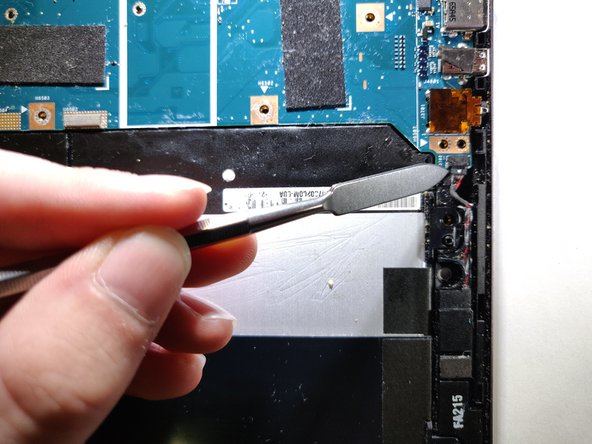
    • Clip off the battery from the main board.

    • Use of a metal spudger can cause damage to the device or harm to the user, especially near the battery! Use an ESD safe tool for this step instead.

  6. Asus ZenBook Flip UX360C Motherboard Replacement: шаг 6, изображение 1 из 2 Asus ZenBook Flip UX360C Motherboard Replacement: шаг 6, изображение 2 из 2
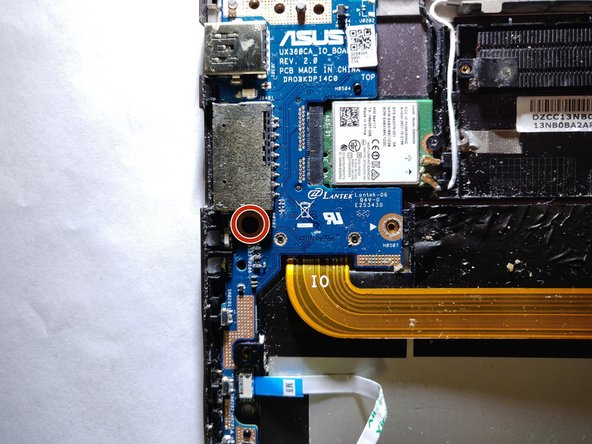
    • Remove the black foam above the screw on the I/O board.

    • Remove the 5 mm #1 Phillips head screw.

    • Use of a metal spudger can cause damage to the device or harm to the user, especially near the battery! Use an ESD safe tool for this step instead.

  7. Asus ZenBook Flip UX360C Motherboard Replacement: шаг 7, изображение 1 из 2 Asus ZenBook Flip UX360C Motherboard Replacement: шаг 7, изображение 2 из 2
    • Pull the I/O board away from the chip to detach it.

    • Remove the I/O board and main board.

Заключение

To reassemble your device, follow these instructions in reverse order.

Jonathan Heintz

Участник с: 02/27/19

145 Репутация

1 руководство автора

Команда

Purdue University Northwest, Team S4-G4, Hingst Spring 2019 Участник Purdue University Northwest, Team S4-G4, Hingst Spring 2019

PNW-HINGST-S19S4G4

4 членов

Автор 5 руководств

Один комментарий

where can i buy the motherboard?

Thevan - Ответить

Добавить комментарий

Просмотр статистики:

За последние 24часов: 0

За последние 7 дней: 8

За последние 30 дней: 19

За всё время: 2,979