Введение
If your Asus ZenBook Flip (model UX360C) screen isn’t producing clear visuals, distorted images, has a cracked screen, or has no visuals, use this guide to replace the screen.
The laptop transmits information to LCD screen through an auxiliary cord. A faulty or cracked screen will transmit distorted visuals or no visuals at all.
Выберете то, что вам нужно
-
-
Use a spudger to pry out the two rubber grommets from the front of the screen.
-
Remove the two 4mm Phillips Head #1 screws behind the grommets.
-
-
-
Use a large plastic opening tool to work around the outside of the screen and gently separate the two halves.
-
-
-
-
Remove the two 2 mm Phillips #00 camera screws.
-
Remove the 2 mm Phillips #0 upper circuit board screw.
-
Remove the 2 mm Phillips #0 lower circuit board screw.
-
-
-
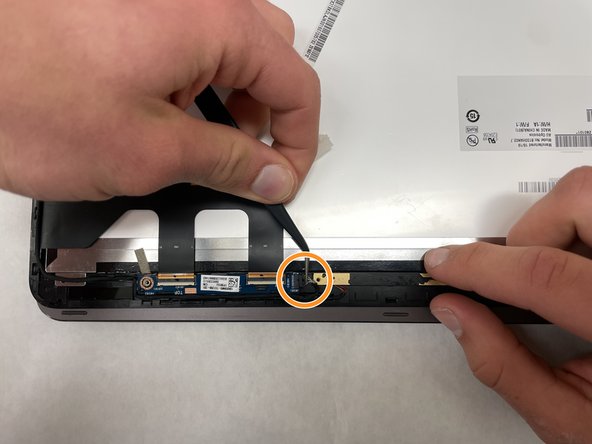
Use tweezers to unplug the two ribbon cables from the top half of the screen.
-
Detach the upper circuit board cable using the same method.
-
-
-
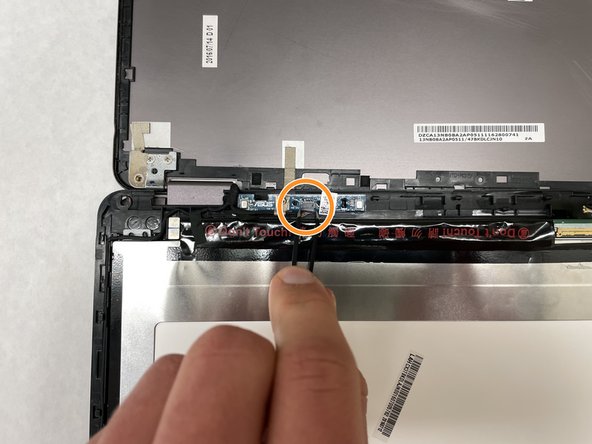
On the bottom half of the screen remove the screen connection.
-
Disconnect the lower circuit board cable.
-
Separate the wiring from the casing, and remove the screen.
-


To reassemble your device, follow these instructions in reverse order.
To reassemble your device, follow these instructions in reverse order.
Команда

IUPUI, Team 1-4, Harley Spring 2022 Участник IUPUI, Team 1-4, Harley Spring 2022
IUPUI-HARLEY-S22S1G4
3 членов
Автор 3 руководств