Введение
The camera stabilizer is used in the phone to stabilize the camera when it is taking a picture. It is situated on the camera on the inside of the phone. It will need replacing when the phone has difficulty focusing on an object and the pictures taken come out shaky or unfocused.
Выберете то, что вам нужно
-
-
Place the iOpener on the side of the phone until the iOpener gets cool (approximately 10-15 minutes).
-
Reheat the iOpener and reapply it to the other side of the phone.
-
-
-
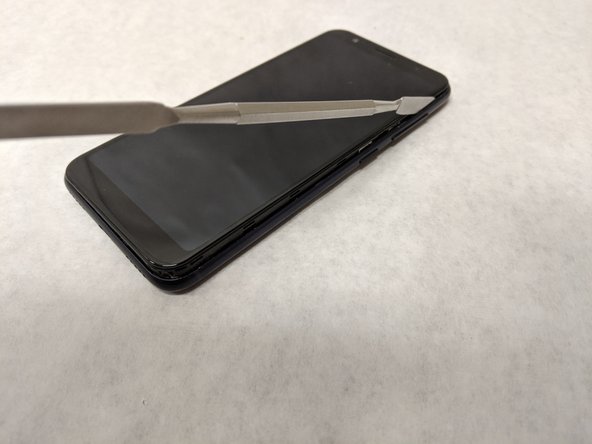
Gently slide the jimmy along the edges of the phone to break the adhesive.
-
Use opening picks and the opening tool to pry the back cover off.
-
Repeat the heating and prying process until the back cover can be fully removed.
-
-
-
-
Use the #00 phillips head to take out the six phillips #00 3.175mm screws on the top cover plate.
-
Use the spudger to release the clasps along the edge of the top plate.
-
-
-
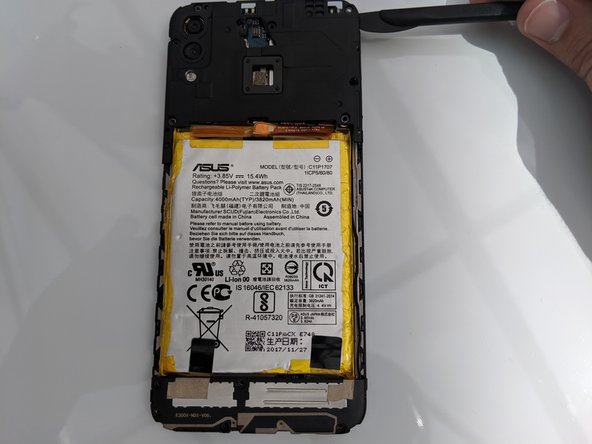
Disconnect the press fit connector located near the upper right corner of the battery to disengage the battery from the motherboard.
-
-
-
Use the same screwdriver to remove the five phillips #00 3.96mm screws along the bottom plate.
-
Use the spudger to pry the bottom plate off.
-
-
-
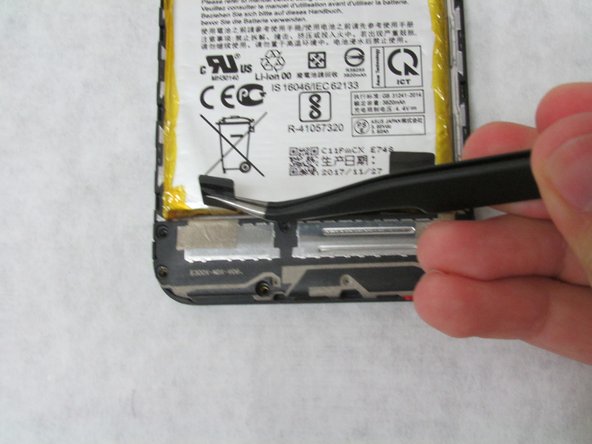
Pull on the two black tabs on the bottom of the battery until the battery is released.
-
Gently pull the battery out of its socket.
-
-
-
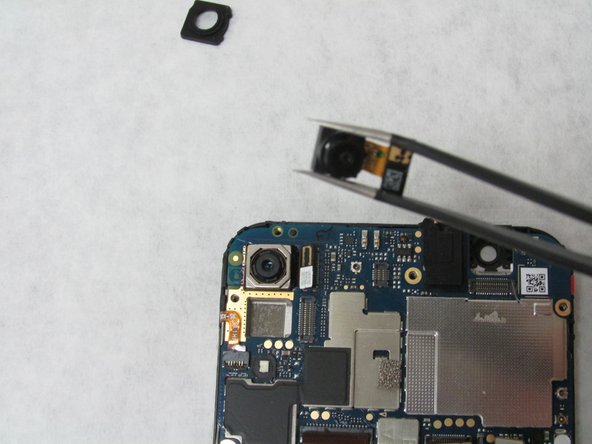
On the top left of the motherboard underneath the camera, use the tweezers to disconnect the press fit connector that is to the right of the stabilizer.
-
Use the tweezers to pry off the black gasket around the stabilizer.
-
Gently grab either side of stabilizer and lift it up.
-


To reassemble your device, follow these instructions in reverse order.
To reassemble your device, follow these instructions in reverse order.
Команда

Embry-Riddle Aeronautical University, Team S3-G27, Watkins Summer 2019 Участник Embry-Riddle Aeronautical University, Team S3-G27, Watkins Summer 2019
ERAU-WATKINS-SU19S3G27
4 членов
Автор 9 руководств