Введение
The touch sensor on the ZenFone 5 is located on the back of the phone. Since it is used every time the phone is starting up, it is used very frequently and, since it comes into direct contact with the user very often, can run into issues with relative ease. The touch sensor will need to be replaced if it is not reading a fingerprint or is simply not working in the proper way.
This guide misses a step in disconnecting the touch sensor from the motherboard. If you do not reconnect the press fit connector for the fingerprint sensor during reassembly, it will not function.
Выберете то, что вам нужно
-
-
Place the iOpener on the side of the phone until the iOpener gets cool (approximately 10-15 minutes).
-
Reheat the iOpener and reapply it to the other side of the phone.
-
-
-
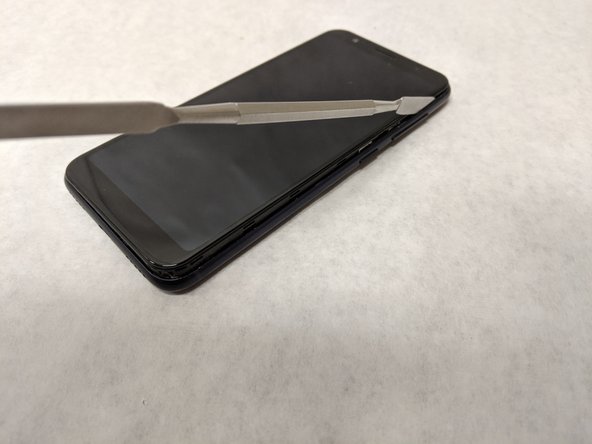
Gently slide the jimmy along the edges of the phone to break the adhesive.
-
Use opening picks and the opening tool to pry the back cover off.
-
Repeat the heating and prying process until the back cover can be fully removed.
The tools don’t need to be capitalized, aside from the iOpener. Make sure to check throughout for this issue.
-
-
-
-
Use the #00 phillips head to take out the six phillips #00 3.175mm screws on the top cover plate.
-
Use the spudger to release the clasps along the edge of the top plate.
Per feedback, consider swapping for the nylon spudger, rather than the metal one.
-
-
-
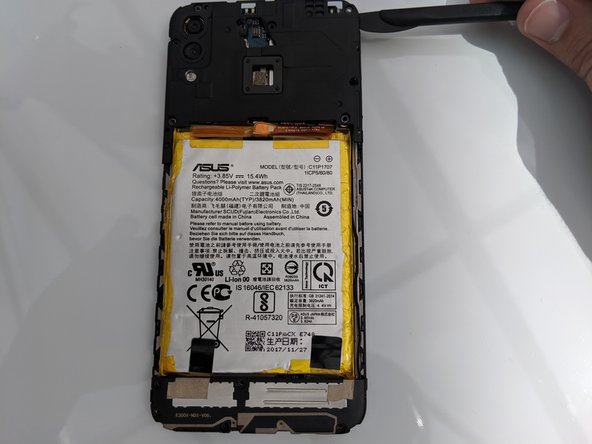
Disconnect the press fit connector located near the upper right corner of the battery to disengage the battery from the motherboard.
-
-
-
Use the same screwdriver to remove the five phillips #00 3.96mm screws along the bottom plate.
-
Use the spudger to pry the bottom plate off.
-
-
-
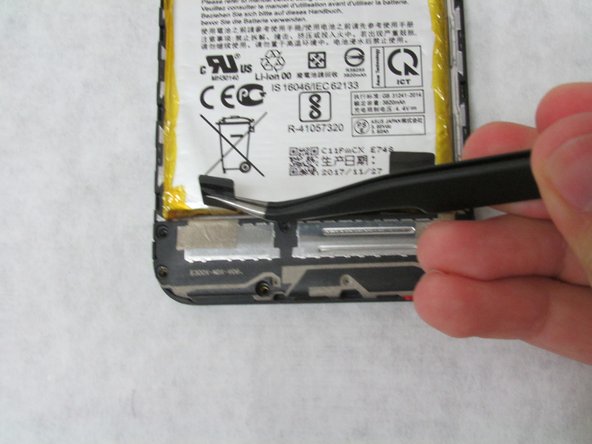
Pull on the two black tabs on the bottom of the battery until the battery is released.
-
Gently pull the battery out of its socket.
-
-
-
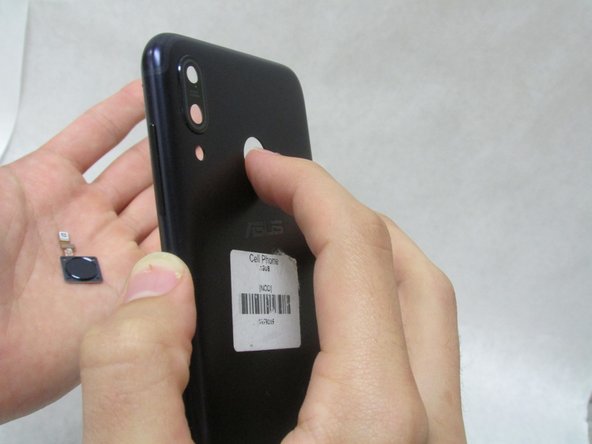
On the back shell of the phone, push with pressure on the touch sensor until it pops out.
-


To reassemble your device, follow these instructions in reverse order.
To reassemble your device, follow these instructions in reverse order.
Команда

Embry-Riddle Aeronautical University, Team S3-G27, Watkins Summer 2019 Участник Embry-Riddle Aeronautical University, Team S3-G27, Watkins Summer 2019
ERAU-WATKINS-SU19S3G27
4 членов
Автор 9 руководств
Один комментарий
I might replace the introduction picture in this guide for one that doesn’t have the background missing on the right side.
Can you condense this step a bit? (e.g., Heat the iOpener in the microwave”)
Alex Watkins - Ответить